Animating a Toggle Button with Group Masks
In this walkthrough, we're going to create an animation for a toggle button, using a technique with groups, layers and masking. The final animation will be used as the asset for a dev doc.
You can Bruce Lee this and do the tutorial from scratch, or just dl the file and have look at how it’s done:
We use this animation in the dev doc: Making a Web Export Respond to Mouse Hovers
This is a Runthrough
My purpose in recording this tutorial was to quickly capture how I work with Flow while making an asset for another tutorial. So, I won’t have all the steps here, but I will cover the basic ideas and techniques.
Text Outlines are Safe
If you’re making a simple button, or design, with a fixed purpose then you probably don’t need to use labels and fonts in your design. In fact, it’s incredibly easy and more performant to use only vector shapes in your design.
What I often do is outline the text for my animations.
This step starts at 1:39
In Sketch…
- Select your text layers
- Open the Help menu item
- Search for “Outline”
- Click Convert to Outlines
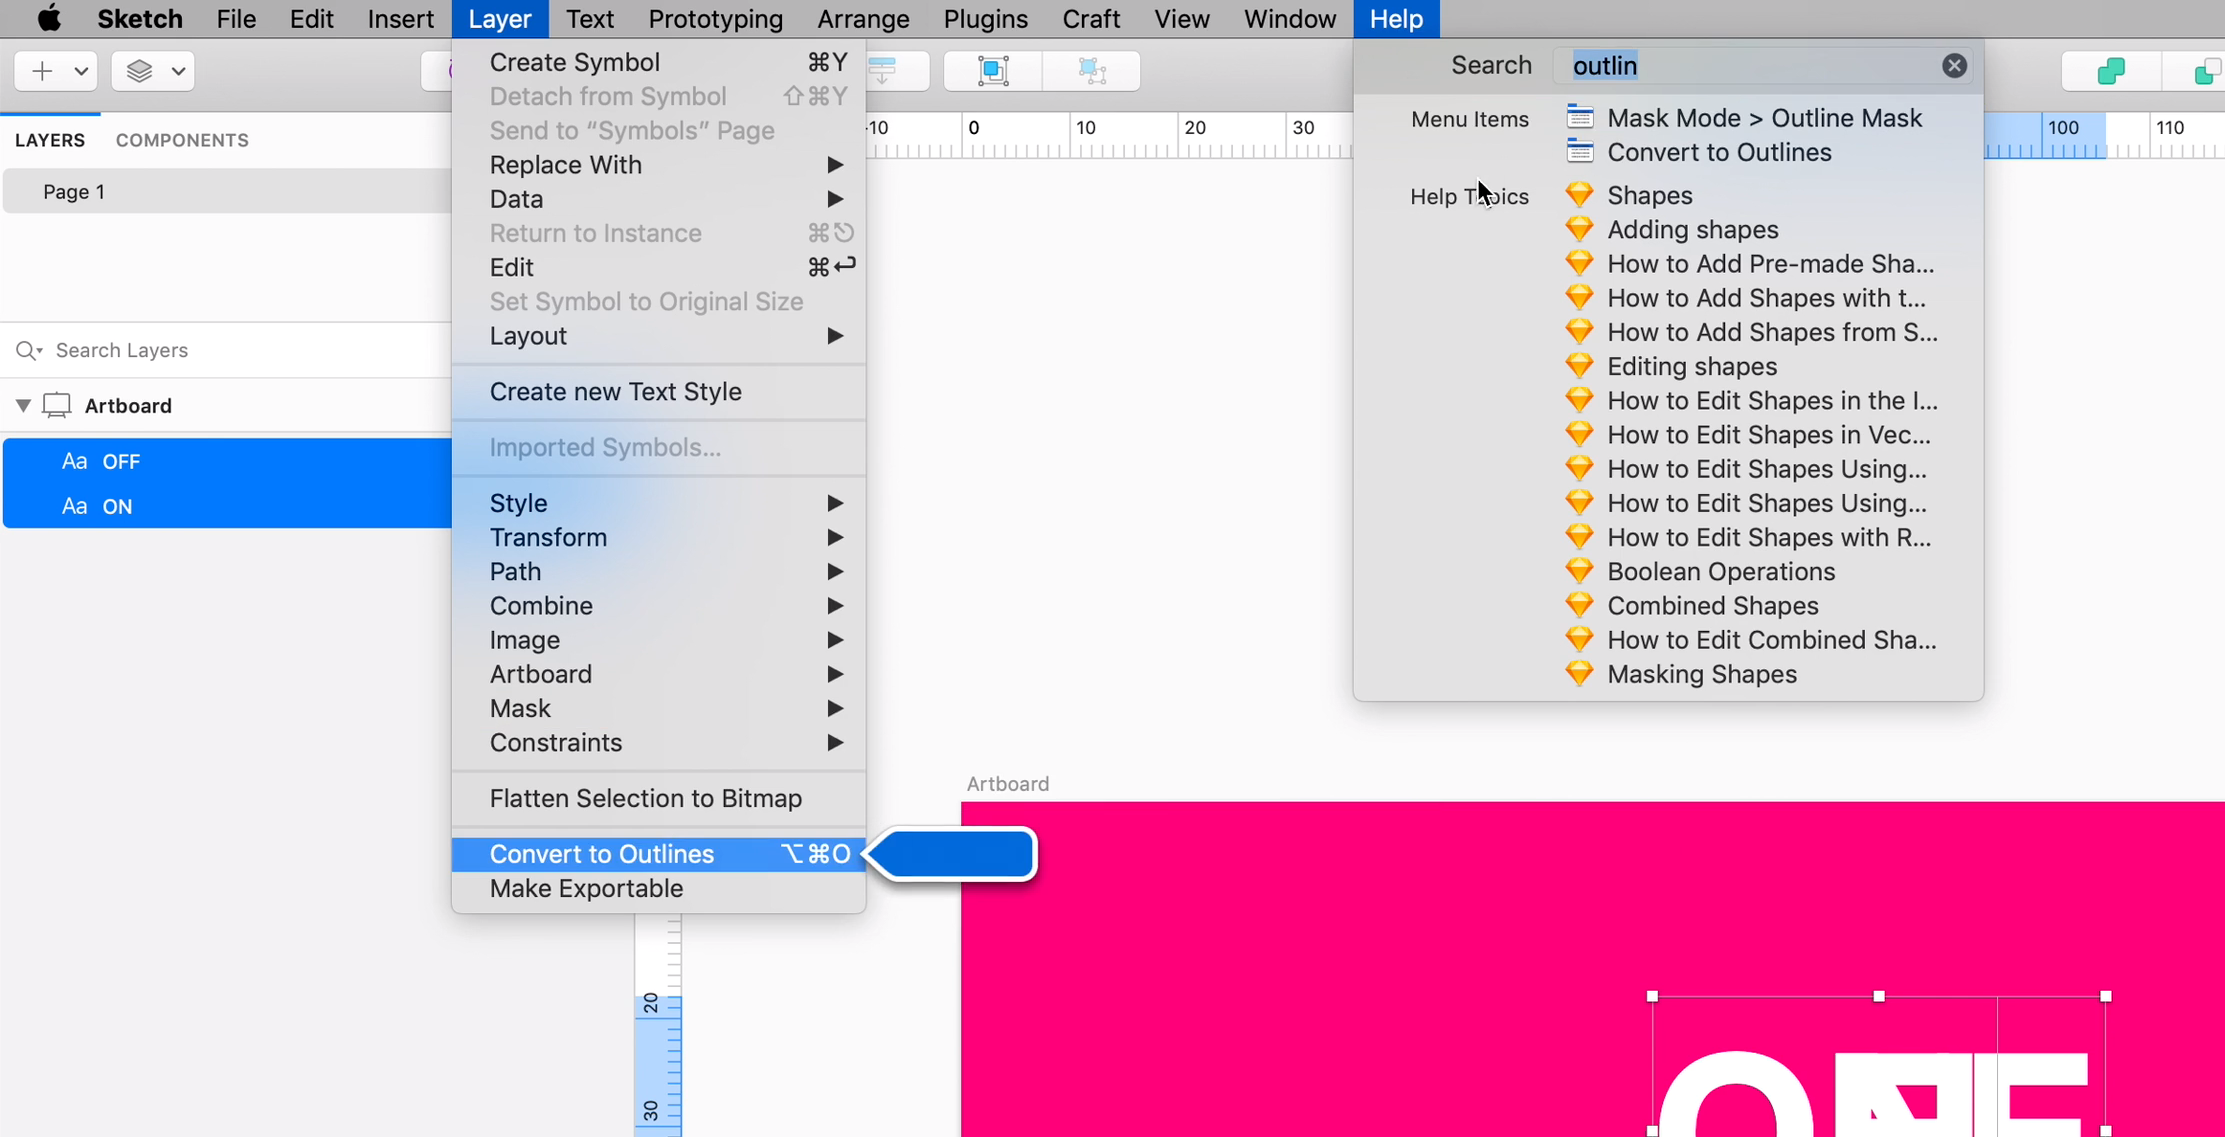
Now, your text will render quickly and you won’t have to worry about linking the fonts, etc.
Name Things Nicely, Please
Remember. Flow is exporting CODE… so, naming things in your design file is important. You can do this in Flow, but if you’re savvy and fast in Sketch then why not do it there?
This step starts at 4:32
In this design, I used these names:
offGroupoffLabeloffBackgroundonLabel
Flat out, this is good practice. But, on top of that, software doesn’t allow you to reuse the same name for multiple variables… It won’t compile.
In Sketch, it’s dead easy to work fast and end up with a lot of layers named Oval or Rectangle… Once this gets to code, it will be impossible to know which variable is which.
You can Use Extra Layers
You can add extra layers to your Sketch designs that you can use for reference, later, in Flow.
This step starts at 4:52
I create an extra OFF shape layer so that I can use it to reposition our main offLabel later when I’m animating.
Negative Animations Keep Things in Place
The point of having the refernce OFF shape is so that I can negatively-animate our offLabel. This is a killer technique that gives the appearance of a layer “not moving.” It’s a very handy thing to learn.
This step starts at 6:07
- Go to the end of the animation
- Turn on Relative Mode (CMD+SHIFT+R)
- Rotate the
offGroupby+20 - Rotate the
offLabelby-20 - Move
offGroupits final position - Reposition the
onLabelso that it fits right over top of the extraOFFshape. - Delete the
OFFshape
Now, as the group moves, the offLabel moves with the exact opposite animation. The visaul effect is that it doesn’t move at all.
Use masksToBounds For Reveals
This technique is way easier than creating a mask, moving it around, blah blah… Also, some animation platforms flat out don’t like rendering masks. AND, imvho, it’s always best to keep your animations as simple as possible.
This step starts at 7:42
So, we’ve animated the offLabel such that it moves out of the bounds of its group. To clip this, and create a reveal effect for the underlying onLabel you simply do the following…
- Select the
offGroup - Turn on group masking by selecting the
masksToBoundsoption in properties panel.
Mask the Scene
When working with layer on the stage, you can clip everything that lies outside the bounds of the artboard. When exporting, Flow checks the value of the Mask Stage to Artboard button and applies it to your main artboard. So, in web-speak, if you have everythign clipped, then you arboard will have overflow: hidden otherwise it will have overflow: visible.
This is true for our iOS export as well.