Path Editing Beta
We've recently, and quitely, released an MVP of path editing in Flow. We know it's not complete, but wanted to get it out there to start evaluating how things feel. There are definitely improvements on the list, and changes that can be made. Have a look below to see what works, doesn't, and how you can let us know what to change.
What We Are Working On…
First, let’s start with what we have queued up. Here’s our to-do list, in no particular order, of path editing functionalities we believe need to be added.
-
Property panel for points -
Property panel for control points -
Property panel for curves / edges -
Add area selection -
Pressing ESC should exit out of path editing mode -
Add snapping to other layers -
Issue tracing shape when a point has control points and roundedness -
By default, changing a path's direction should NOT create a path animation, this should only happen when pression Option (⌥) - There are issues with animating rounded corners
- Join two end points of a path
- Flattening shapes
- Shift (⇧) + Option (⌥) + Click should delete a point
- Add cut/copy/paste for points and edges
- Add area deselection for points
- Deleting a point should select the next point in the curve
- Adding a shape into another shape
- Boolean operations
What Currently Works
Now. Our goal with this release (1.8.6) was to put in place the bare minimum functionality for creating path animations within Flow itself. The major focus was on things you can do with the mouse and other basic capabilities.
Path Editing Mode
Double-click on any shape to get into path editing mode.
Path Points
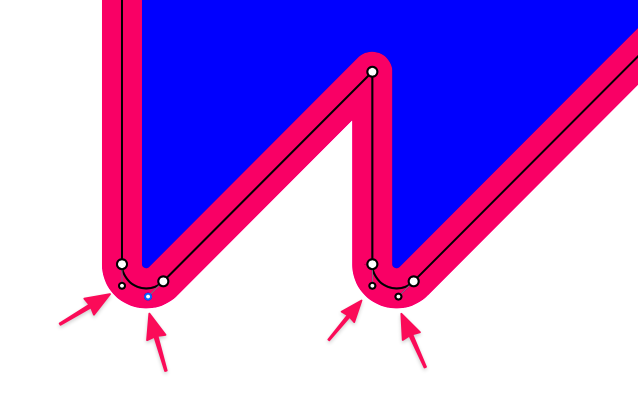
Path points are shown as small circles along the contour of a shape.

Control Points
If a point has control points, you’ll see those while in path editing mode.

Path Handle
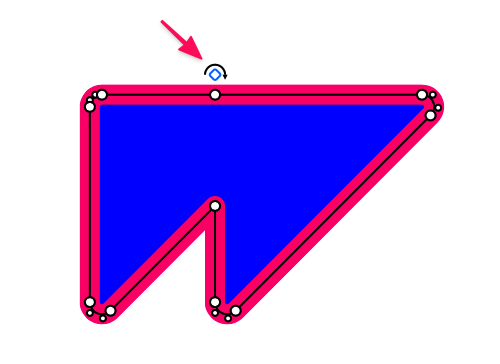
Shows the start of the path, and its drawing direction.

The arrow denotes the direction the path takes around its shape.
Subpaths
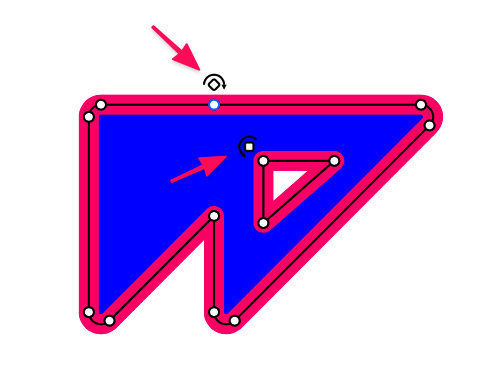
A shape can be made up of more than one path. In this case, you’ll see a handle for each path in the shape.

Selecting Things
You can select points, control points, edges, and handles.
This step starts at 0:20
Points
Click on a path point to select it.
Pressing Shift (⇧) will allow you to select multiple points by clicking…
Or, by area selecting…
Control Points
Click on a control point to select it.
Pressing Shift (⇧) will allow you to select multiple control points by clicking…
Edges
Click on an edge, between points, to select it.
Pressing Shift (⇧) will allow you to select multiple edges by clicking…
Path Handles
Click on a path handle to select it…
Pressing Shift (⇧) will allow you to select multiple path handles by clicking…
Moving Things
You can move paths, control points, edges and handles.
This step starts at 0:44
Points
Dragging a selected point will move it.
You can drag multiple points to move them at the same time.
Control Points
Dragging a selected point will change the curve to which it is associated.
You can also select and move multiple control points.
Edges
If an edge does not have curvature, dragging it will move the edge. Pressing Option (⌥) while dragging a curved edge will move it.
You can move multiple edges at the same time.
If an edge has curvature, dragging that edge will change its curve.
question: should we invert this behaviour? so that the defaul is to move the edge, and Option (⌥) + drag changes its curve?
Handles
Dragging a selected handle will move the entire shape.
You can drag multiple handles to move more than one subpath at a time.
Option (⌥)-dragging a handle will change the start point of the shape.
Adding and Removing Things
You can add and remove points and control points.
This step starts at 01:58
You cannot remove a path handle
Points
Press Option (⌥) while hovering over an edge will add a new point.
If an edge has curvature, the new point will have control points.
After selecting a point, pressing delete will remove it.
You can also delete multiple points.
If there are only 2 points in a path, deleting one of them will remove the entire layer from the hierarchy.
Edges
You create edges by adding points to a shape.
You can remove a selected edge by pressing delete.
If a shape is already closed, this opens the shape and changes the location of the path handle.
The path handle’s new position is based on the direction of the path.
If deleting an edge results in a path having 2 open edges, then a new subpath will be created.
Snapping Things
While dragging, you can press ⌘ to turn on snapping.
This step starts at 02:49
Points
A point or a will snap to an unselected point.
Groups of points will snap based on the point being dragged.
Control Points
A control point will also snap to an unselected point.
Groups of control points will snap based on the point being dragged.
You cannot snap to control points
Edges
You can snap an edge.
You can snap groups of edges as well.
Handles
If you turn on snapping while dragging a handle it will snap to other layers.
Changing the Direction of a Path
Double-clicking a path handle will change its direction
This step starts at 03:46
Closing and Opening Paths
Pressing Option (⌥) while double-clicking a path handle will open or close a path. This creates a gap between the first and last points of the path.
This step starts at 04:12
The location of the opening is dependent on the direction of the path.
Corner Radius
You can adjust the corner radius of a point by Option (⌥)-dragging it.
This step starts at 04:26
You can also do this to groups of selected points
Add and Remove Control Points
There are a few handy mouse actions that make it easy to add and remove control points.
This step starts at 04:47
Double-clicking on a point.
If a point has no control points, double-clicking the point adds new control points, and vice-versa.
Double-clicking on an edge.
If an edge has no control points, double-clicking the edge adds new control points, and vice-versa.
Double-clicking a control point
Double-clicking a control point deletes it.
Question: Should we default to creating mirrored points here.
What Do You Want To See?
Let us know what you’d like to see with this feature.
- The best place to reach out is in our #feedback channel in our Slack Group.
- You can also email us: info@createwithflow.com