
The Player & Driver
HTML exports come with two important files – Player.js and Driver.js.
Driver.js
The Driver is a class that registers with the UI on the main index page, allowing a user to play / pause and drag a slider to drive the animation.
The Driver is a simple extension of Player.js, the main class that actually handles the playback control and setup of your animations.
Player.js
The Player class is responsible for setting up animations, and has all the playback functionality you’ll need to work with your animations.
You can find the file in the js folder of any HTML export.
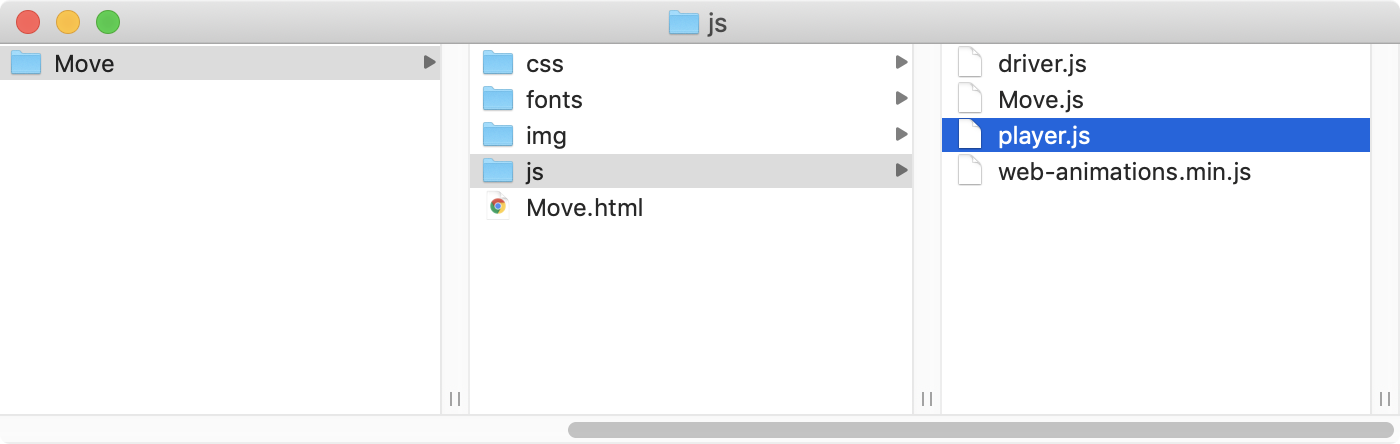
Have a look at the code for Player.js
Working with the Player
The interface for the player is pretty straightforward – it has the same functions as the driver class.
Constructor
This is the constructor for creating a player:
constructor(timeline, timerID, loop, delay).You need to pass:
- the
Timelineclass (e.g.SquareTimeline) - the
timerIDassociated with the animation you’re creating the player for boolwhether to loop the animation- adds a
delaytime (in milliseconds) at the END of an animation
An example of creating a non-looping animation that starts right away is:
var squarePlayer = new Player(SquareTimeline, 'SquareTimer', false, 0)currentTime()
You can set and get the current time of a player:
player.currentTime = 0player.currentTime = 100Players track time in milliseconds
play()
To start an animation from it’s current time:
player.play()isPlaying()
You can check if a player is currently playing:
player.isPlaying()pause()
You can pause a player:
player.pause()Pausing simply stops all animations at the current time.
stop()
You can stop a player:
player.stop()Stopping will also set the player’s
currentTimeto0
Driver.js
The driver is responsible for interfacing with UI elements on an html page. It is an extension of a player and therefore shares the same playback functionality as you saw above.
- a
play/pausebutton - a
loopbutton - a
slider - a
timelabel
You can find the file in the js folder of any HTML export.
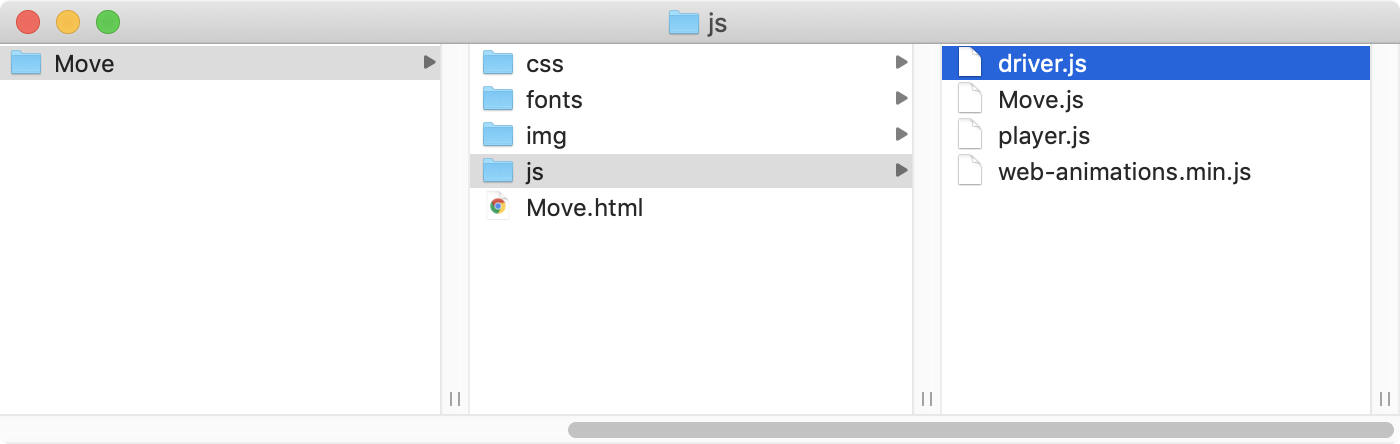
Have a look at the code for Driver.js
Working with the Driver
The driver has all the same playback commands as the player.
Constructor
The major difference between the driver and player is the constructor, where the driver requires you pass it the ids for the interface elements associated with it.
Driver(timeline, loopButtonID, playButtonID, sliderID, timeLabelID, timerID)
You need to pass:
- the
Timelineclass (e.g.SquareTimeline) - the
idfor theloopButtontag - the
idfor theplayButtontag - the
idfor theslidertag - the
idfor thetimeLabeltag - the
idfor thetimertag
You should pass unique ids to the for interface elements to the driver.
Here’s an example from the move timeline in the intro.flow file:
new Driver(Move, 'loopButton-move', 'playPauseButton-move', 'slider-move', 'timeLabel-move', 'timer-move')
UI / DOM
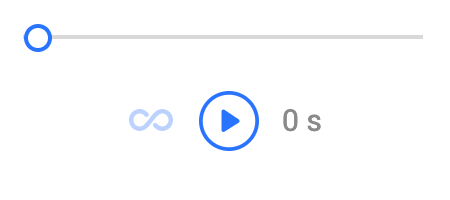
The driver requires a DOM in order to be initialized. As you may have guessed from the constructor, there are 5 main elements that the standard driver requires during initialization.
Here’s what the driver looks like:
<div class="playback">
  <div class="slider">
    <input type="range" min="0" max="1" step="0.001" value="0.0" id="slider-wordmark" />
  </div>
  <div class="controls">
    <div class="playPauseLoop">
      <div class="playPauseContainer loop">
        <input type='checkbox' id="loopButton-wordmark">
        <label for="loopButton-wordmark" class="loopLabel" id="loopLabel" />
      </div>
      <div class="playPauseContainer">
        <input type='checkbox' id="playPauseButton-wordmark">
        <label for="playPauseButton-wordmark" class="playPauseLabel" id="playPauseLabel" />
      </div>
      <div class="playPauseContainer">
        <div class="time" id="timeLabel-wordmark">0 s</div>
      </div>
    </div>
  </div>
</div>
createControlFunctions()
During the initialization of a driver, the following function gets called:
createControlFunctions() { ... }
This function is reponsible for linking the driver directly to the UI in your dom.
Styling the Driver
The driver also requires its own CSS. The standard export looks like this:
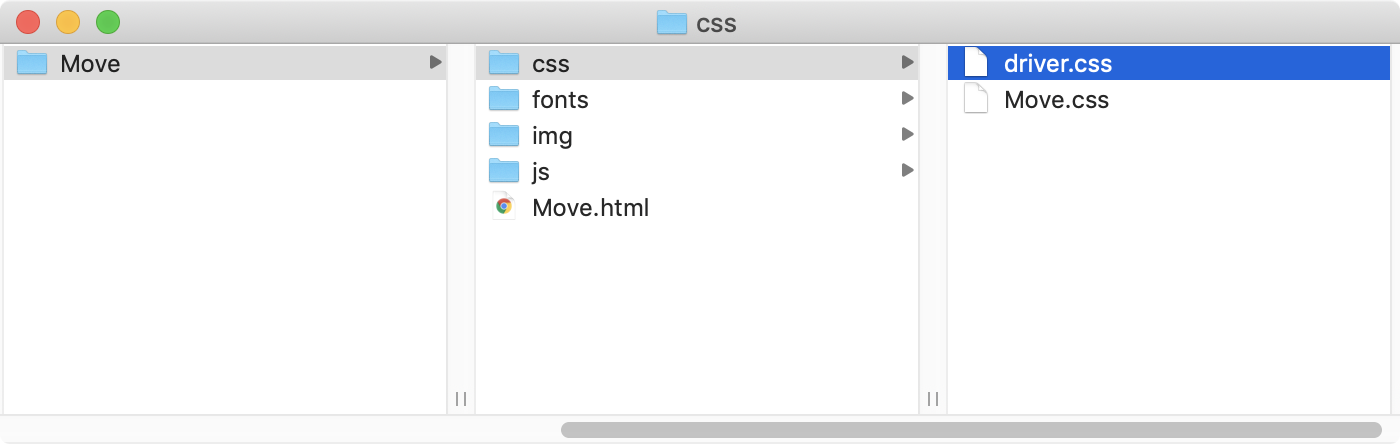
Have a look at the code for Driver.css
Triggering Events
You can trigger events to occur when animations finish by overriding or re-writing the createOnFinishCallback() function. This works for both the driver and player classes.
createOnFinishCallback()
This method currently looks like the following:
createOnFinishCallback() {
  if (this.timingAnimation == null) {
    return
  }
  this.timingAnimation.onfinish = () => {
    if (this.loop == true) {
      this.currentTime = 0
    } else {
      this.stop()
    }
  }
}
To add your own function call to be triggered when an animation ends.
() => {
  if (this.loop == true) {
    this.currentTime = 0
  } else {
    this.stop()
    triggerMyMethodHere()
  }
}
This callback creation function gets executed at the end of the player’s constructor.
The callback actually tracks the animation attached to the timer because its duration represents the entire duration of the set of animantions laced throughout svgs and other elements in your timeline
Replacing the Driver
By default, the page you export from Flow uses a driver. Here are a few simple steps to remove and replace it with a player.
Driver.js Code
This is the code for the Move timeline:
<script type="text/javascript">
  document.driverMove = new Driver(Move, 'loopButton-move', 'playPauseButton-move', 'slider-move', 'timeLabel-move', 'timer-move')
  document.driverMove.pause()
  document.driverMove.currentTime = 0
  document.addEventListener('keyup', function (event) {
    if (event.defaultPrevented) {
      return;
    }

    var key = event.key || event.keyCode;

    if (key === 'Space' || key === " " || key === 32) {
      let button = document.driverMove.playPauseButton
      button.checked = !button.checked
      document.driverMove.togglePlayback()
      }
  });
</script>
Replace the above with…
<script src="js/player.js"></script>
<script type="text/javascript">
  document.playerMove = new Player(Timeline, 'timer-move', true, 0)
  document.playerMove.pause()
  document.playerMove.currentTime = 0
  document.playerMove.play()
</script>
Driver UI Code
Remove the driver UI by deleting the playback div:
<div class="playback">
  ...
</div>
Driver Files
You can also delete:
js > driver.jscss > driver.css
Driving Animations
To hook up your animations to user input, sliders, or events, simply bind whatever it is you’re tracking to the currentTime of the animation.
For example, the standard driver binds the animation to the slider like so:
this.slider.oninput = () => {
  this.pause()

  var newTime = this.slider.value * this.duration
  this.setAnimationTimeLabels(newTime)

  var newTime = Math.min(newTime, this.duration - 1)
  this.currentTime = newTime
}
Wham!
Multiple Animations
To have multiple animations on a page requires every player – or driver – to have a unique timer.
The current HTML template exports each timer with its own unique id, which is defined by the name of the timeline you’re exporting.
For example, in the Move timeline from the intro.flow file, the timer id looks like this:
<div id="timer-move"></div>
Unless…
…you want multiple animations all driven by the same timer, or driver UI.
Multiple Animation Example
Here is an example that we cooked up for you.
The following download contains a Sketch and a Flow file as well as a modified export from Flow, which has 4 animations running independently using players instead of drivers.
Remember to hit up our Slack Channel if you have any questions.