
The Value of Anchor Point Rotations
Anchor point rotations are key in this simple tutorial, showing you how to lovingly animate the Vimeo logo.
First…
Layout in Sketch.
On the Vimeo page in icons.sketch, you’ll see two artboards. On the left is the start state and the right is the final state.
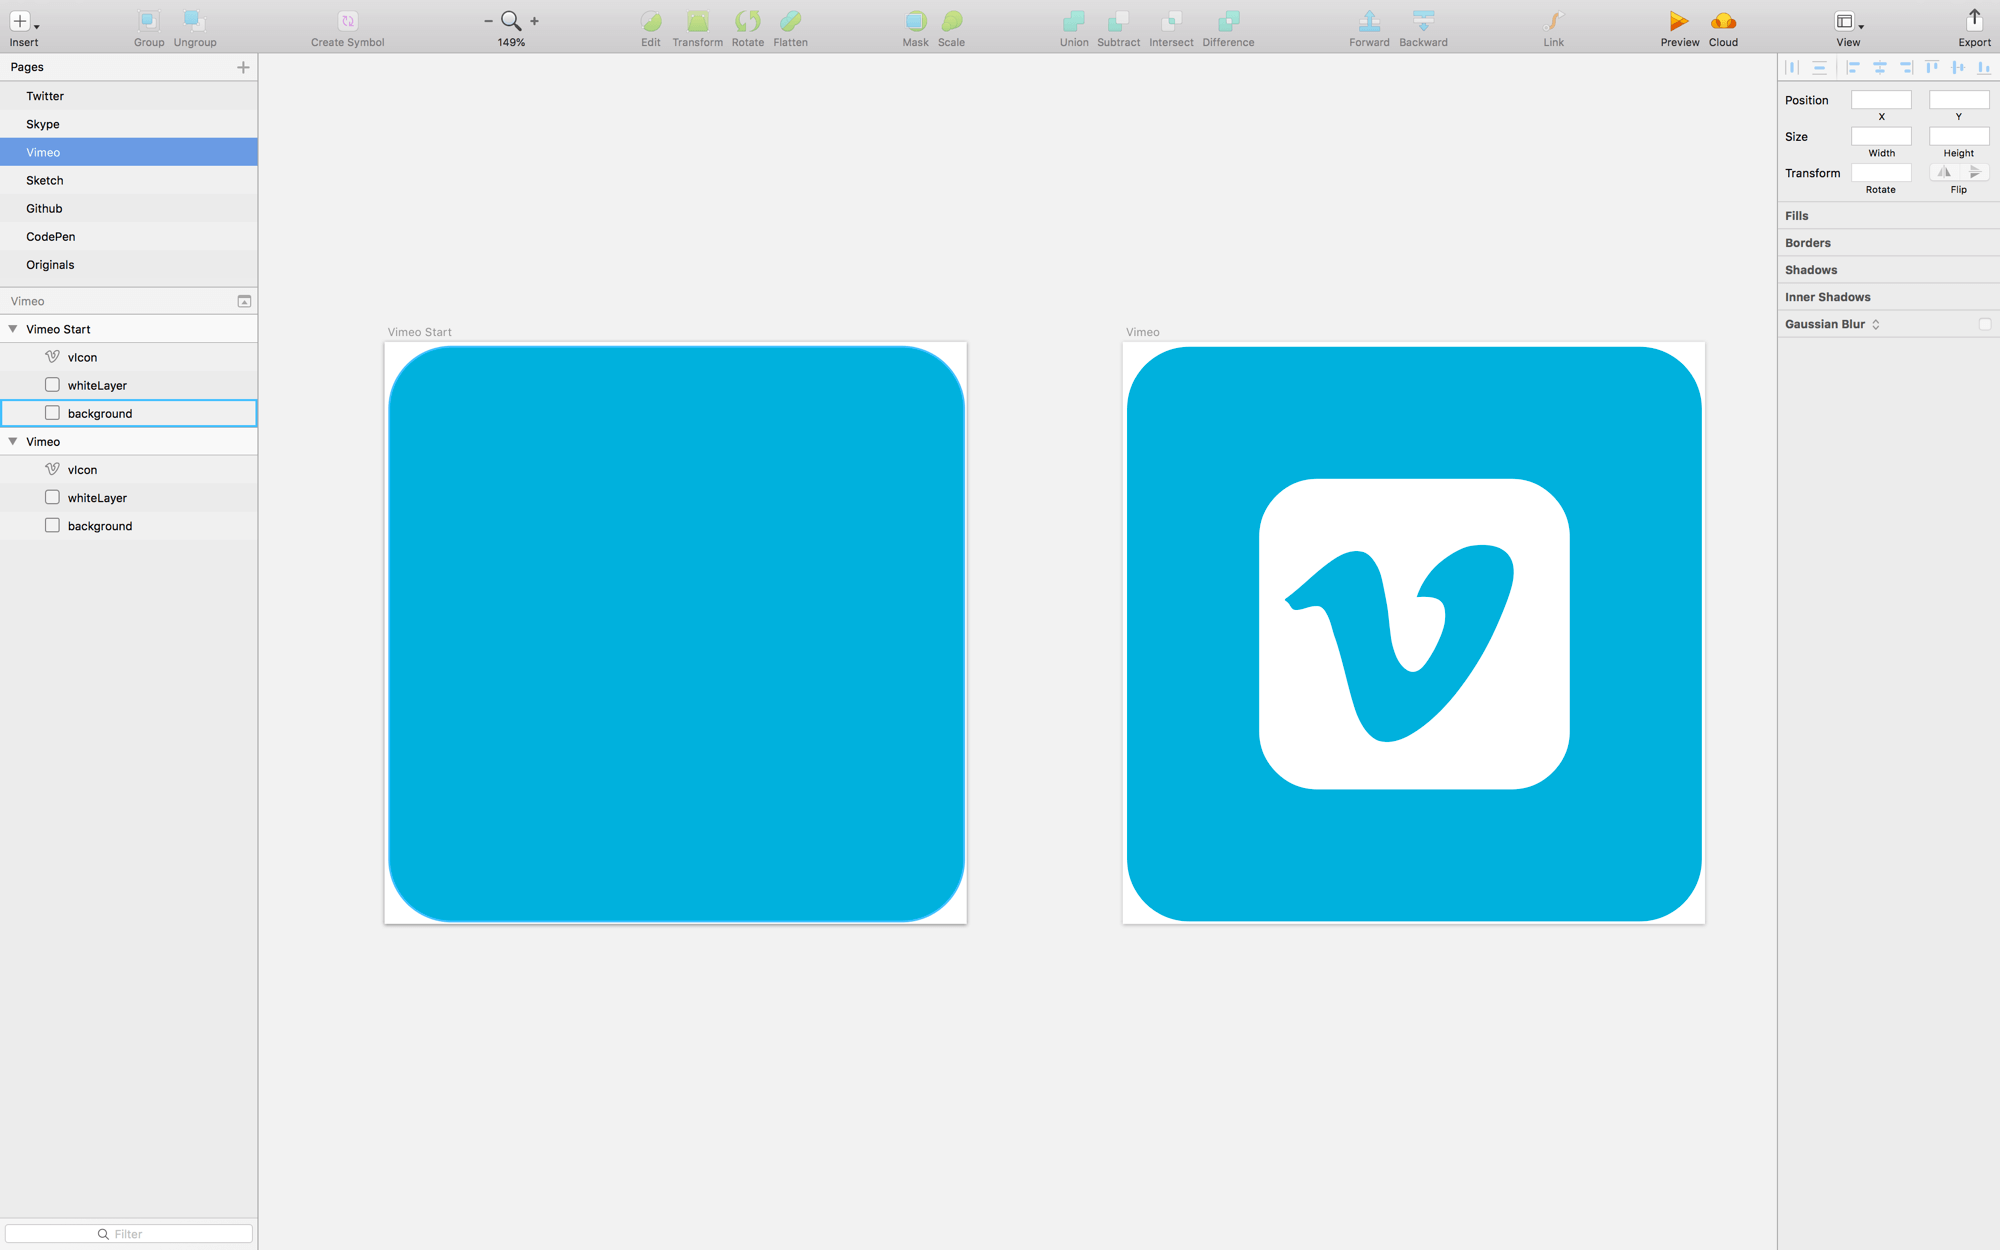
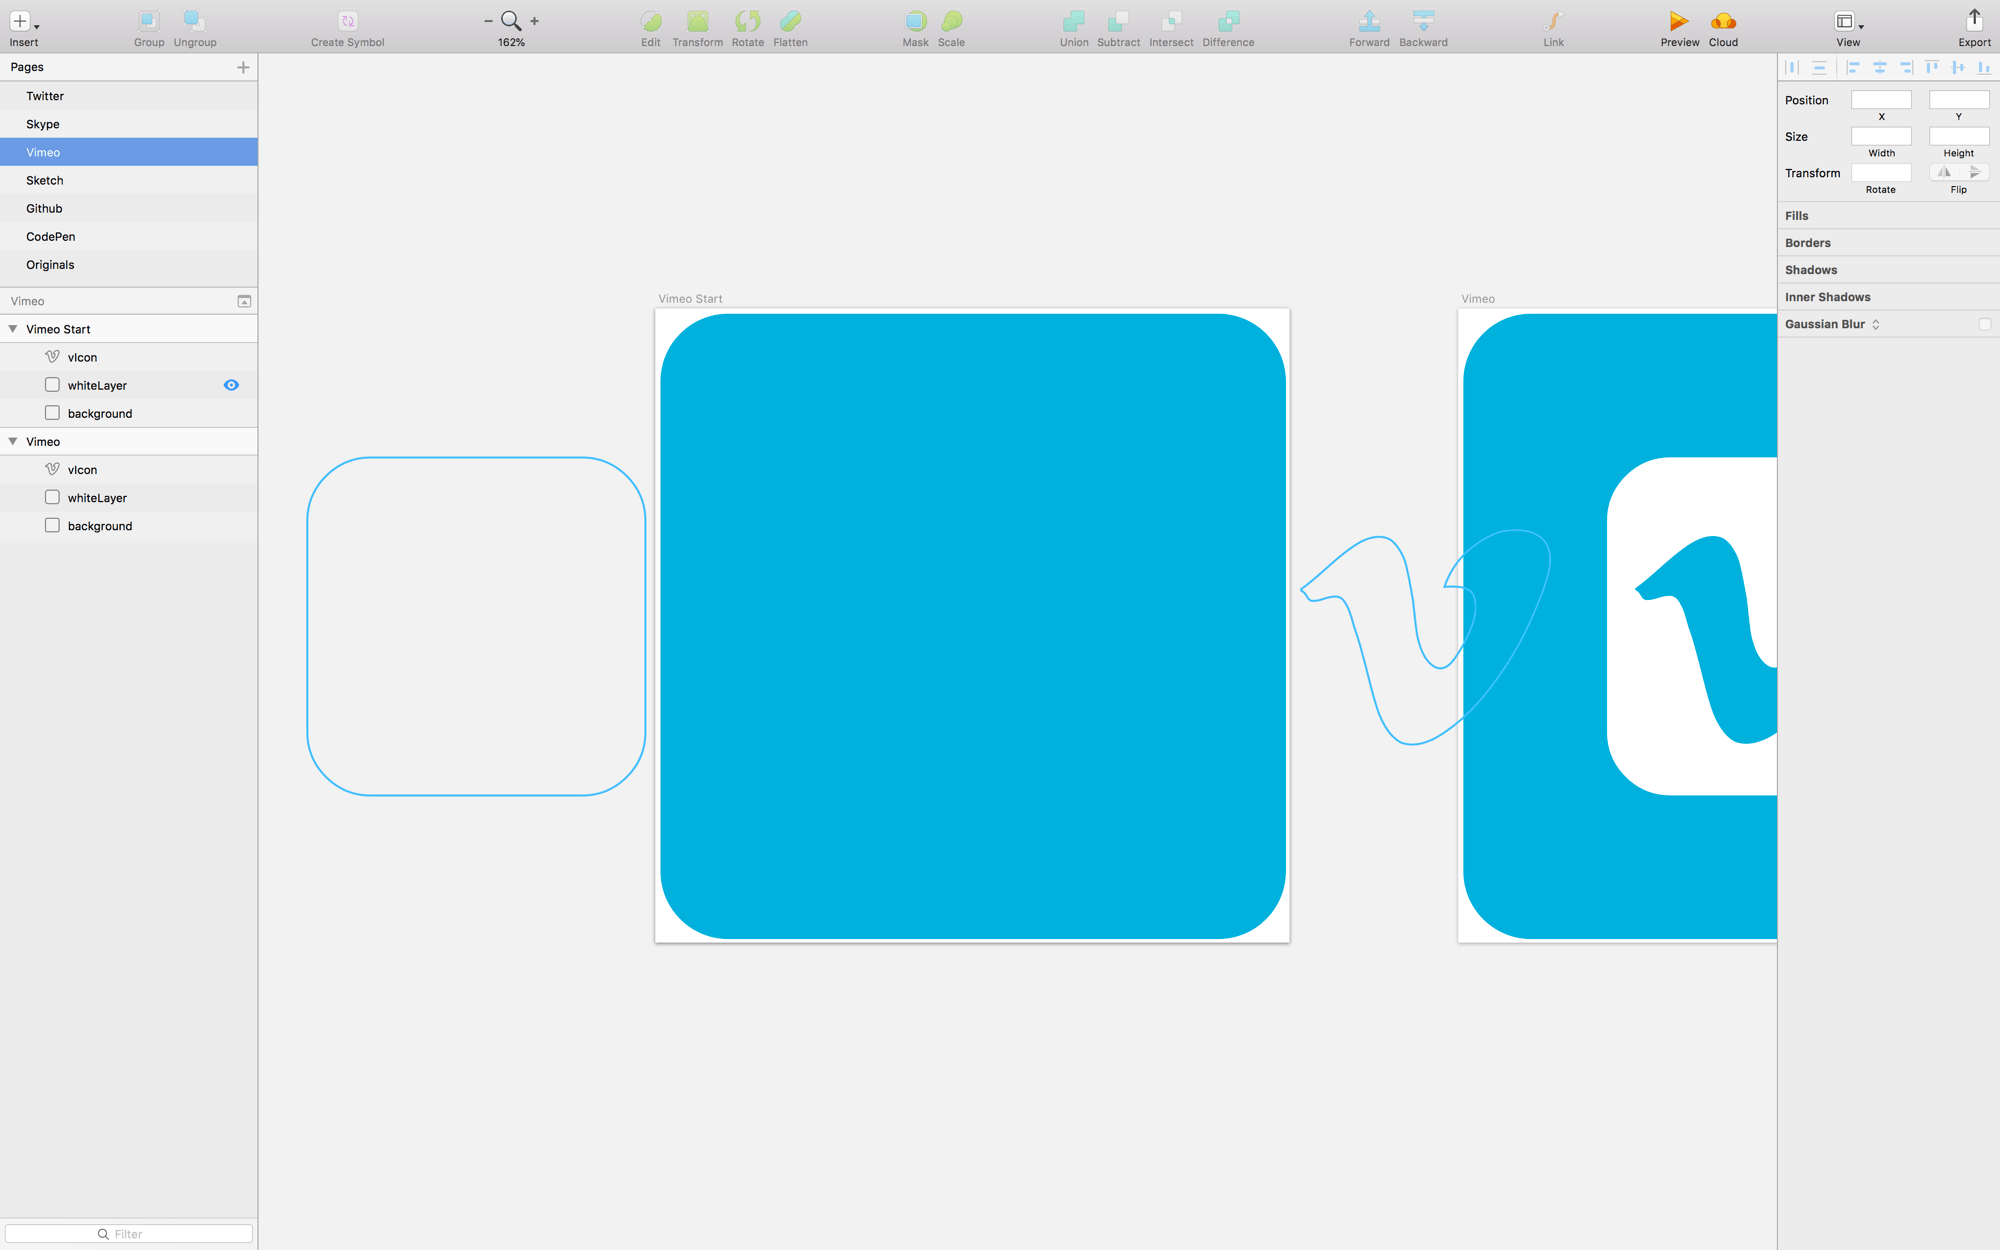
It looks like nothing is on the start state, which is true in a way. The shapes for the logo are both off of the artboard, so they look hidden.
Create a Flow File
Create a Flow file with the start state at t0 and the end state at t1.
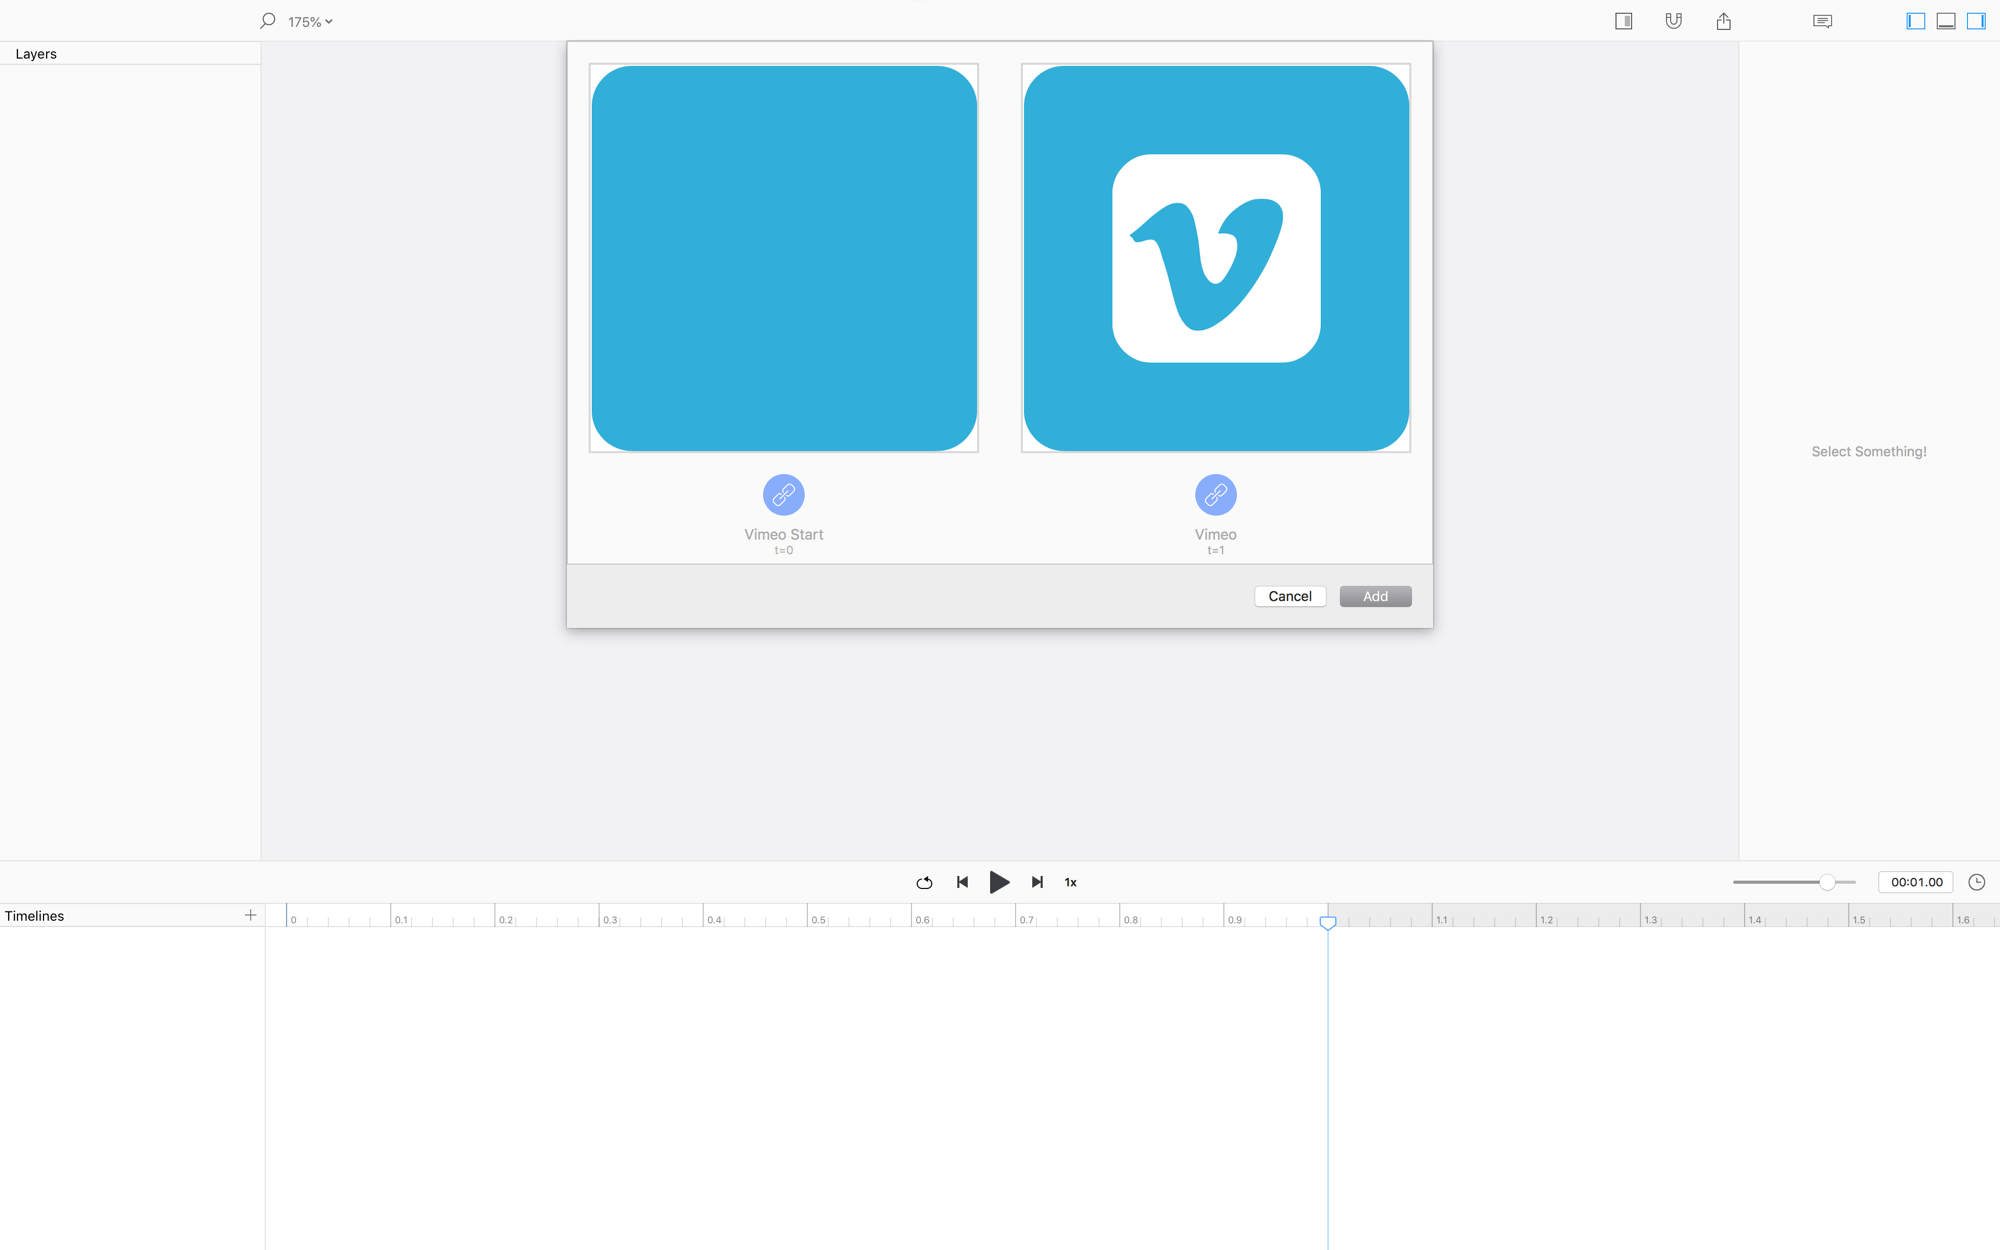
NOW HIT PLAY!
Relative Mode
When you change a value or move a layer, Flow automatically creates keyvalues along the timeline. But, let’s say you just want to change ALL the values of a property throughout the entire animation… You can do this by toggling on Relative Mode.
Animate!
To fancy-up this animation, we’re going to change the anchor points of two layers and edit the timing of their rotations and motion.
The whiteLayer
- Turn on relative mode
- Select the
whiteLayerand set it’s anchor point to the bottom-right (we call this position{1, 1}) - Turn off relative mode
- Move the playhead to
0.25sx-position to-5 - Drag the last
xproperty keyvalue to0.75 - Move the playhead to
0.5sset the rotation property to45 - Change the both the easing curves of the x property track to
Ease Out
That’s all for this layer.
Are you thinking: "What's with step 4???" Well, it puts just the ever-so-slight pause in the lateral motion of the white layer, giving a nice subtle effect that highlights the rotation animation.
The vIcon
- Turn on relative mode
- Select the
vIconand set it’s anchor point to the bottom-middle (we call this position{0.5, 1}) - Turn off relative mode
- Move the playhead to
0sand change the rotation value to-45 - Move the first keyvalue of the rotation track to
0.15 - Move the last keyvalue of the rotation track to
0.85

NOW HIT PLAY!
❤︎