
iOS Launch Screen Animation
In this tutorial we will create an iOS launch screen animation with Flow and integrate it into an existing Xcode project.
First…
The Files
There are two main components to this project: a) a design file we’ll use to generate an iOS app, b) a flow file with an animation that we’ll use as the launch animation.
The Travel App
The file we’ll work with is a concept layout for a Travel app. In Sketch it looks like this:
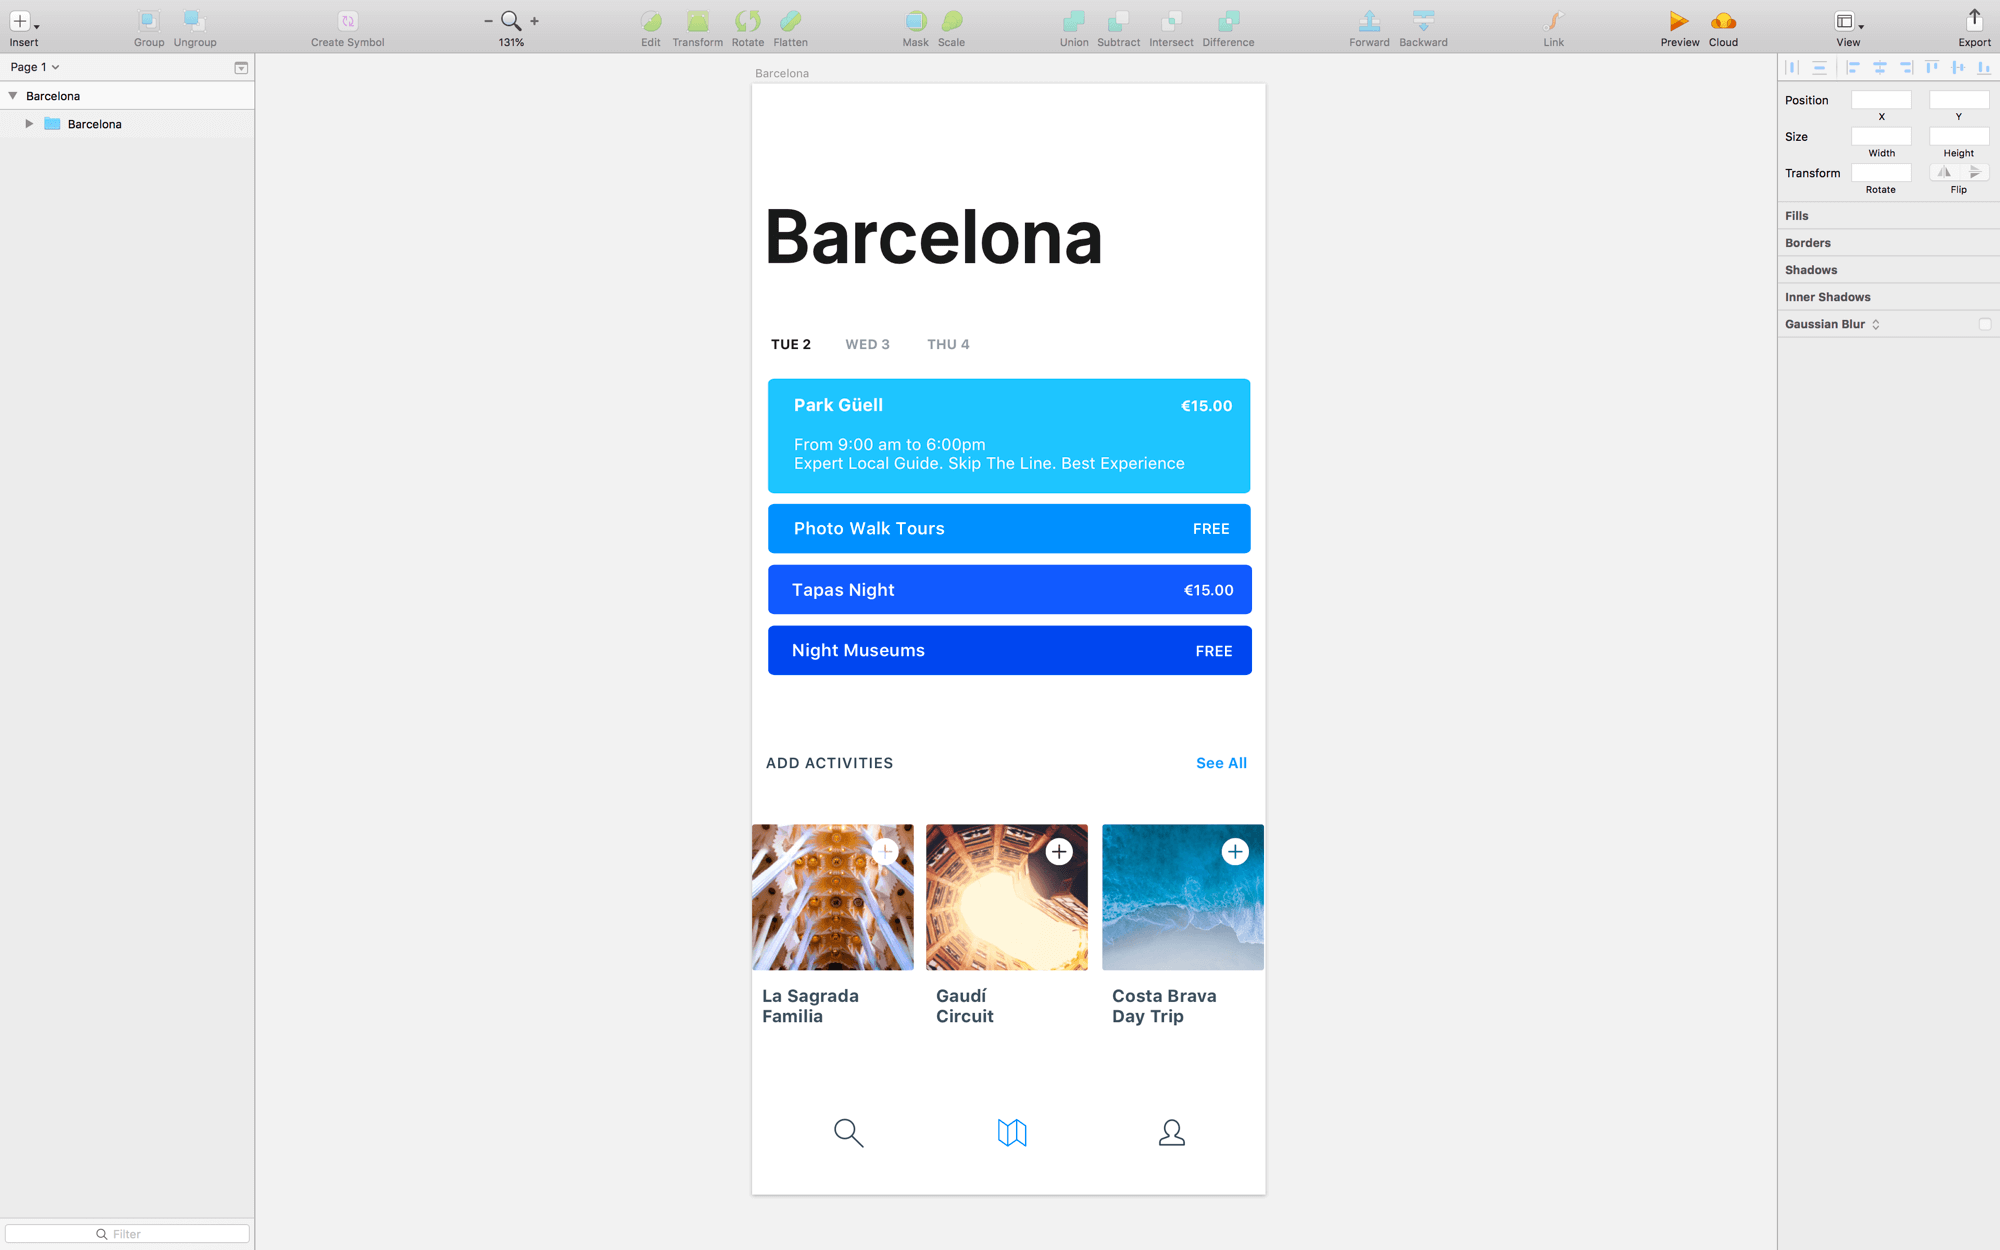
We’ll use this to generate an Xcode project that will be our “mockup” application.
The Wordmark
The other file we’ll use is a .flow file with a simple animation of the Flow wordmark.
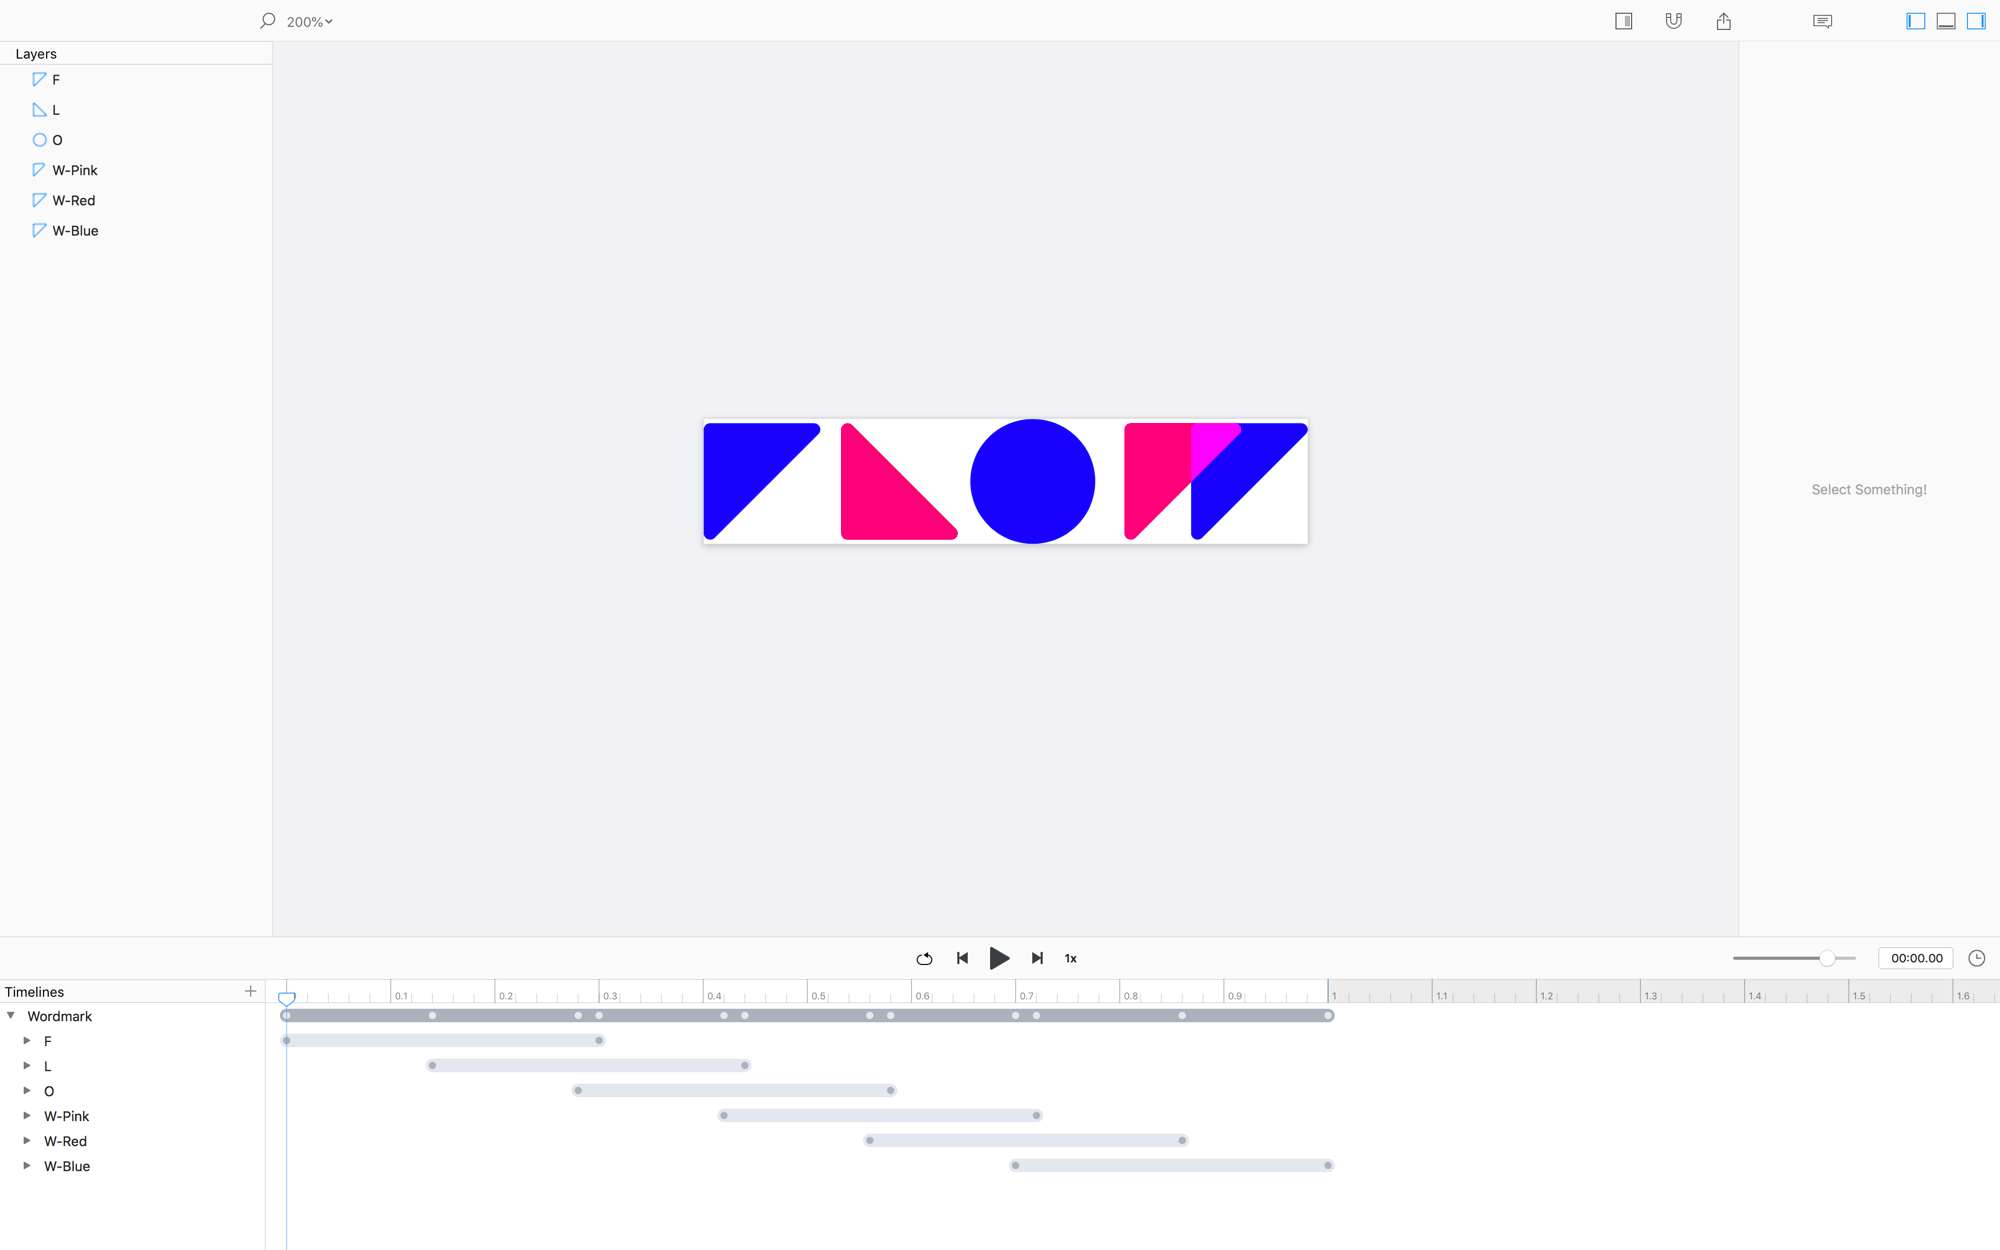
We’ll dive into why this animation works in the next section.
Other Files
In the .zip you just downloaded (link above if you missed it), there are a few other files:
- wordmark.sketch - the file that we used to generate the animation.
- BarcelonaLayout.flow – a non-animating flow file that we’ll use to generate an Xcode project.
- Barcelona - A folder containing the base Xcode project (for reference).
- Wordmark - A folder containing the Xcode project with our animation (for reference).
- LaunchDefault.mov - A snippet of the default behaviour (i.e. a quick fade to the first view of the app).
- Wordmark.mov – A snippet of what the loading animation looks like, played back in Flow.
Create the Travel App Xcode Project
Let’s create the Xcode project that we’ll use as our existing app, into which we will add a launch animation.
Generate the Xcode Project
- Open
BarcelonaLayout.flow - Press
⌘⬆︎Eto open the Export dialog window - Click
Configurenext to the iOS option - Rename the folder and project name fields to
Barcelona, then hit save - Select the iOS option, and the Timeline
- Select a directory into which you want to save your project
- Hit Export!
- Open the xcode project and run the iPhone X simulator
The LaunchScreen
Let’s have a look at how the Xcode launch screen is set up.
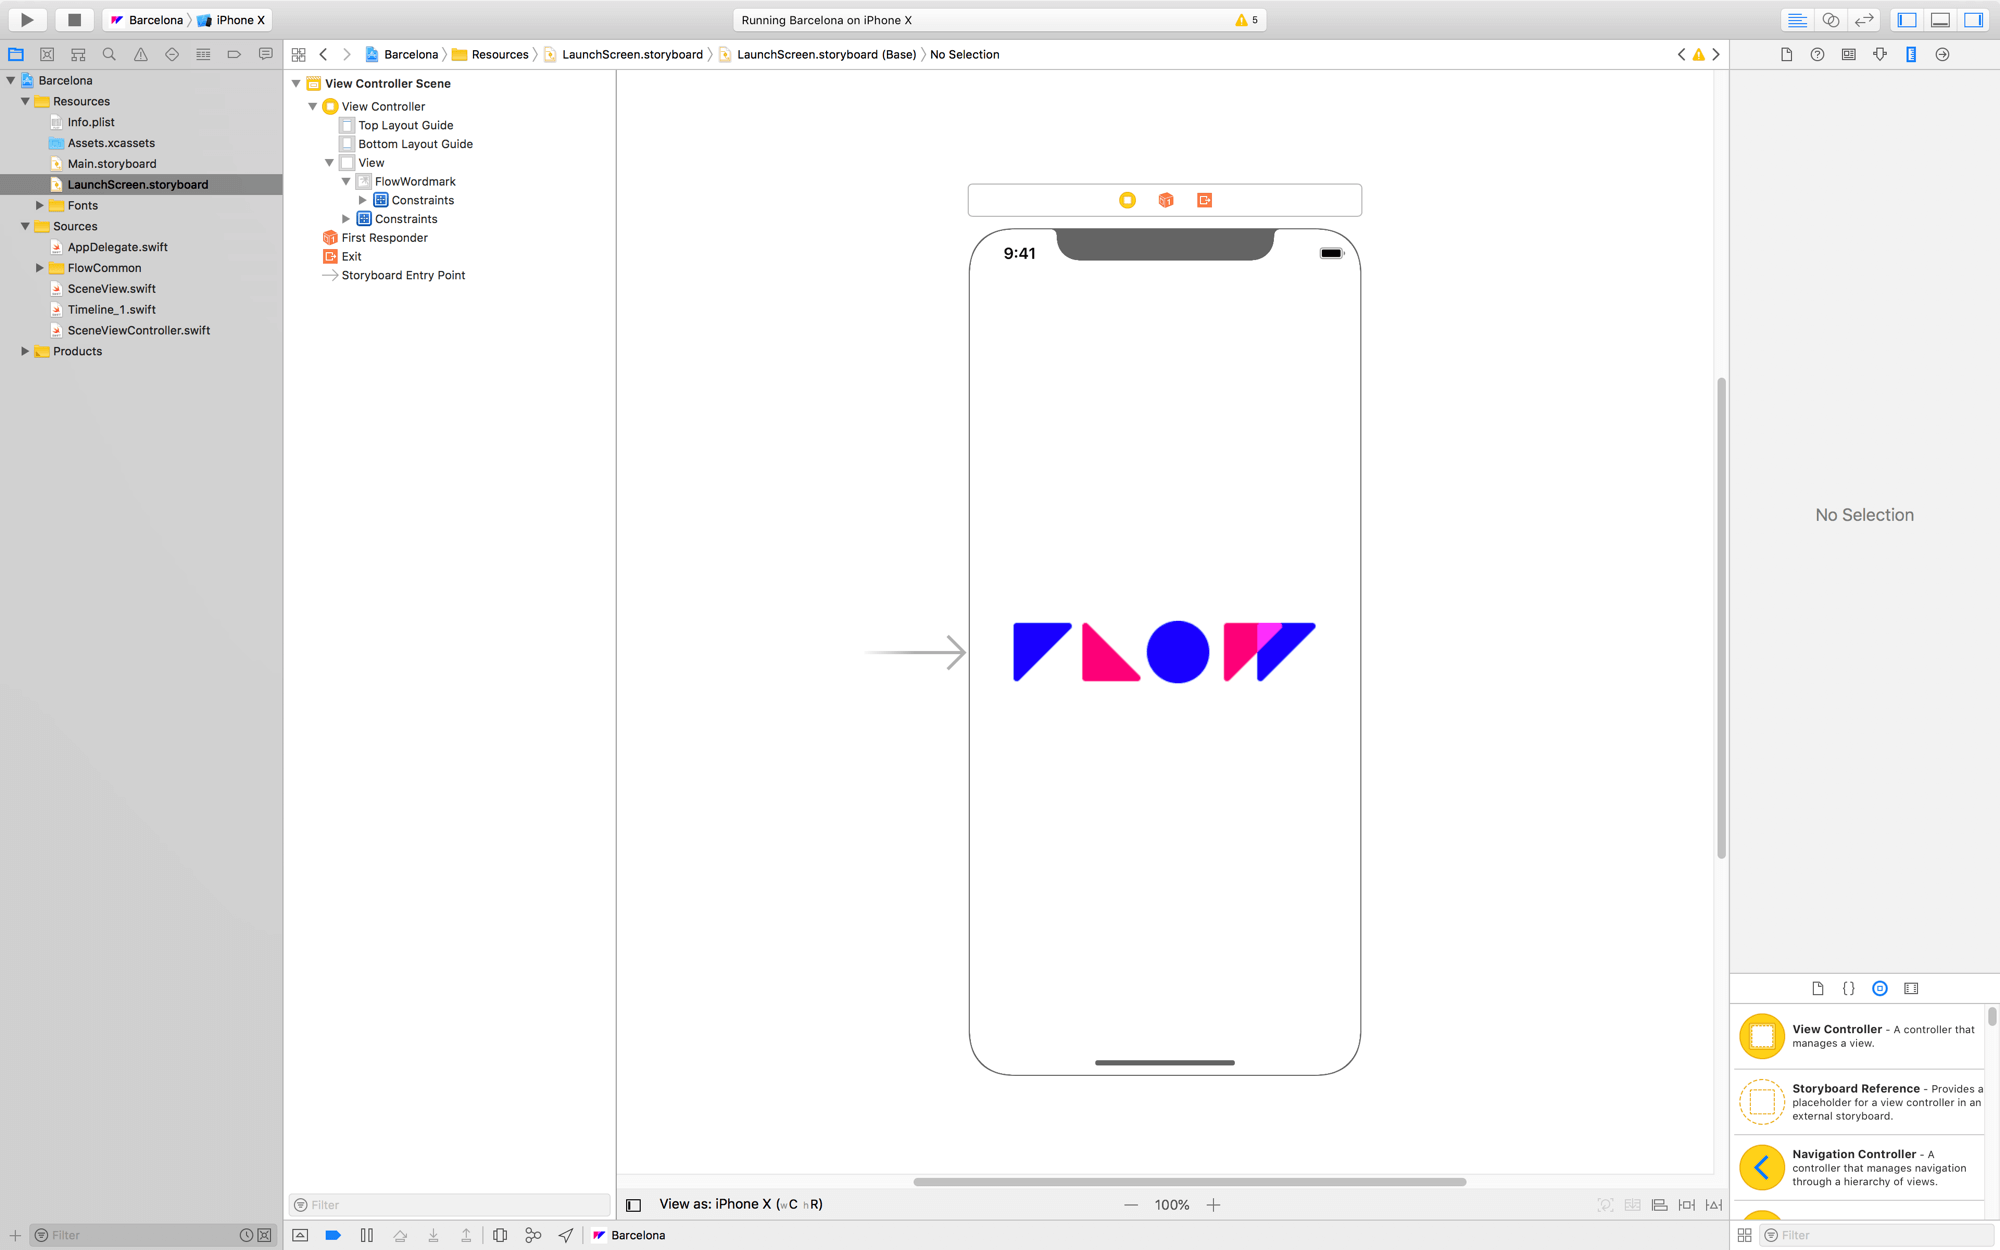
- In Xcode, navigate to and select LaunchScreen.storyboard
- The storyboard has a Flow logo in the middle of the screen
- Select the logo
- In the properties panel, tap the Identity Inspector and you’ll see that the logo is a
UIImageView - Tap the Attributes Inspector and you’ll see that the image used is called
FlowWordmark - Tap the Size Inspector and you’ll see that the dimensions of the image are
290x60
The Wordmark Asset
Let’s dig into where you can find the actual asset.
- Navigate to the
Assets.xcassets - Selecte the wordmark asset
- Tap on the asset itself to select it
- Right-click and select
Show In Finder - Open the
wordmark.pdffile
The wordmark is just a pdf. You’ll notice that the wordmark.sketch file has an artboard that is the exact same dimensions as the pdf you just opened. We’ll use this fact to animate the launch screen.
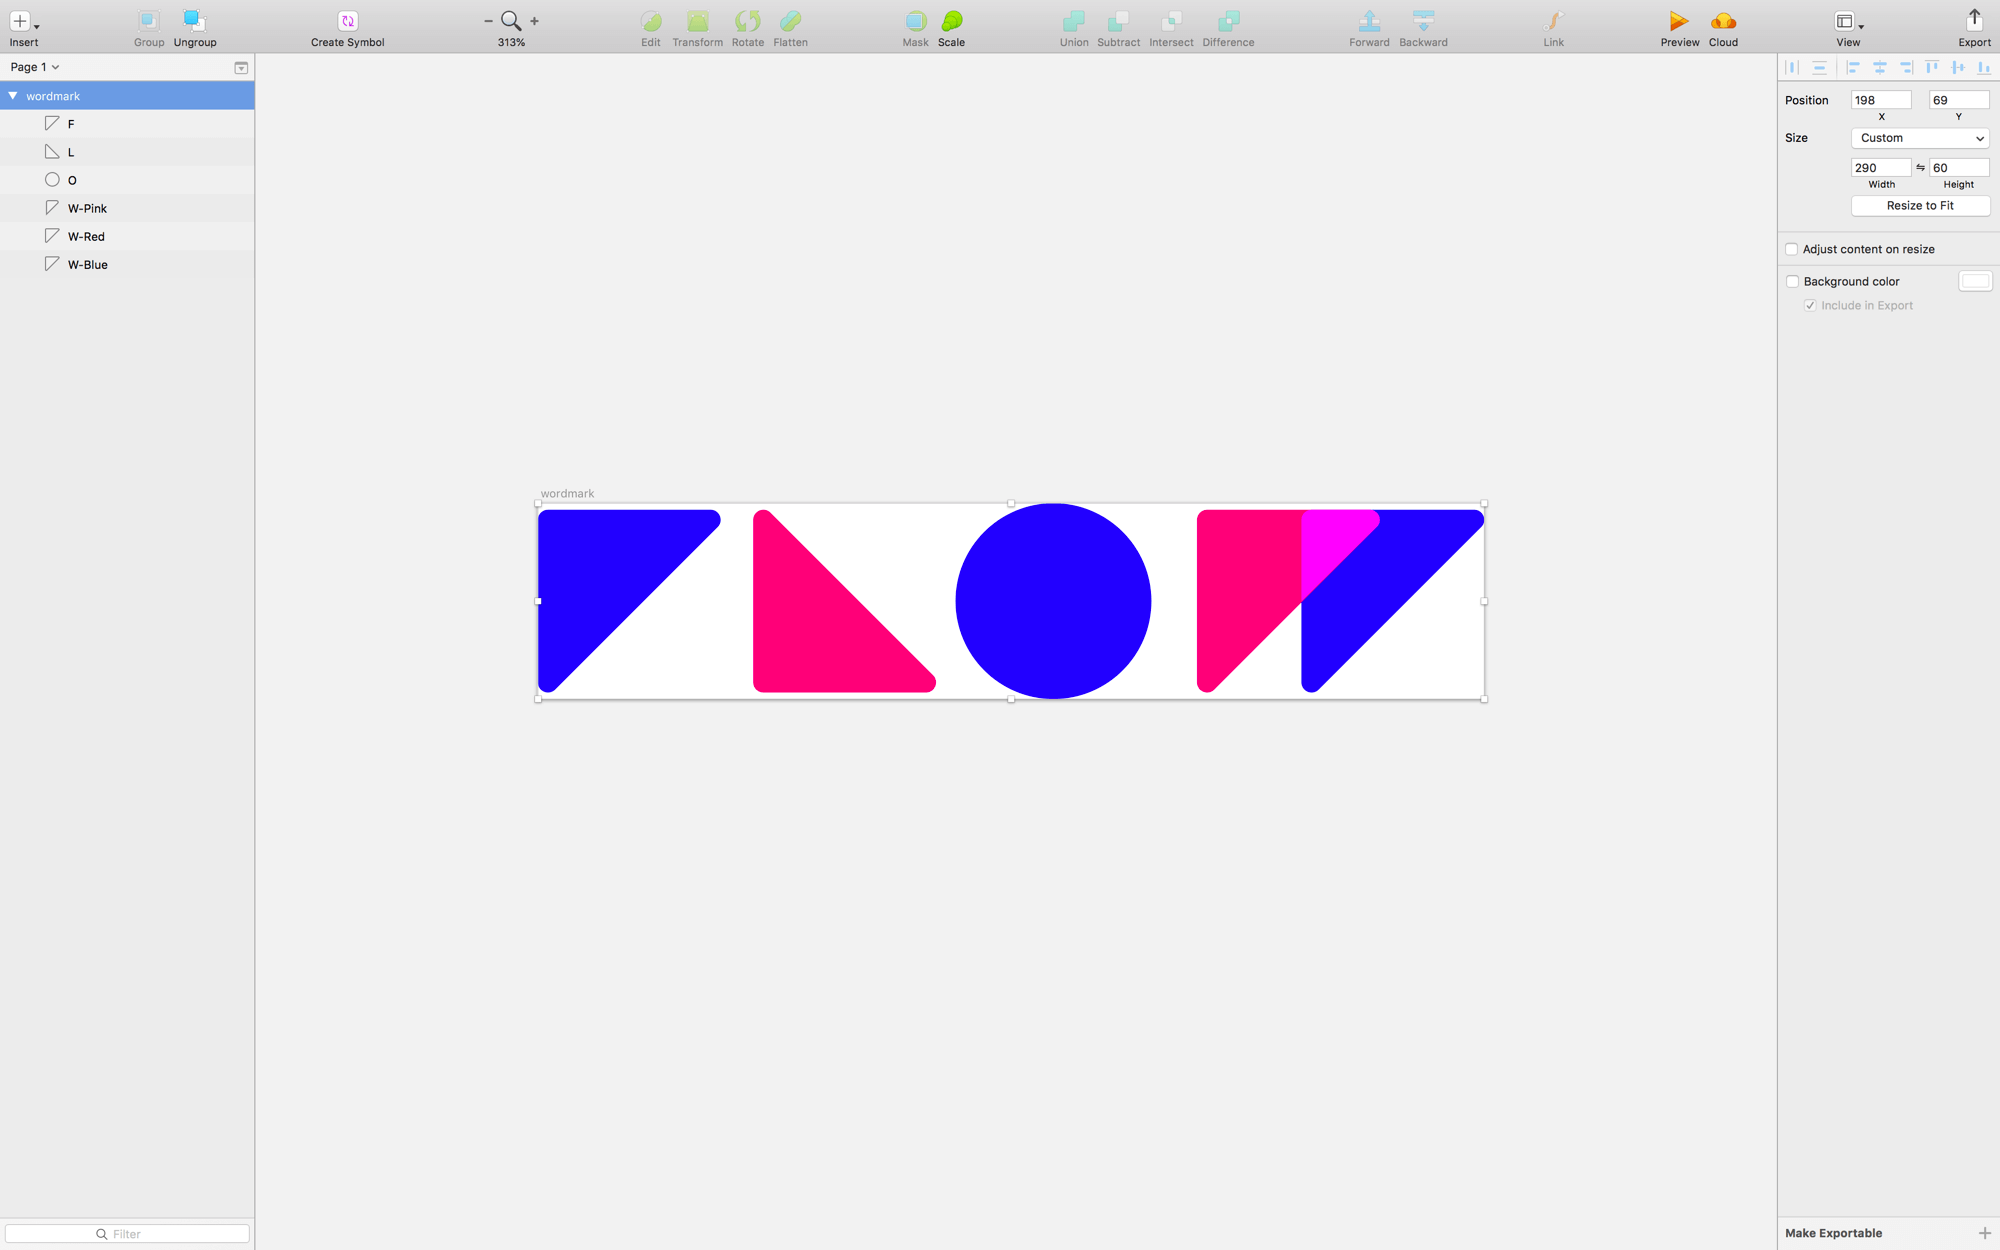
When we were working on our export template, we generated the wordmark asset using the wordmark.sketch folder and included it in the launch screen of the exported xcode project.
LaunchScreen Explained
The launch screen is a single flat / static layout. In Xcode / iOS you CANNOT animate the launch screen – in fact, you can’t even add any custom views to that storyboard.
When your app launches, it will fade from the launch screen to the first view of your app.
The trick to creating a launch screen animation is:
The animation's start state needs to be EXACTLY the same layout as the launch screen.
Create the Launch Animation
For this tutorial we’re a bit lucky – Flow already exports projects that have a launch screen with an asset – all we have to do is create the aniamation.
- Open
wordmark.flow - Press
⌘⬆︎Eto open the Export dialog window - Click
Configurenext to the iOS option - Rename the folder and project name fields to
Wordmark, then hit save - Select the iOS option, and the Timeline
- Select a directory into which you want to save your project
- Hit Export!
- Open the xcode project and run the iPhone X simulato
- Tap the simulator to see the animation run
The sketch file was designed so that it's starting position is identical to the exported launch screen. This is why it looks like we're animating the launch screen.
Automate the Animation
We want the animation to automatically trigger when the app launches.
- In the Xcode project, navigate to
SceneViewController.swift - Add the following code…
Now the animation will trigger as soon as the view appears on the screen.
public override func viewDidAppear(_ animated: Bool) {
    timeline.animate()
}
HIT PLAY!
Integrate
Alright, it’s time to work some magic. The next few steps will integrate code from the wordmark.xcodeproj into the barcelona.xcodeproj, and at the end we’ll have added a launch animation to an iOS app!
Rename: Wordmark
First, we need to rename things otherwise we’ll get some decent clashes in Xcode. Do the following in wordmark.xcodeproj:
- Rename the file
SceneViewController.swifttoWordmarkViewController.swift - In WordmarkViewController.swift select the name of the class SceneViewController then right-click and choose
Refactor > Rename - Change
SceneViewControllertoWordmarkViewController - Rename the file
SceneView.swifttoWordmarkView.swift - In WordmarkView.swift select SceneView then right-click and choose
Refactor > Rename - Change
SceneViewtoWordmarkView
By default, Flow exports the main scene of an animation as a SceneView… Since we have 2 projects exported from Flow they will both have the same class name. So, without the steps we just completed, Xcode would yell at us if we tried to merge the two projects.
If Xcode throws an error while you're refactoring, try quitting Xcode.
Rename: Barcelona
Next, we need to rename things in barcelona.xcodeproj:
- Rename the file
SceneViewController.swifttoBarcelonaViewController.swift - In
BarcelonaViewController.swiftselect the name of the classSceneViewControllerthen right-click and chooseRefactor > Rename - Change
SceneViewControllertoBarcelonaViewController - Rename the file
SceneView.swifttoBarcelonaView.swift - In
BarcelonaView.swiftselect the name of the classSceneViewthen right-click and chooseRefactor > Rename - Change
SceneViewtoBarcelonaView
We don’t need to rename this project, per se, but it’s always nice to have clean code.
Copy Files
Now, we drag the three main wordmark files into the barcelona project.
- In barcelona.xcodeproj add a new group to the project navigator called
Wordmark - Drag
WordmarkView.swift,WordmarkTimeline.swiftandWordmarkViewController.swiftinto the new group you created in the barcelona project
Hit Play to make sure that the barcelona project compiles
The Animation View Controller
To create our animation effect, we want our application to build a view controller that lives “in between” the LaunchScreen and our application’s primary view controller.
Create a new ViewController
We do this in Interface Builder.
For those of you lovely creatures who aren't experienced with Xcode, please watch the video below to see where all the fields and things in Xcode are located.
- Select
Main.storyboardfrom the project navigator. - From the Utilities panel (on the right), drag a new view controller instance onto the storyboard
- Select the view controller, then change it’s type to
WordmarkViewControllerin the identity inspector - Drag a new view from the utilities panel into the new view controller
- Change its size to
290x60 - Center the view to the controller
- Add constraints for fixed width and height
- Add constraints for centering vertically and horizontally
- Change the type of the view to
WordmarkView - Right-click on the view controller, then connect the
sceneoutlet to the view you just created - Drag the initial view controller arrow so that it points to the WordmarkViewController you just created
Trigger the Transition
The last step…
In the ViewDidAppear method, add a bit of code to make the whole method look like this…
public override func viewDidAppear(_ animated: Bool) {
    timeline.animate()
    DispatchQueue.main.asyncAfter(deadline: .now()+1) {
        self.showBarcelona()
    }
}
The DispatchQueue nonsense tells the application to run the transition method one second after the animation begins (i.e. .now() + 1)
HIT PLAY