Using Flow with iOS Gestures
In this tutorial you'll learn how to integrate 3 timelines from Flow into an iOS app and trigger each one using a gesture.
First…
And, if you want to jump straight to the end…
Intro
We’re starting this tutorial with a premade Flow file that has 3 timelines, each using the same starting shape.
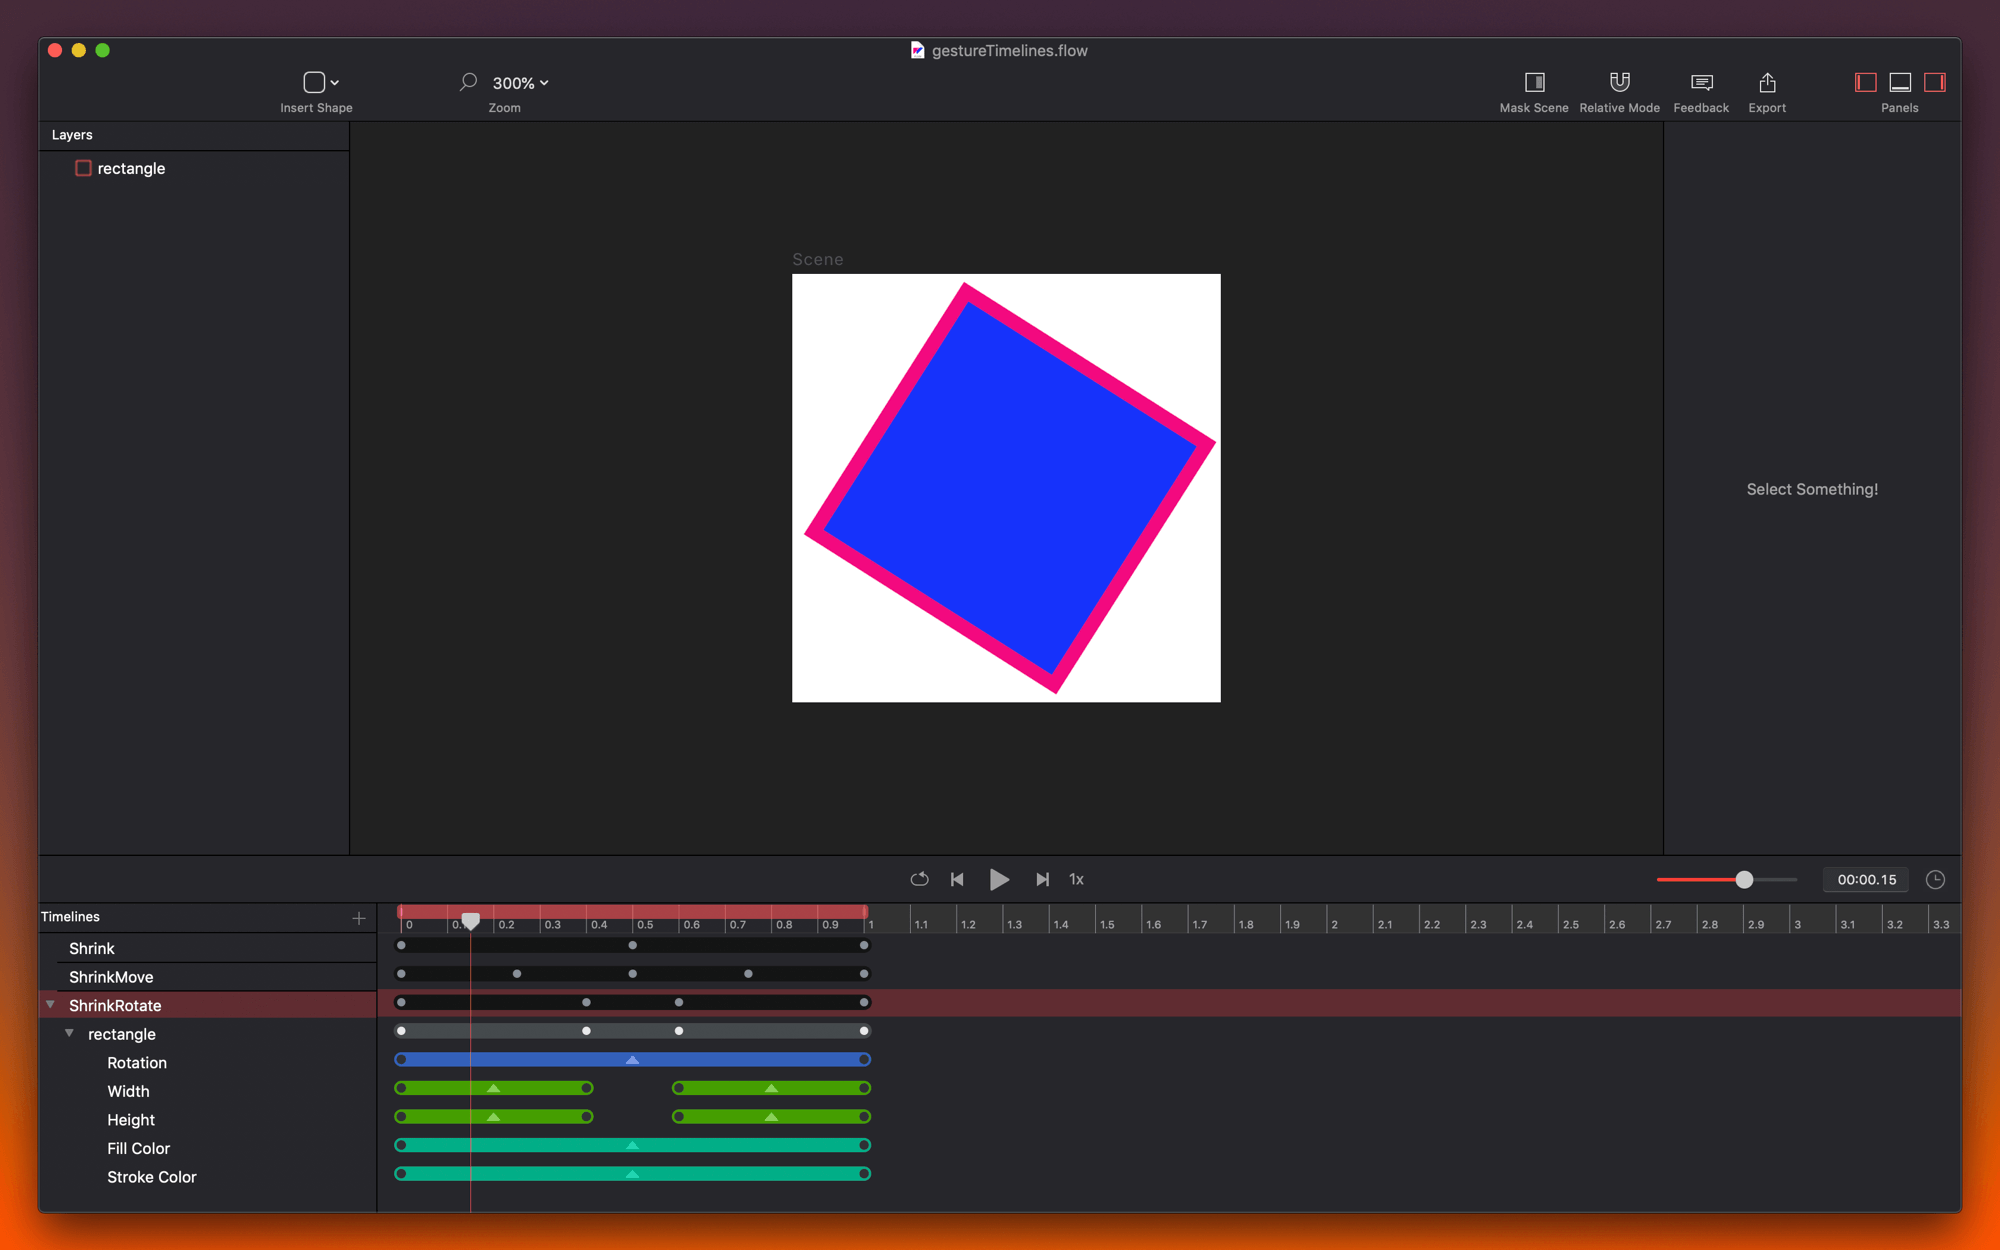
The idea with this tutorial is two-fold:
- To show you how to trigger timelines using gestures in iOS
- To show you that you can apply multiple timelines to the same starting view.
Let’s say you wanted two different effects for an icon, or a button, depending on how you interact with it… The second point above is the basis for applying different timelines to the same object.

Export Code
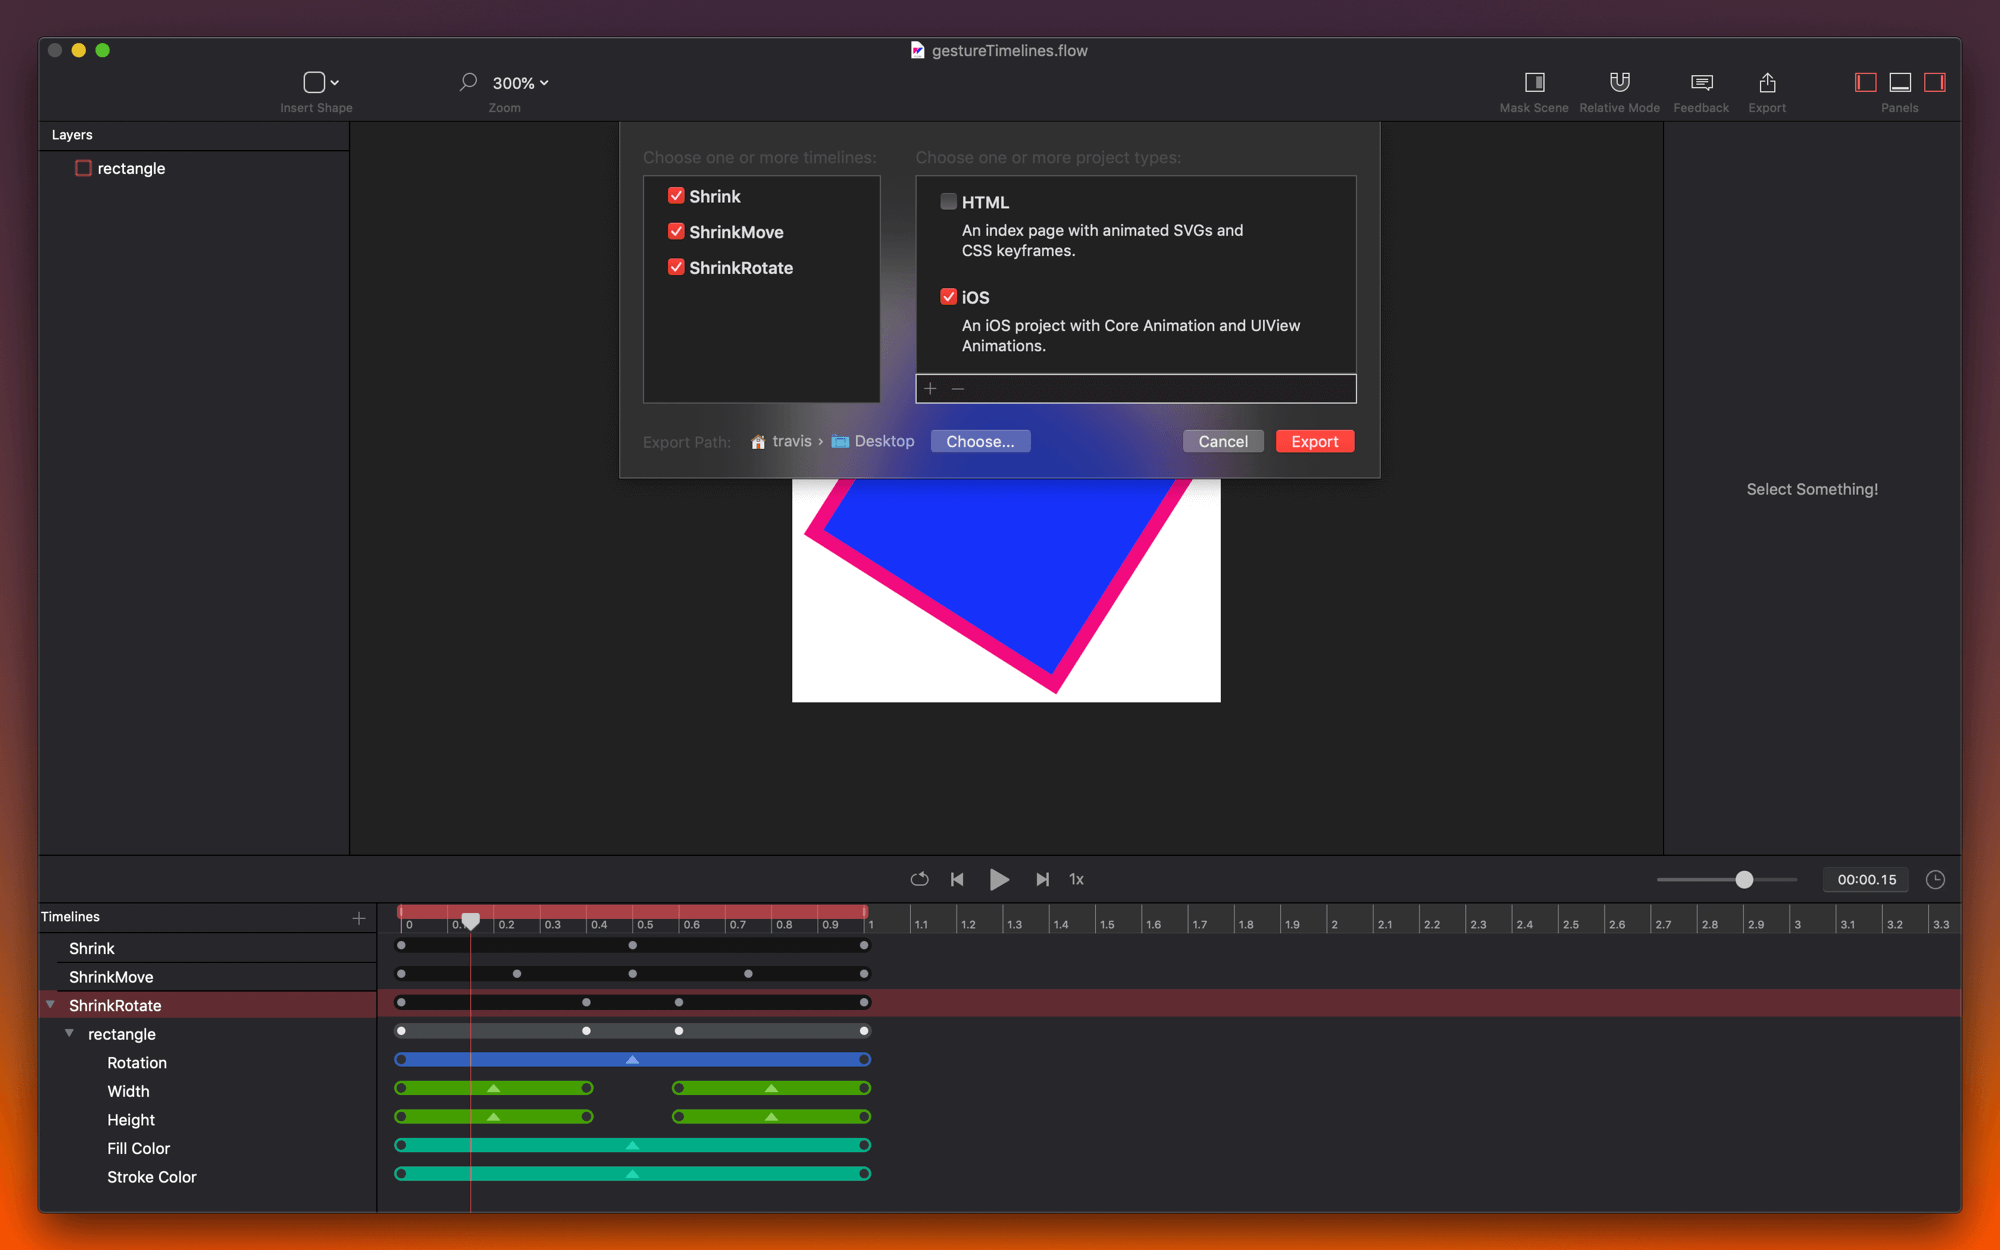
This will be the only touchpoint with Flow during this tutorial. With the gestureTimelines.flow file open.
- Press CMD+SHIFT+E to open the Export Code window.
- Select all three timelines
- Select iOS (only) as a the project type
- Hit Export
Xcode
From now on we’re going to be working in Xcode.
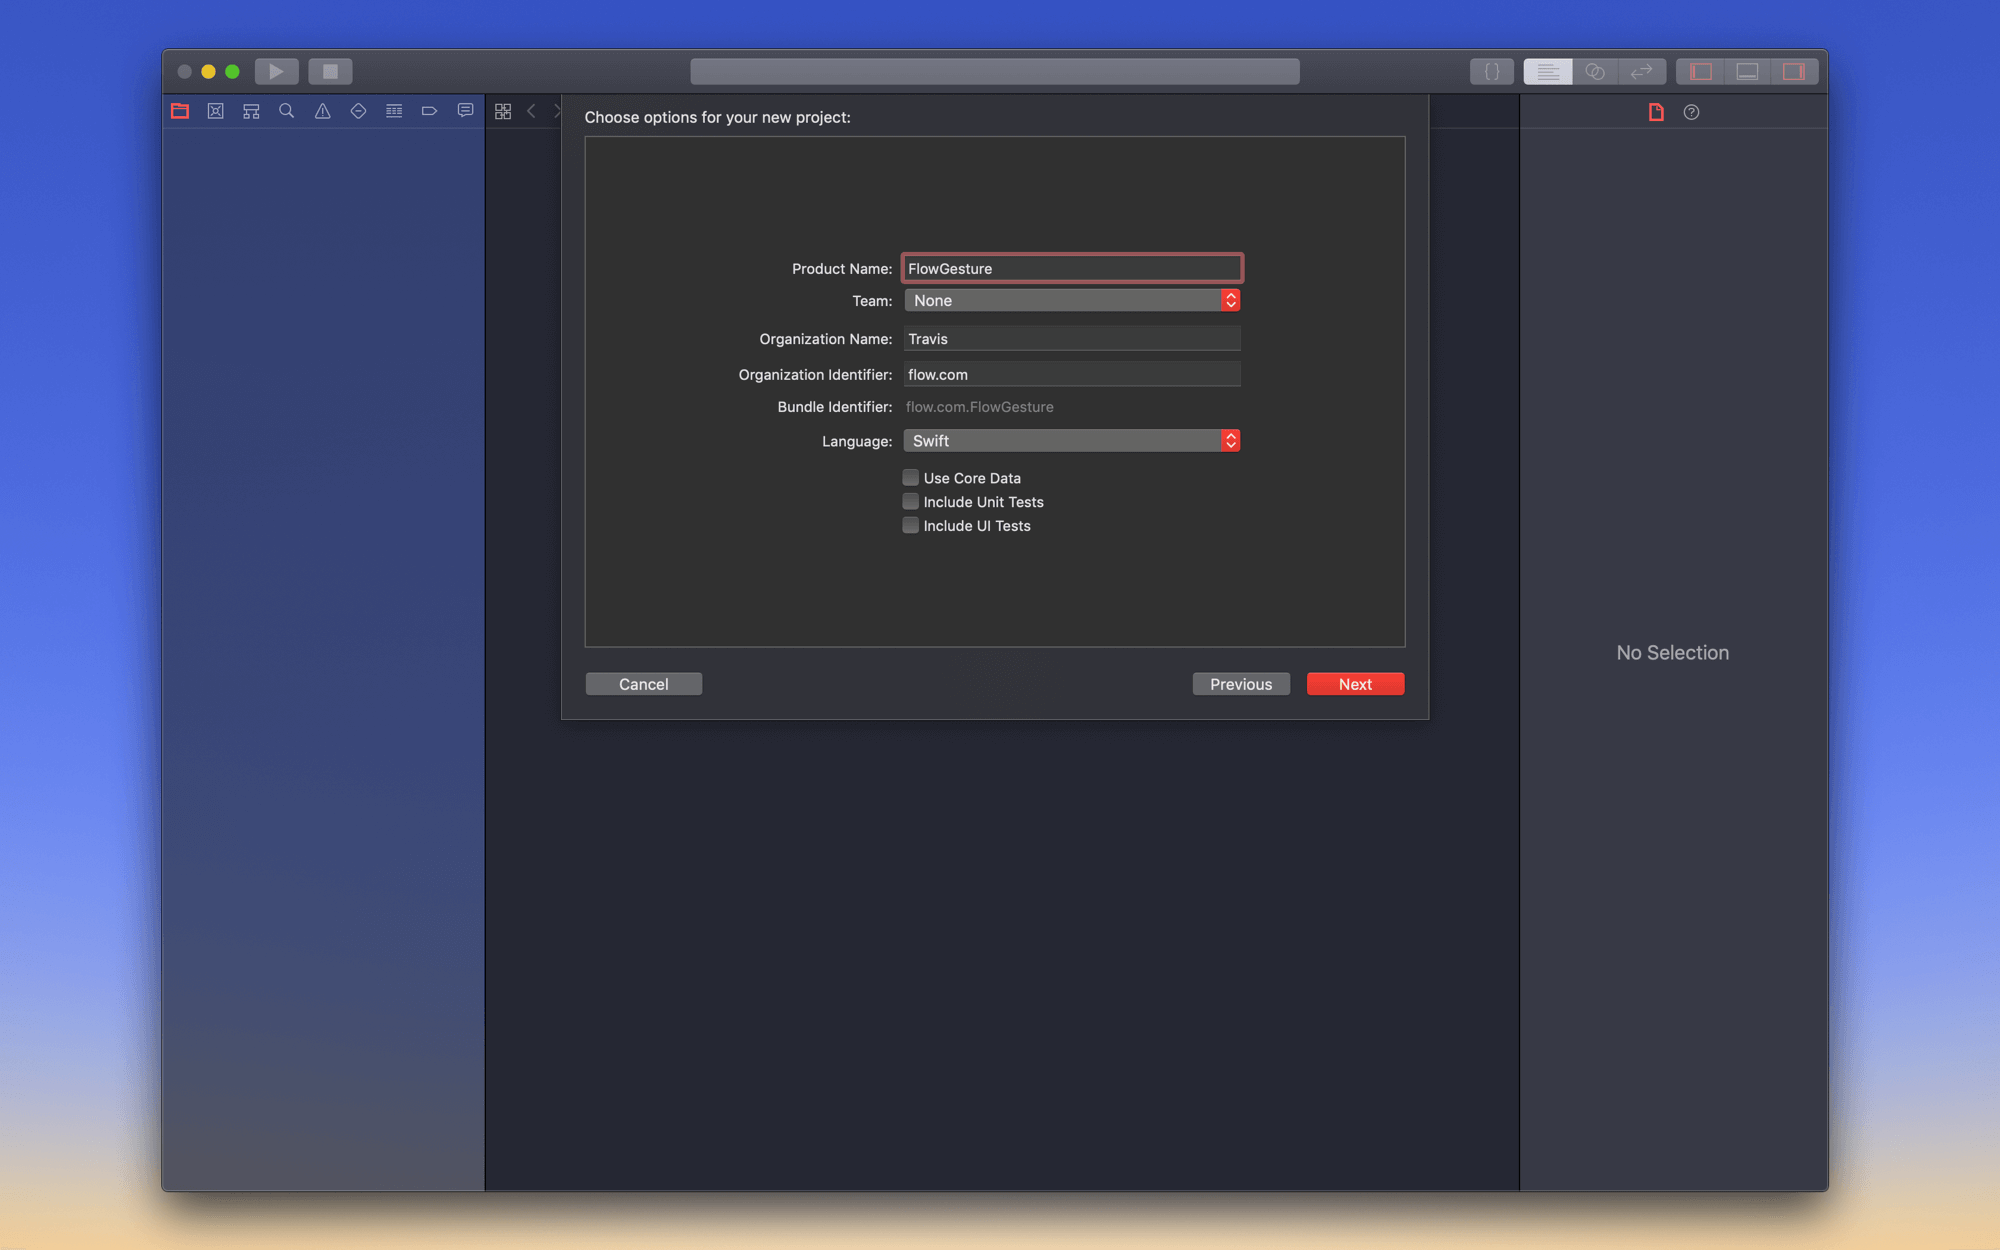
Create A Project
We’re going to be creating a new iOS project, instead of modifying an exported one.
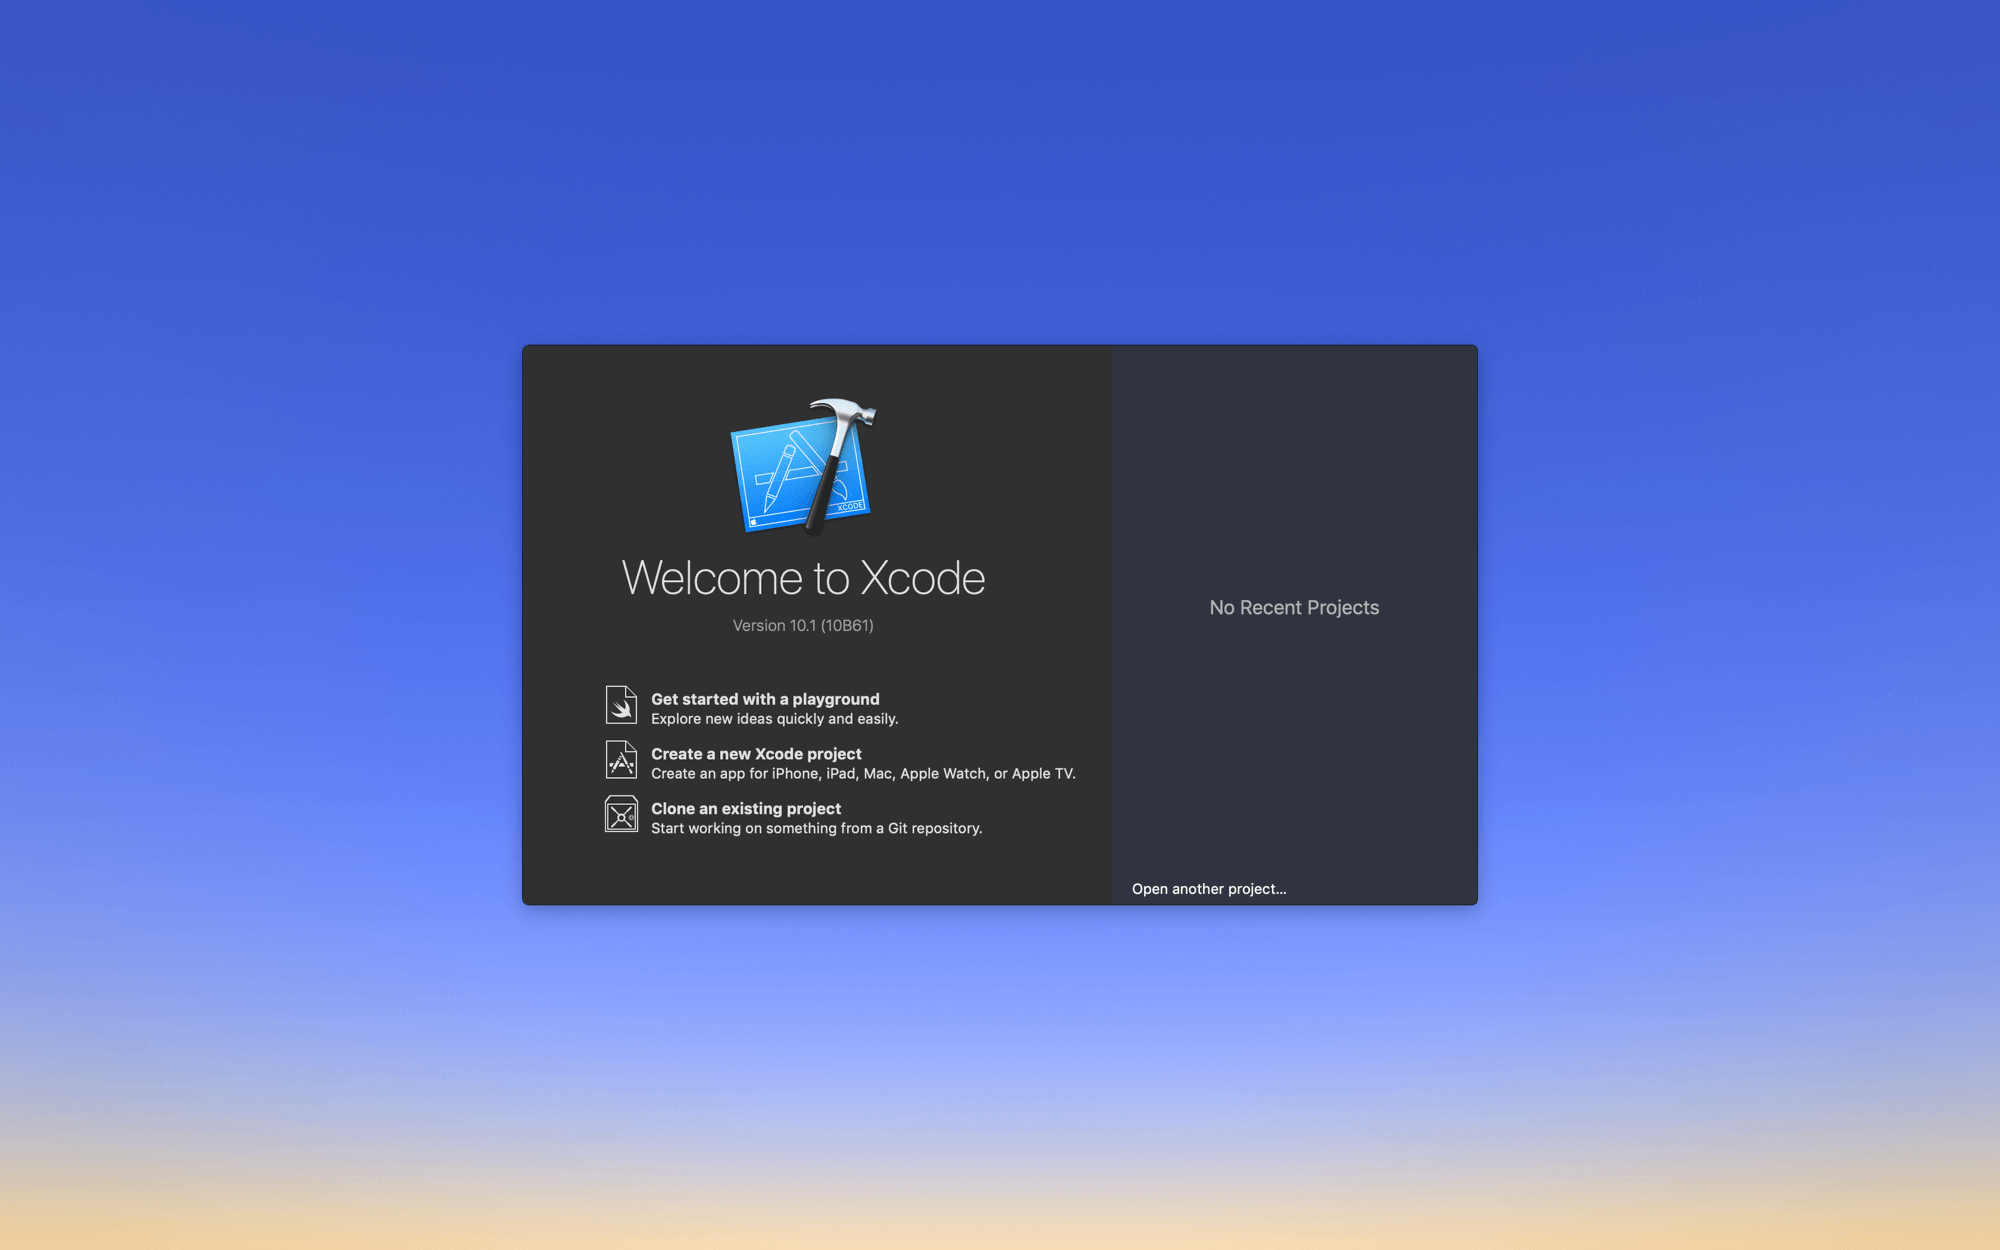
From the Xcode welcome window…
- Create a New iOS Project
- Choose Single View App
- Name the project FlowGestures
- Save it.
At this point, our project is a simple iOS app that launches with a white background.
Import Flow Common
To integrate with iOS / Swift, Flow generates a few simple files that handle animation, timelines and styling. Since we have a created a project from scratch, we’ll need to import them into our project.
- Open the
Shrink.xcodeprojfile - Select all the files in the
Flow Commonfolder (from the project navigator on the left) - Drag the files into the empty
FlowGestures.xcodeprojfile and make sure to choose the “Copy if needed” option.

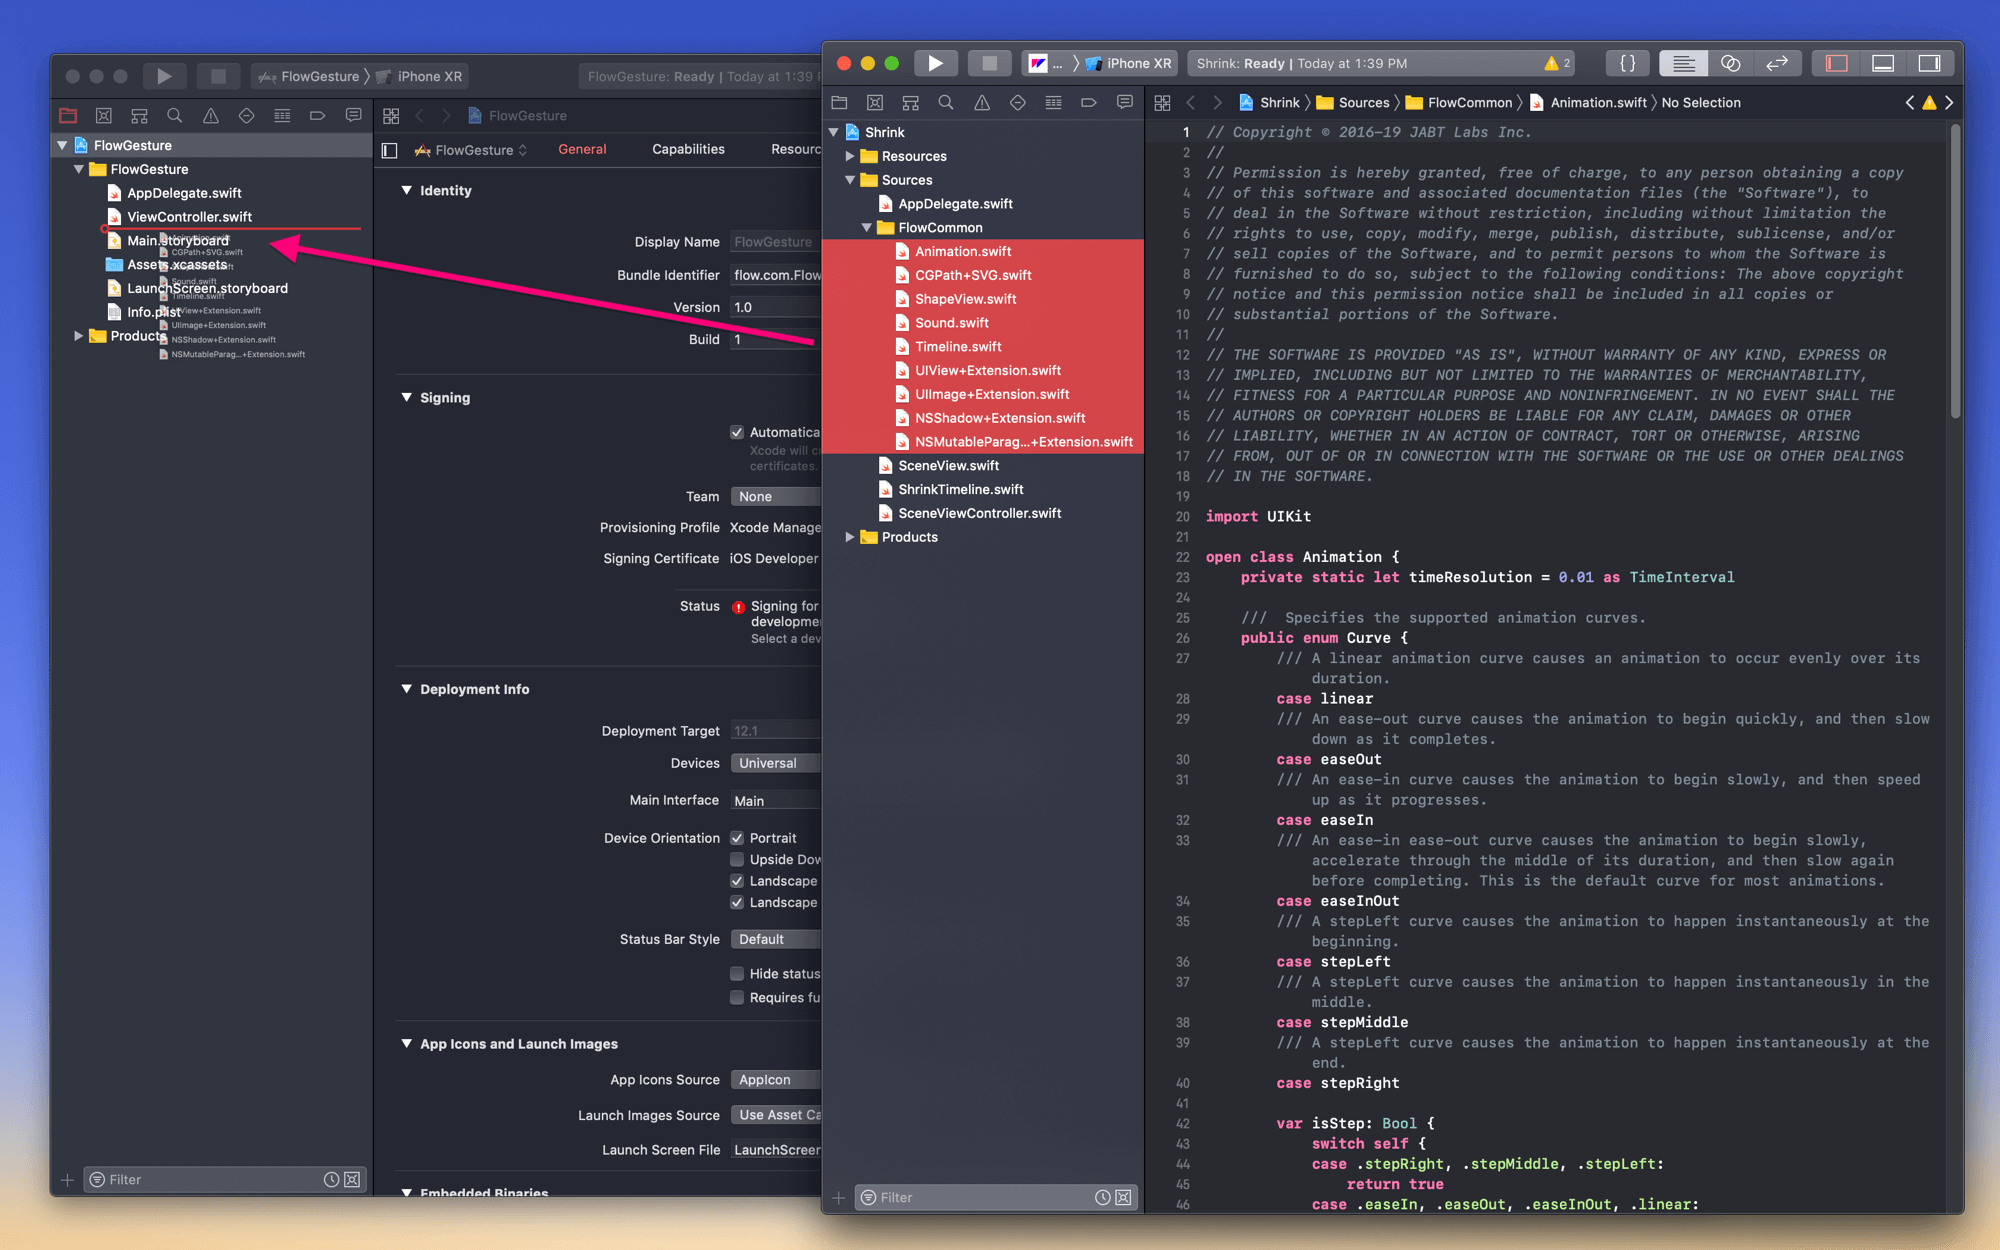
That’s it. The basis for the project is in place. Let’s move on to the good stuff.
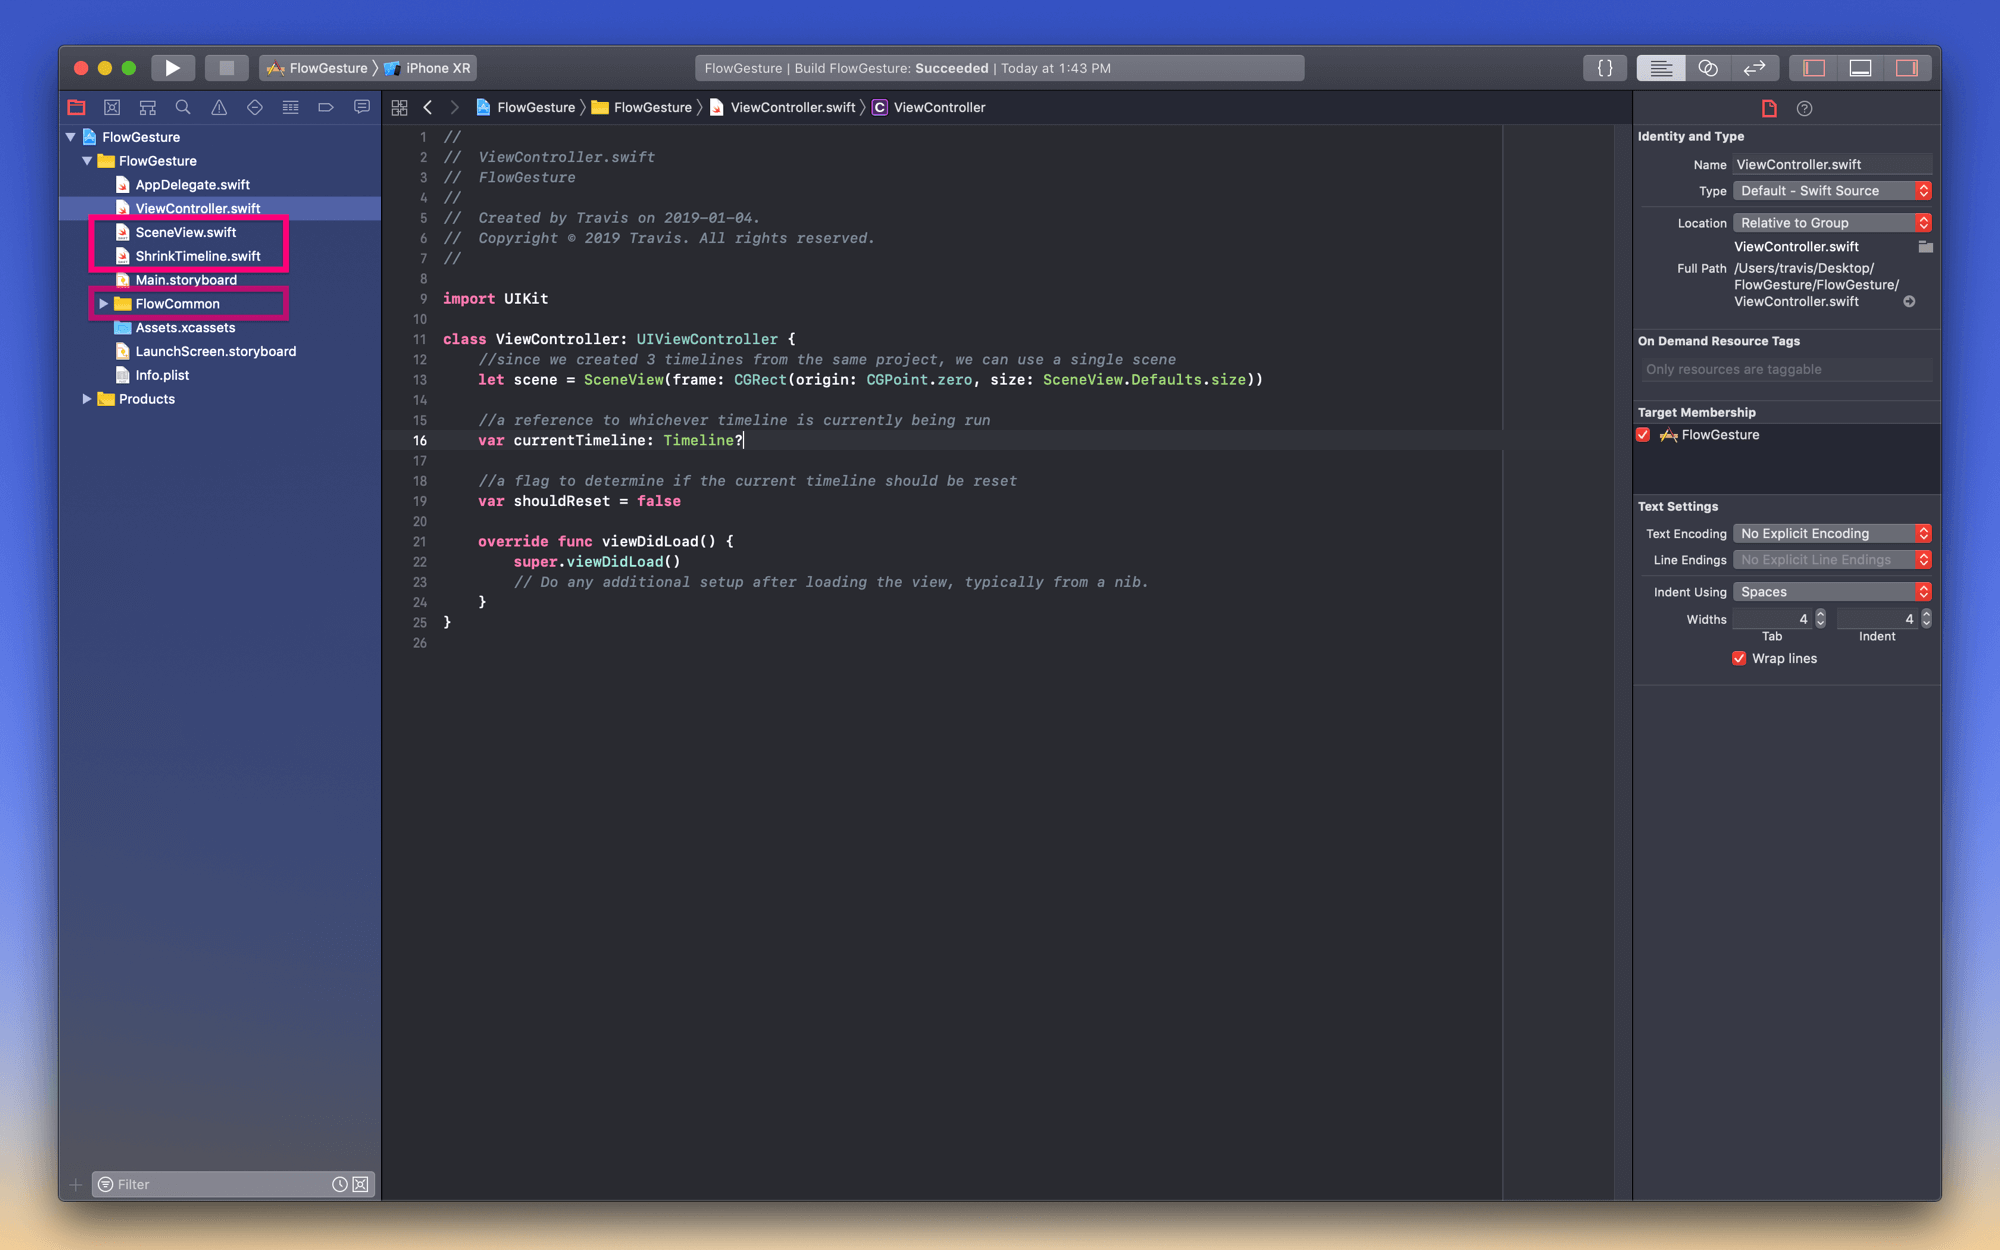
A SceneView & A Timeline
The first thing to do is bring in a SceneView. What you would call in Sketch an Artboard, in Flow we call a Scene. When you export a scene to Swift it wraps it up as an extension of the standard iOS UIView.
Since we’re using the same starting elements in each of our timelines, we’ll only need to bring in one SceneView.
At the same time, we can bring in the ShrinkTimeline.swift file. This timeline is a set of animation commands that can be applied to the SceneView.
Let’s do these steps now.
- From
Shrink.xcodeprojselectSceneView.swiftandShrinkTimeline.swift - Drag the files into your new project.
Setup the SceneView
Let’s get that SceneView visible in the app with a tiny bit of code.
Add 3 Variables
From the Xcode project navigator…
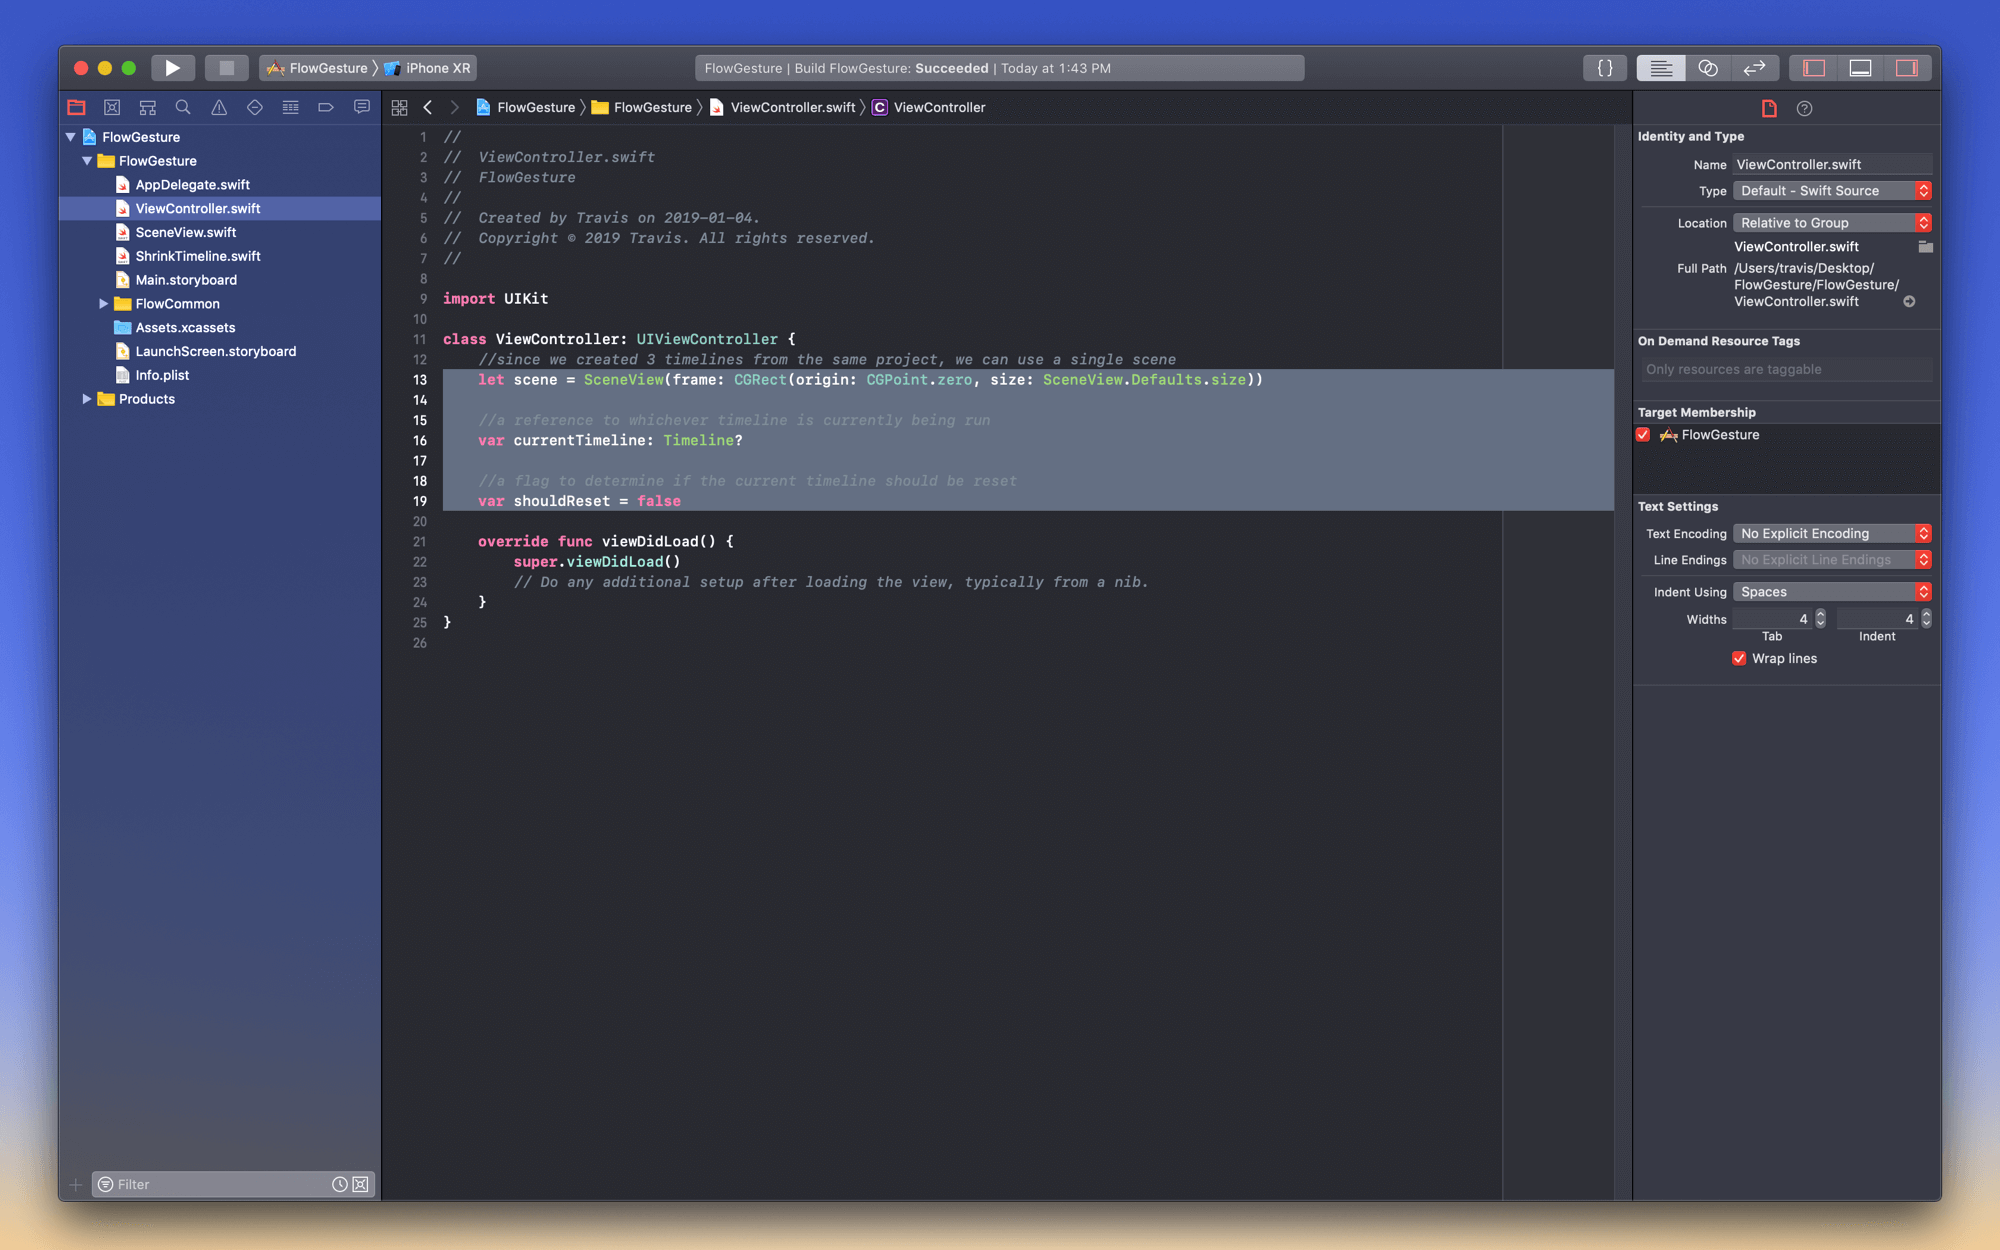
- Select
ViewController.swift - Add the following 3 variables to the view controller…
1
2
3
4
5
6
7
8
//since we created 3 timelines from the same project, we can use a single scene
let scene = SceneView(frame: CGRect(origin: CGPoint.zero, size: SceneView.Defaults.size))

//a reference to whichever timeline is currently being run
var currentTimeline: Timeline?

//a flag to determine if the current timeline should be reset
var shouldReset = false
The scene is our scene view.
The currentTimeline is an optional variable that we’ll use to keep track of the state of our timeline.
The shouldReset is a boolean we’ll use to trigger resetting or playing.
Your code should look like this:
Add the Scene
Next, we add our scene so its visible when we run the app.
- In the
viewDidLoadmethod add the following code. - Hit
run(i.e. the play button in Xcode)
1
2
3
4
5
//add the scene to the app's main view
view.addSubview(scene)

//center the scene to the app's main view
scene.center = view.center
Your code should look like this (just behind the simulator):
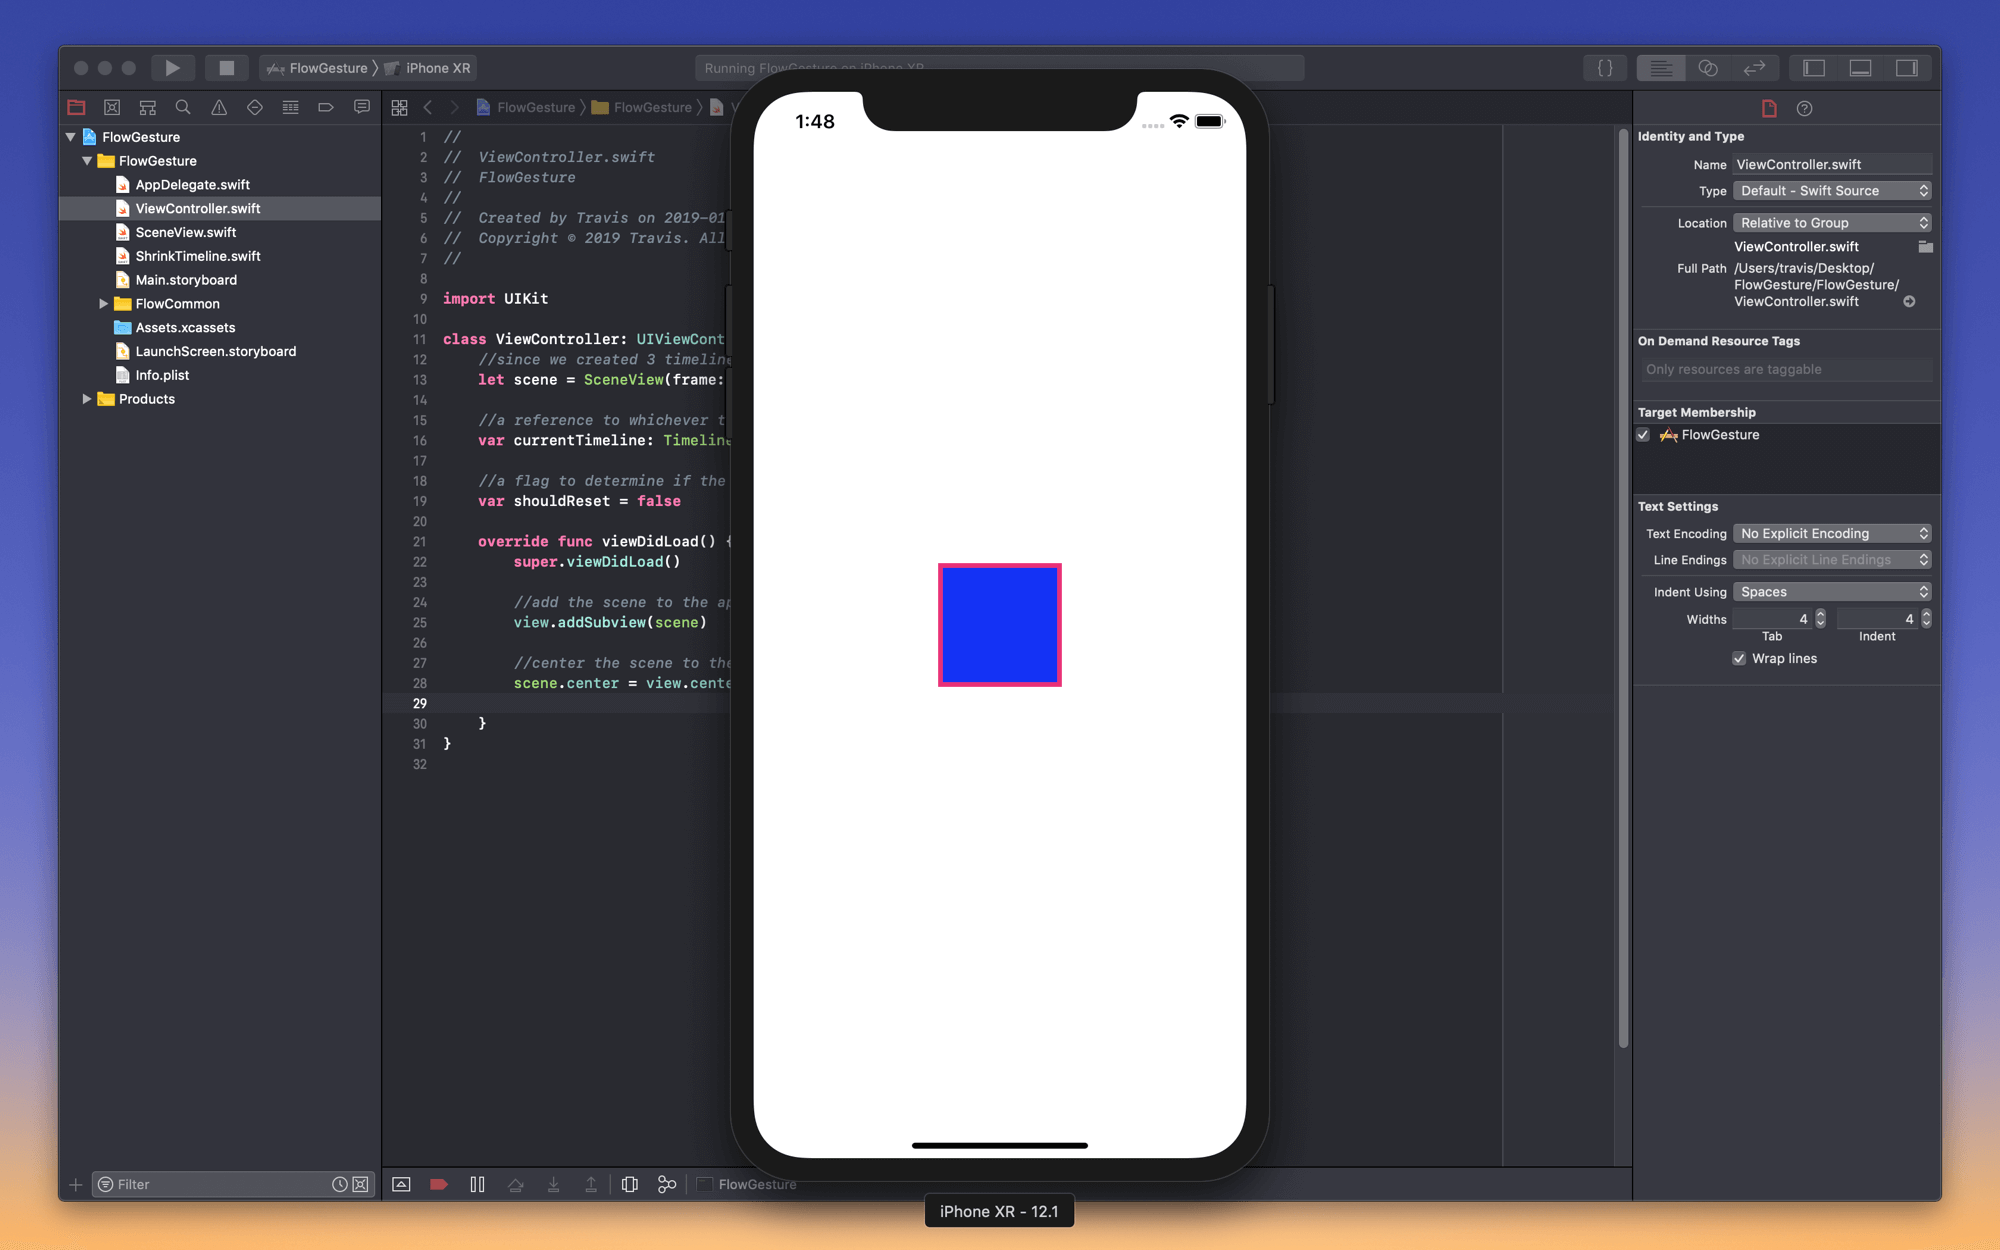
That’s it. We’re good to move onto the next step… Integrating our first gesture!
Tap to Shrink
We’re going to add our first gesture, a tap, which will trigger the shrink timeline. To do this, we’ll need to add 3 methods and a bit of setup code.
Reset()
Our goal is to run animations. But, we don’t want to only run them one time! To reset them after they’ve completed, we can use this method:
1
2
3
4
5
//resets the current timeline
func reset() {
    currentTimeline?.reset()
    shouldReset = false
}
- Add that code below the
viewDidLoad()method.
AnimateShrink()
The first method will take care of setting the shrink timeline to currentTimeline and running its animation. It looks like this:
1
2
3
4
5
6
//runs the shrink timeline
func animateShrink() {
    currentTimeline = ShrinkTimeline(view: scene)
    currentTimeline?.animate()
    shouldReset = true
}
- Add that code below the
reset()method.
Shrink()
The next method will take care of resetting the current timeline, then triggering its animation. It looks like this:
1
2
3
4
5
//shrink or reset
@objc func shrink() {
    if shouldReset { reset() }
    else { animateShrink() }
}
- Add that code below the
AnimateShrink()method.
Add the Tap
To trigger the animation, let’s add a tap gesture to the scene view with the following code:
1
2
3
//add a tap gesture to the scene, passing in the shrink method
let tap = UITapGestureRecognizer(target: self, action: #selector(shrink))
scene.addGestureRecognizer(tap)
- Put that code inside and at the bottom of
viewDidLoad(). - Run the app.
- TAP THE SCENE!!!!@!#@!@#!~
Your code should now look like this:

Swipe to Move
Let’s add a swipe gesture to trigger a second timeline on the same object.
Import Timeline
We need to bring in the timeline file from our second project.
- Open
ShrinkMove.xcodeproj - Drag
ShrinkMoveTimeline.swiftinto our project
Code
Following the exact same pattern as we did for the Shrink timeline, we’re going to create a few methods to handle the Move timeline.
We only need to add two methods this time (the reset() was already added in the last section)
- Add the following code underneath the
shrink()method inViewController.swift
1
2
3
4
5
6
7
8
9
10
11
12
//runs the move timeline
func animateMove() {
    currentTimeline = ShrinkMoveTimeline(view: scene)
    currentTimeline?.animate()
    shouldReset = true
}

//move or reset
@objc func move() {
    if shouldReset { reset() }
    else { animateMove() }
}
After that…
- Add the following gesture code at the bottom of
viewDidLoad()
1
2
3
//add a swipe gesture to the scene, passing in the swipe method
let swipe = UISwipeGestureRecognizer(target: self, action: #selector(move))
scene.addGestureRecognizer(swipe)
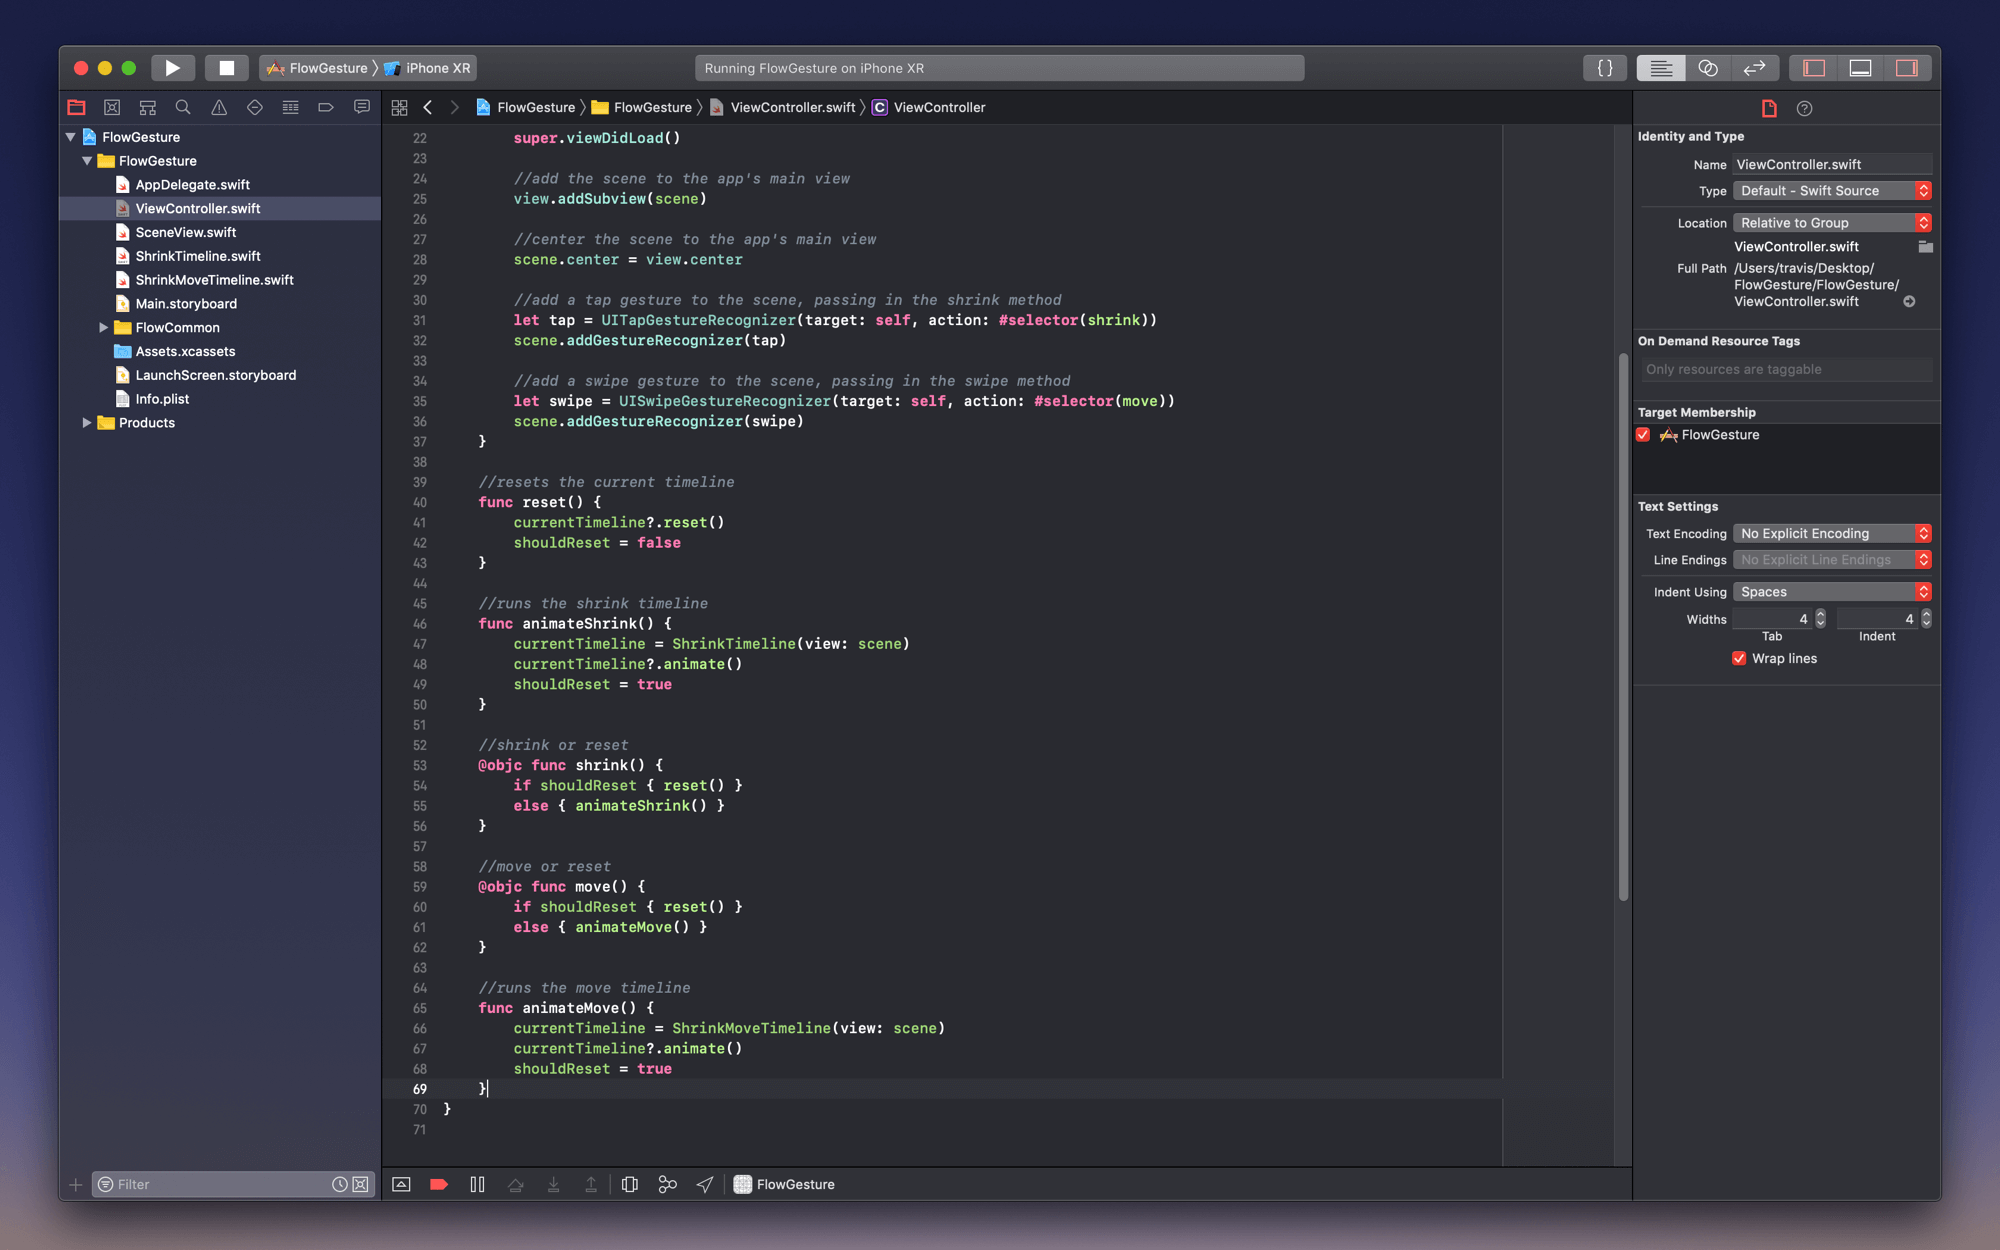
Your code should look like this:
Double Tap to Rotate
Our final step is to bring in a third timeline, add a double-tap gesture and the code to handle the rotate animation. Same steps as before…
Import Timeline
We need to bring in the timeline file from our third project.
- Open
ShrinkRotate.xcodeproj - Drag
ShrinkRotateTimeline.swiftinto our project
Code
Following the exact same pattern again…
We only need to add two methods this time (the reset() was already added in the last section)
- Add the following code underneath the
shrink()method inViewController.swift
1
2
3
4
5
6
7
8
9
10
11
12
//runs the rotate timeline
func animateRotate() {
    currentTimeline = ShrinkRotateTimeline(view: scene)
    currentTimeline?.animate()
    shouldReset = true
}

//rotate or reset
@objc func rotate() {
    if shouldReset { reset() }
    else { animateRotate() }
}
After that…
- Add the following gesture code at the bottom of
viewDidLoad()
1
2
3
//add a swipe gesture to the scene, passing in the swipe method
let swipe = UISwipeGestureRecognizer(target: self, action: #selector(move))
scene.addGestureRecognizer(swipe)
Your code should look like this:
- Add the following code underneath the
move()method:
1
2
3
4
let doubleTap = UITapGestureRecognizer(target: self, action: #selector(rotate))
scene.addGestureRecognizer(doubleTap)
doubleTap.numberOfTapsRequired = 2
tap.require(toFail: doubleTap)
The last two lines set the gesture up to use 2 taps, and then tells our tap gesture to wait to see if a double tap happens before triggering.
Your code should look like this:

RUN IT!
Run the app in the simulator and have fun trying to do the swipe gesture with your mouse. If you have an Apple Developer account, you can toss the app onto your iPhone and see it running there!
❤︎