
Prepare a Sketch File | Check Box (1/3)
Learn how to take an existing Sketch design, then restructure and rename its layers and artboards to be animatable.
First…
“Your” Existing Design
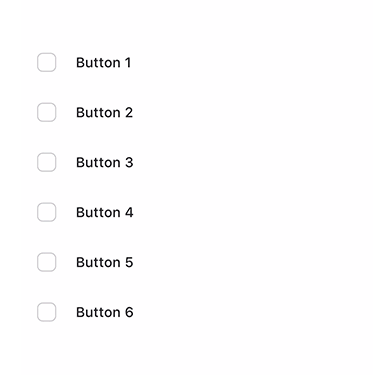
So, you’ve been working on a very nice design like the one below.
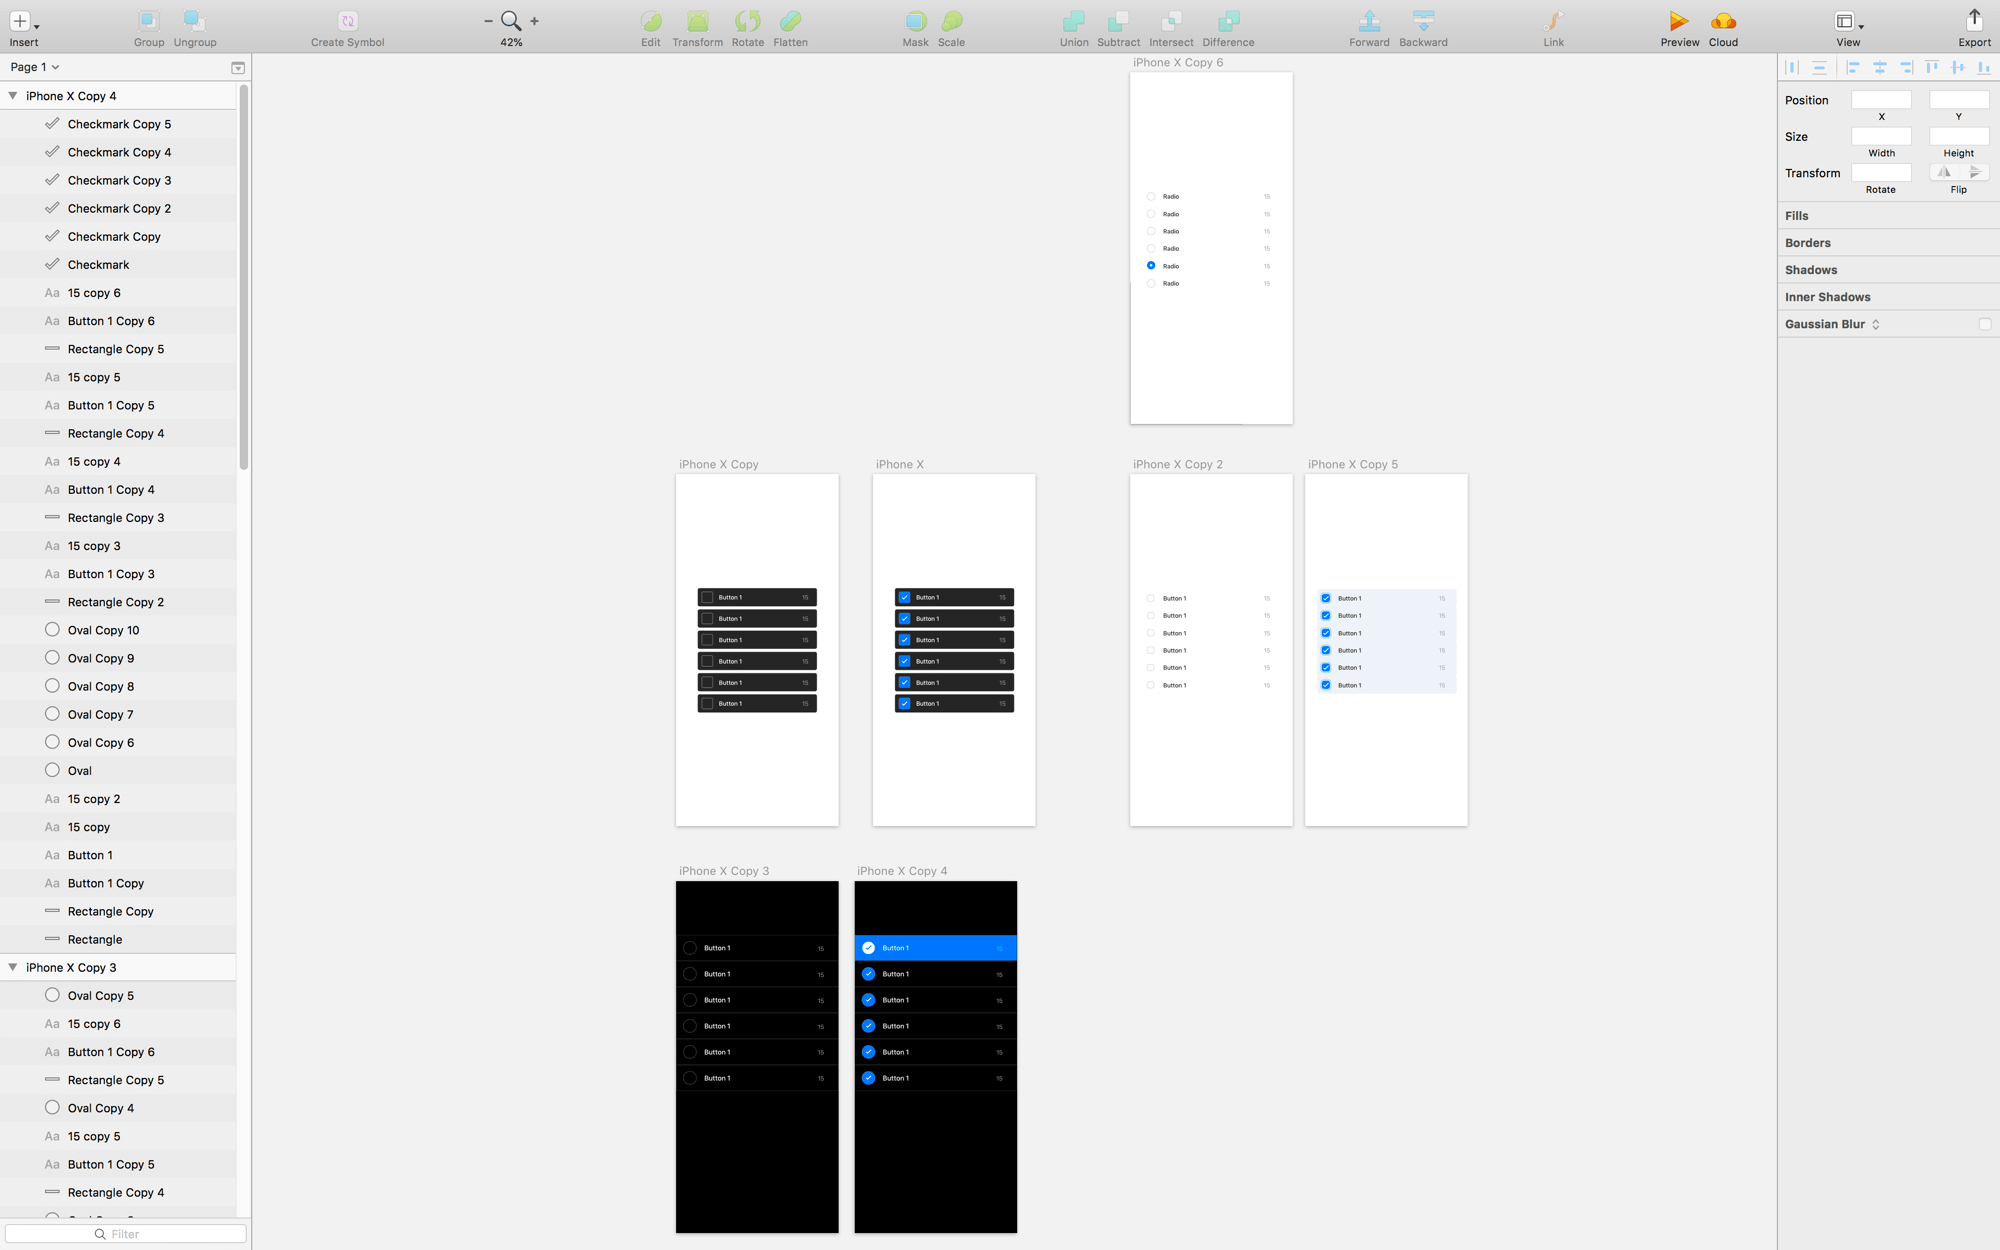
There are a few styles for a button with a checkbox, and you’ve finally decided to go with the light version.
You’ve also got a concept for what the animation is going to look like…
So, where do you start…?
Isolate
The first thing you need to do is isolate the layers that you’re going to animate.
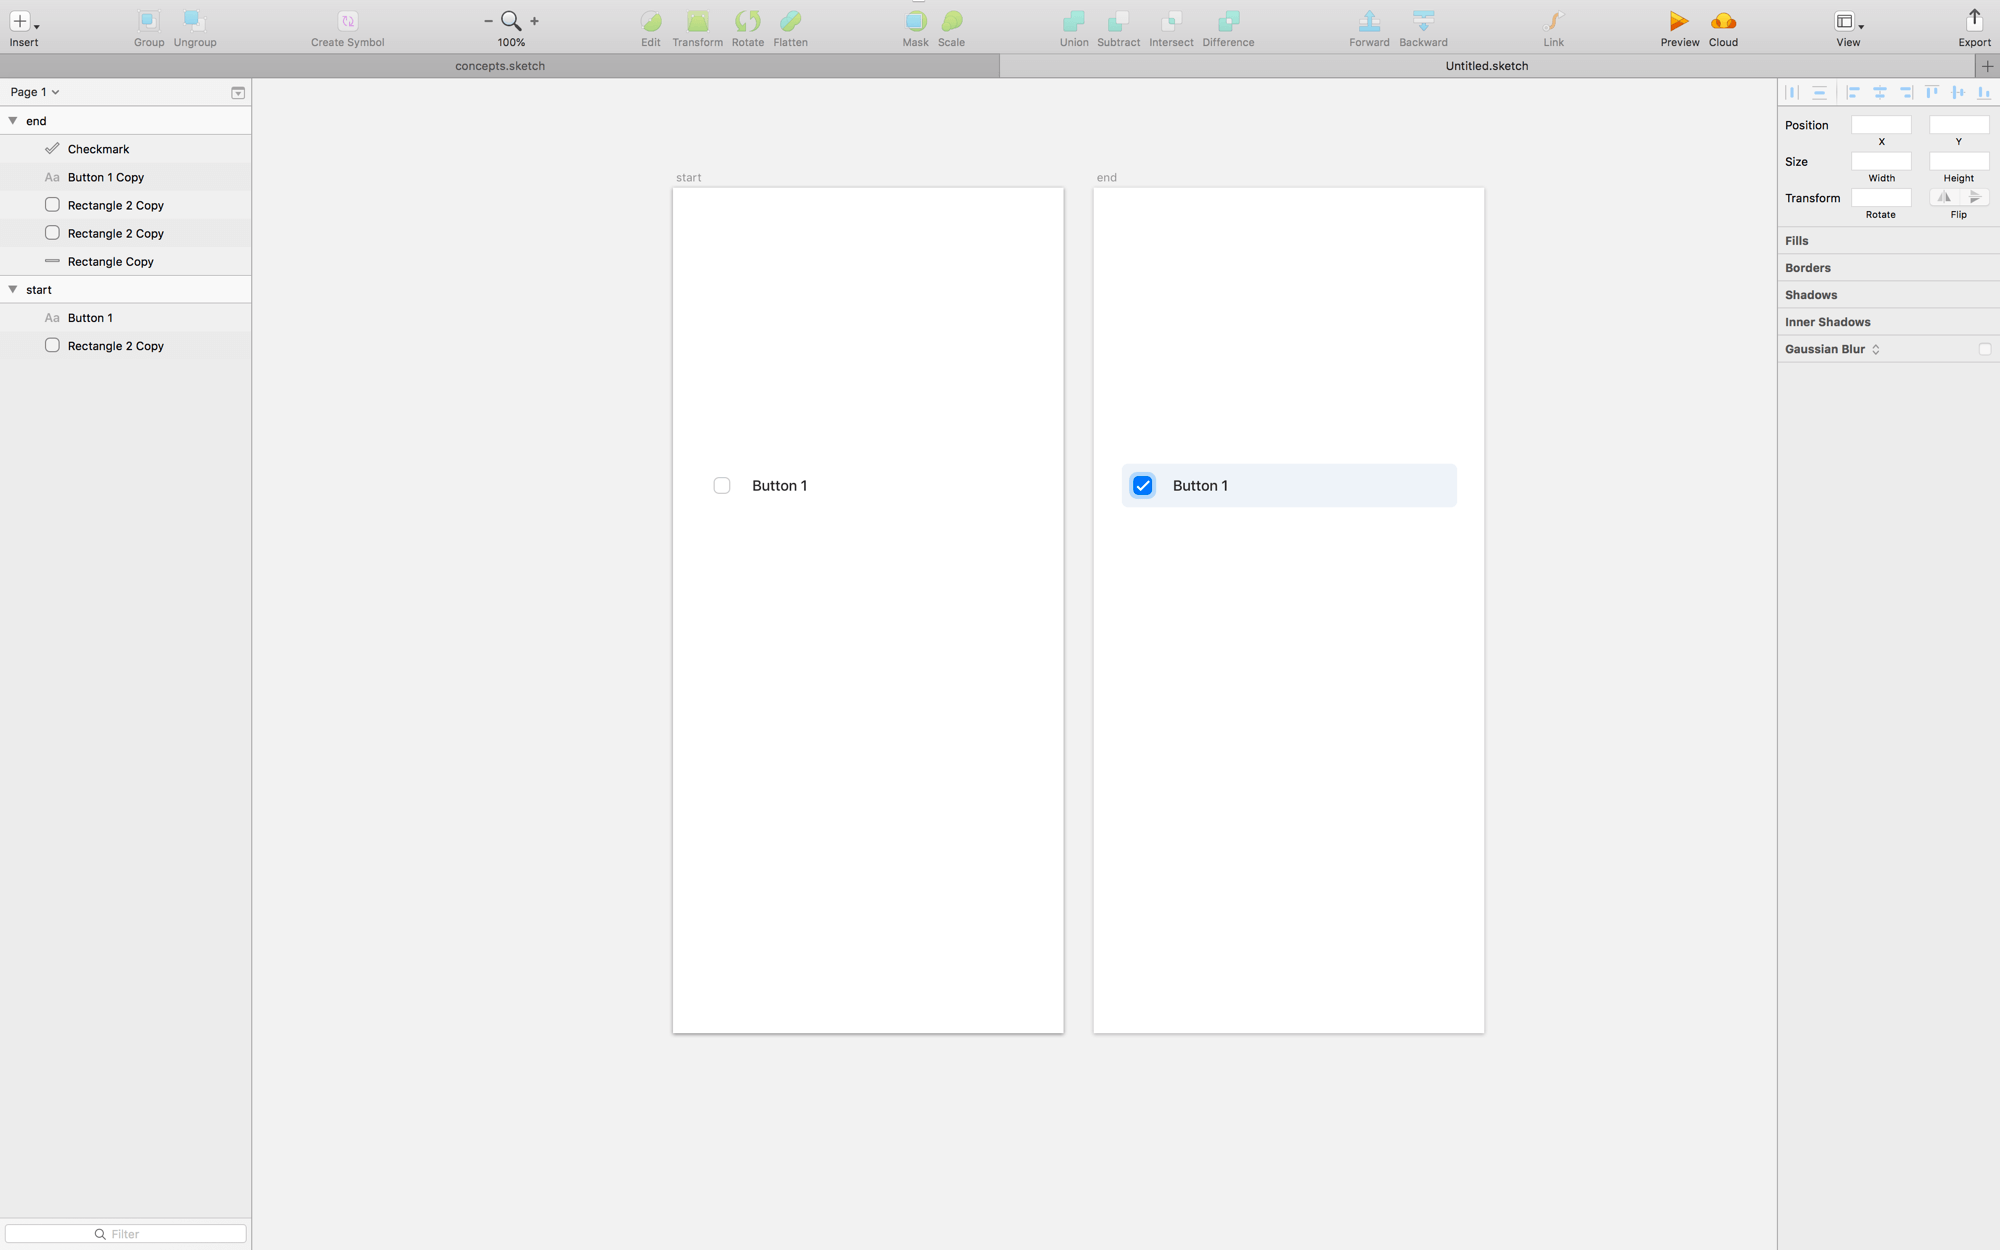
- Create a new Sketch file
- In
concepts.sketchcopy the two light artboards - Paste the artboards into the new sketch file
- Delete all the layers except for a single set (we don’t need duplicates)
- Rename the artboards to
startandend - Ungroup the groups in both artboards
- Delete the
15label in both artboards
Tweak
There’s a particular effect we want to achieve: the checkmark should animate in. To do this, we need the shape of the checkmark to be a vector.
On the end artboard…
- Using the Vector tool, trace the checkmark
- Thicken the vector to
2pt - Change the border color to white
- Delete the original shape
Here’s what it looks like after step 2, above…
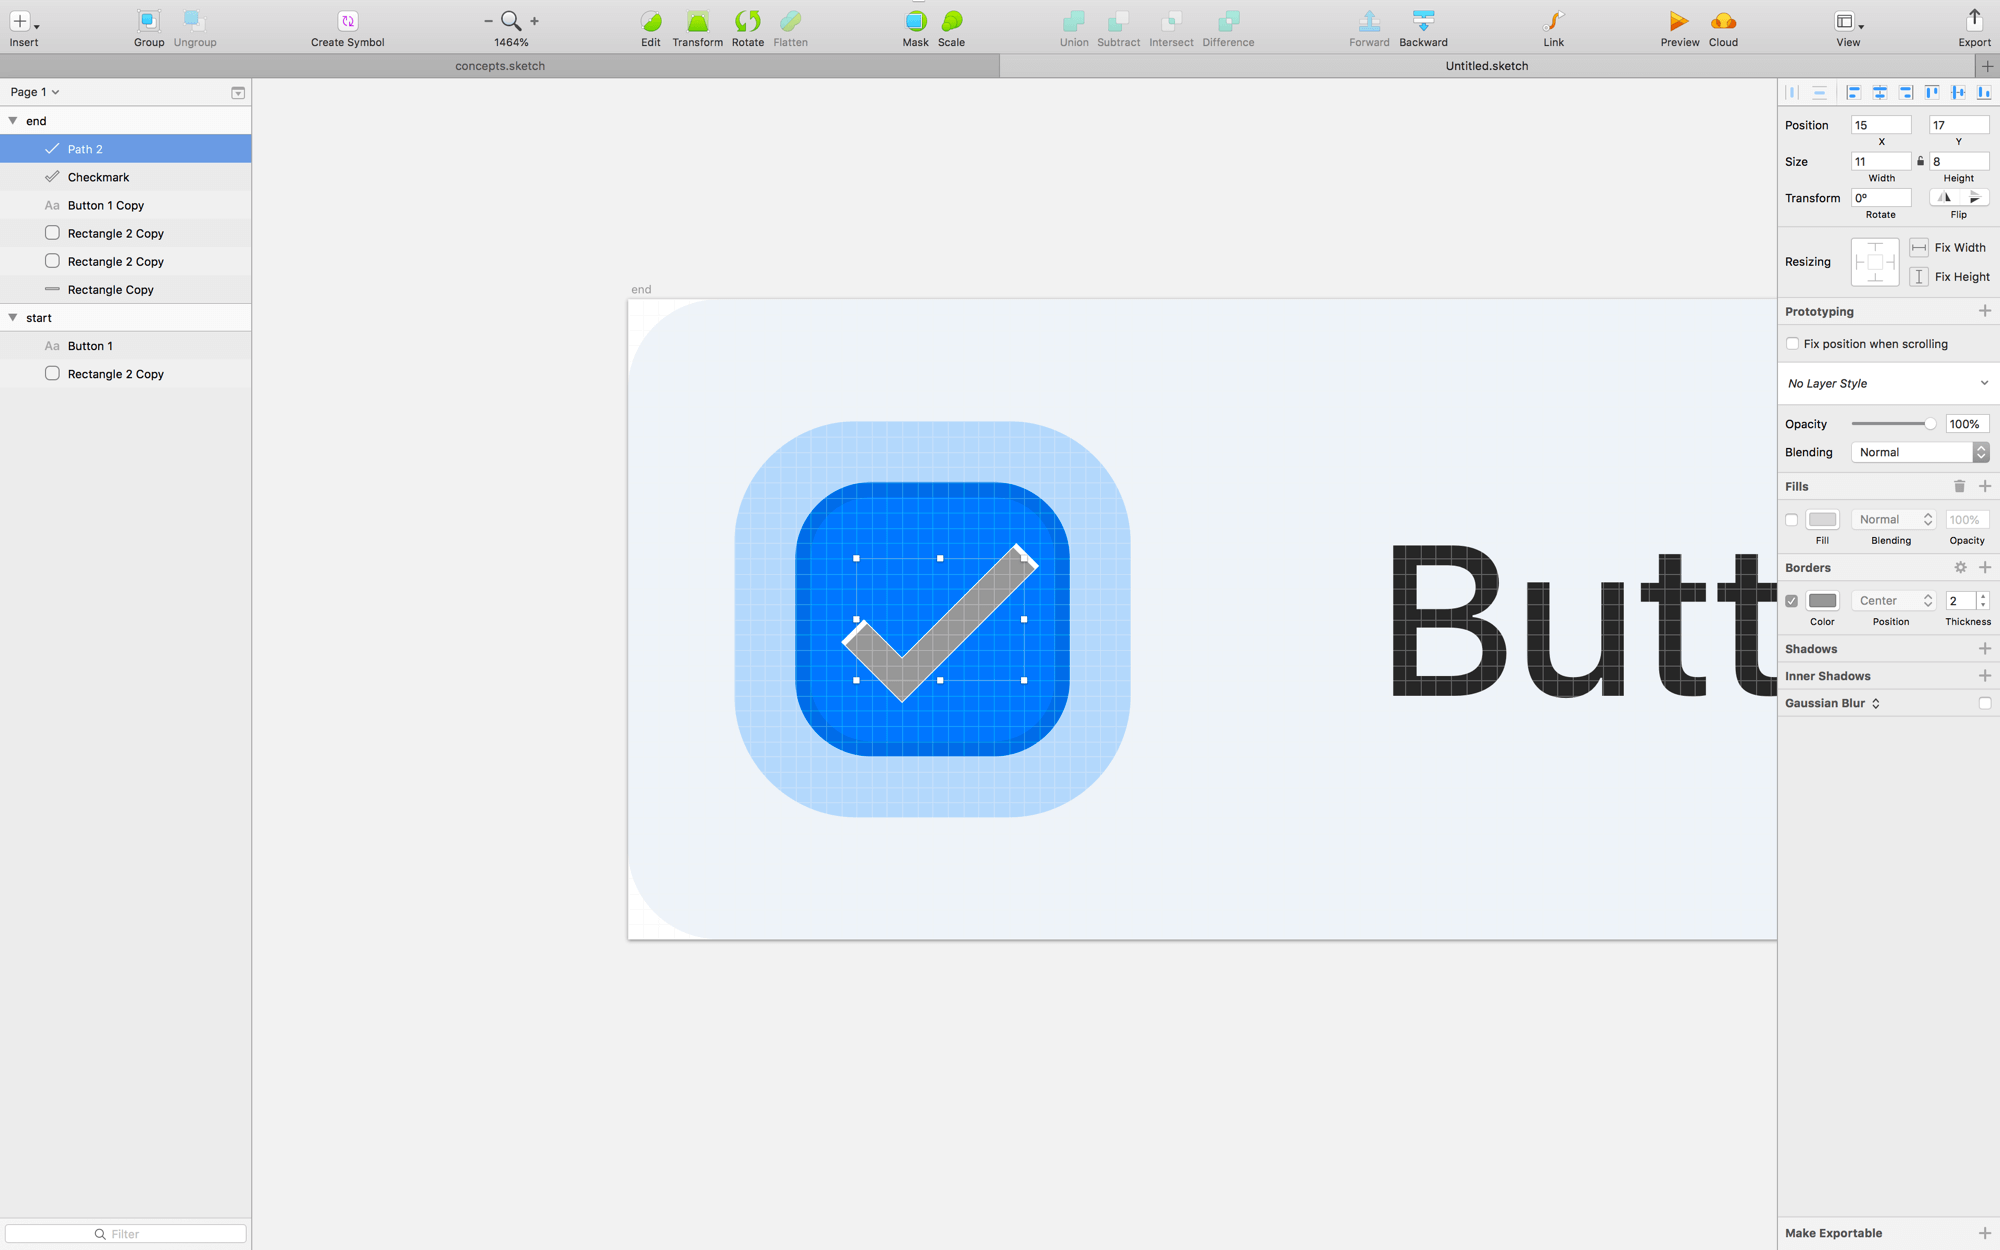
After step 4, your design should look almost identical to the original layout.
This step will allow us to get fancy when we animate.
Rename
The next step is to rename your layers, and rebuild one of the artboards (if necessary).
In software, you need to have all your views created at the same time – even if they're not currently visible. So, we need to do the same thing in Flow.
For the design file you’re working from, you definitely need to restructure the start artboard. In fact, we can essentially scrap the start artboard altogether because it is missing many layers compared to the end artboard.
Rename all the layers like this:
- Path 2 > checkmark
- Button 1 copy > titleLabel
- Rectangle 2 copy > innerCheckBox
- Rectangle 2 copy > outerCheckBox
- Rectangle copy > background
Rebuild
Now, instead of preserving our original design…
- Duplicate the
endartboard - Rename
end copytostart - For
outerCheckBoxchange its opacity to0and scale its size to closely match that ofinnerCheckBox - For
innerCheckBoxchange its fill opacity to0and its border color to match the one in the originalstartartboard - Delete the original
startartboard
Your artboards are now ready to animate.
Sometimes its easier to rebuild small components than to morph an original design into an animatable state.
New Artboards
The last step before animating is to create entirely new artboards for the check box and background. The reason for this is because in code the check box will be its own view, as will be the background. Therefore, it’s cleaner and easier to have them be independent of one another.
Check Box
- Create an artboard 26x26 pts.
- Copy the checkbox layers from
endinto the artboard. - Rename the artboard to
checkBoxEnd - Create a second artboard of the same size.
- Copy the checkbox layers from
start. - Select the new artboard and paste the layers.
- Center the layers to the artboard.
- Rename the artboard to
checkBox
Background
- Select
startandend. - Duplicate them.
- Rename them to
backgroundandbackgroundEnd, respectively. - In both new artboards, delete everything except the background layer.
- In
backgroundset the frame of the layer tox = 6,y = 6,width = 18,height = 30
Now you’re ready to animate!
Save your design file as: checkBoxAnimatable.sketch
Walkthrough
Here is a quick vid of all the steps above.
❤︎