Animating a Number Counter
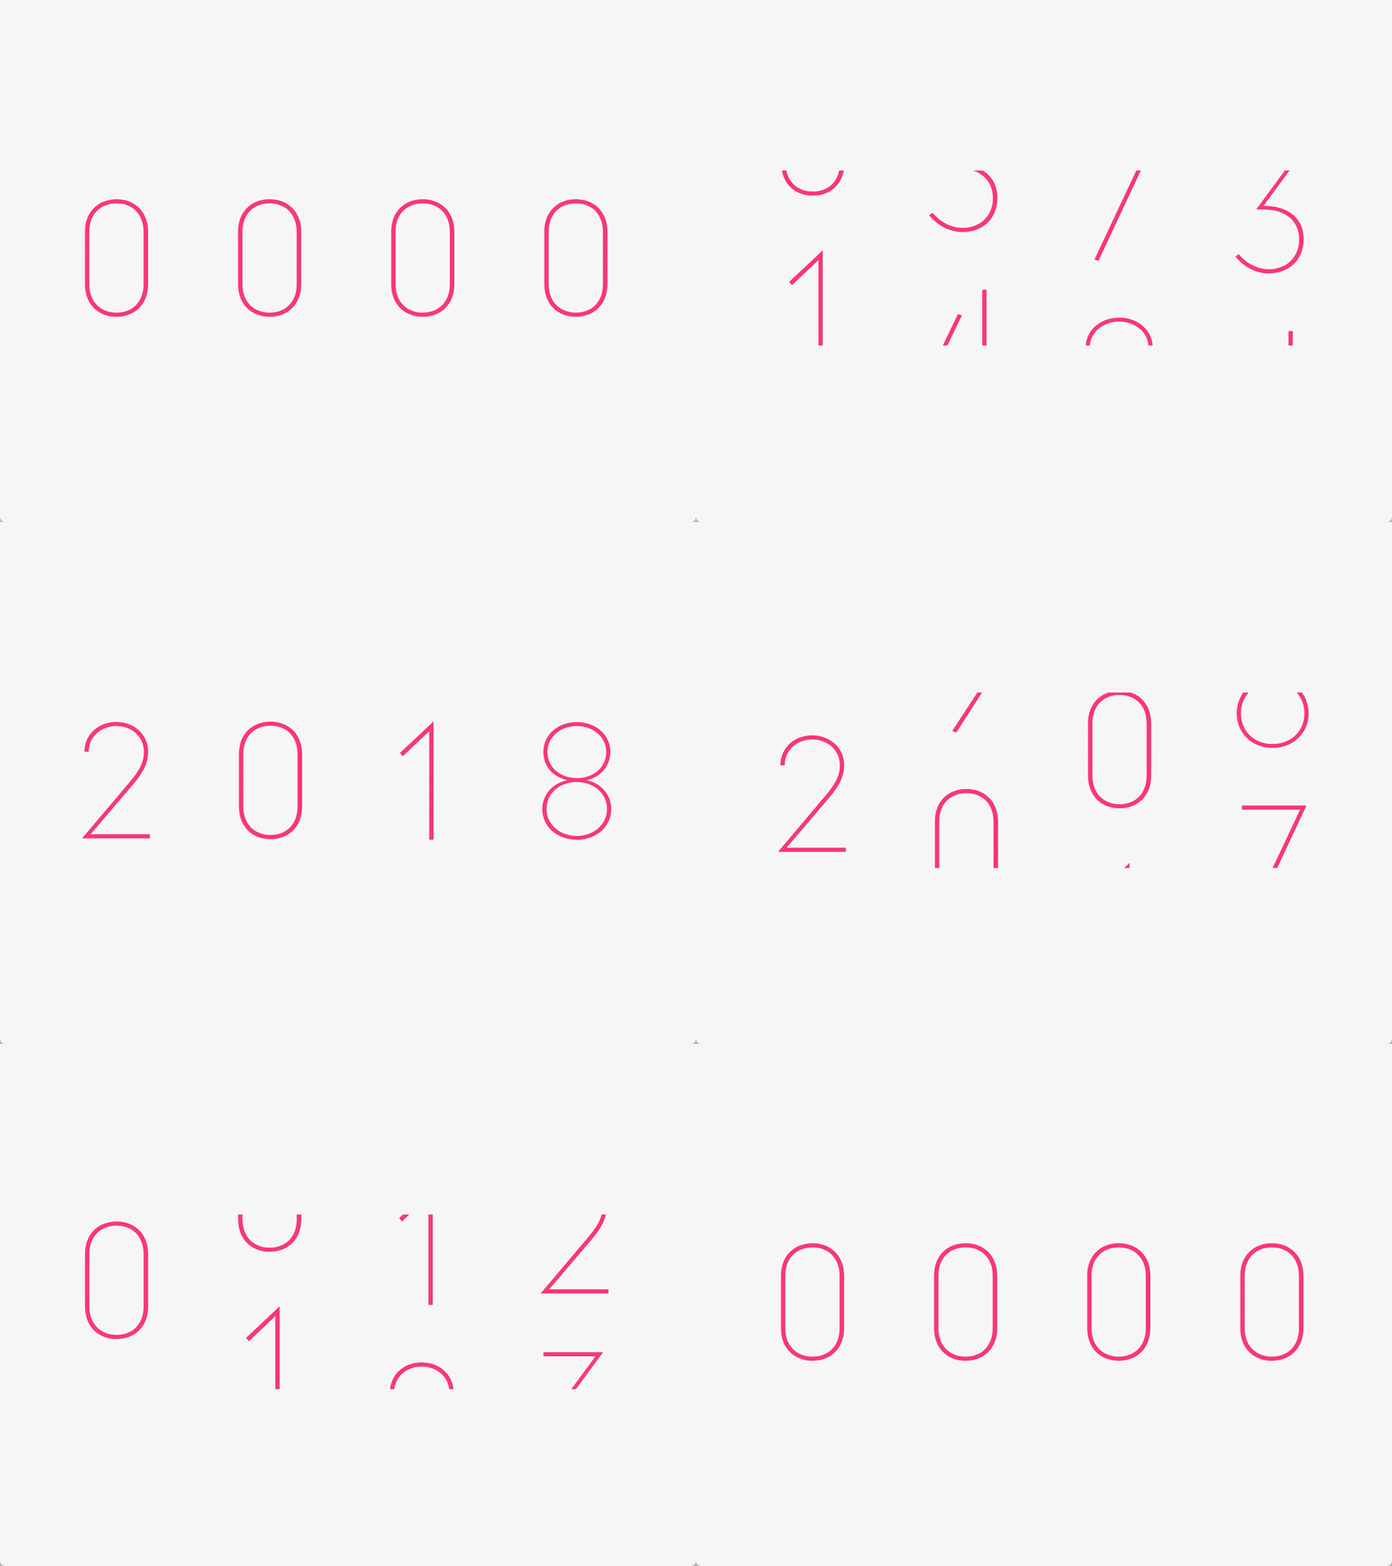
In this quick cast, we decipher Howard Pinsky's Simple Animated Number Counter on Dribbble, rebuild the foundations in Figma and bring it to life in Flow.
Here is the original shot:

If you’ve got a Dribbble account, head over and L the original shot: Simple Animated Number Counter
To get started, you can do this whole tutorial from scratch or grab the Figma file and head on down to Import and Adjust.
Create Your Design File
This design requires making 4 identical text blocks, and creating a group that will be used for masking once we get into Flow.
Lay Out Your Text Layers
There are 4 number positions in the original design, so we’re going to create 4 text layers that we will animate.
This step starts at 0:37
- Create a new file with a
400x300artboard - Create a text layer with a single
0 - Position and style the text layer
- Add 4 recurring sets of values so that there are 40 numbers, each on a new line (0, 1, 2, 3, 4, 5, 6, 7, 8, 9)
- Position the 4 layers so that their first
0is in the proper position - Rename your layers to
thousands,hundreds,tens, andones(from left-to-right)
Create the Group
There is a great technique in Flow for masking to the bounds of a layer or group. We’re going to use this feature to mask the counter, because you should always try to avoid over-using masks.
If you’re making a square mask, then in software there are techniques like overflow: hidden and masksToBounds = true that are far better options than embedding a rectangular mask layer.
This step starts at 3:25
- Create a rectangle
400x140 - Position it in the middle of the artboard
- Press
⌘+Gto turn it into a group - Send it to the back of the layer hierarchy
Create the End Artboard
Now, we’re going to duplicate and position our final layers.
This step starts at 4:51
- Duplicate your first artboard
- Rename your artboards to
startandend - On the
endartboard move the text layers into their final positions - The
thousandslayer goes up to the first2 - The
hundredslayer goes up the 2nd0 - The
tenslayer goes up to the 3rd1 - The
oneslayer goes up to the last8
Use a ruler / guide to help you position the layers along a consistent baseline
Import and Adjust
When working with Typography you may have to, from time to time, re-adjust things. Unfortunately, almost every tool has its own way of handling and rendering typography, so there may be discrepancies between things like baseline and kerning.
Since we’re working with the βeta version of Figma import, there are a few inconsistencies.
This step starts at 5:53
- Create a new project
- Import your Figma file
- Add your
startandendartboards - Turn Relative Mode ON before making broad changes
- Make sure your fonts are all consistent with your original design (The file above used
Roboto-thin) - Move the playhead to
1sand turn Relative Mode OFF - Readjust the final position of the animation if needed.
Group and Mask
Now, here’s the trick to add a clipping mask without using a clipping mask.
This step starts at 7:08
- Turn Relative Mode ON
- In the hierarchy panel, select the 4 text layers and drag them into the group.
- Delete the shape layer inside the group
- Rename the group to
counterGroup - Select the group
- Turn on the
Mask to Boundsoption in the property panel
Now your group will clip to its border.
Animate!
Everything is in place and we’re ready to animate this counter. At this point, you should only see animations for the Y values of the text layers in your timeline. If other animations have snuck in by accident, you can delete them.
This step starts at 7:58
- Scale the timeline to
4s - Change the easing curve for all the
Yanimations toCubic In Out - Extend the timeline to
10s - Duplicate the starting keyvalues and move them to
10s - Duplicate the keyvalues at
4sand move them to6s - Change the easing curves of the animations starting at
6stoCubic In Out