Working with Layers
Every element of your animation has its own layer. Learn to work with layers, and all the layer properties to animate your Sketch designs.
Moving Layers
You can move a layer by dragging it around the stage, or by changing its position from the properties panel.
Backgrounds
One of the key concepts with layers is that they all have a background. Typically, for any content that fills the layer (e.g. images) you won’t see it, but for anything else, like text or odd shapes you will. It’s pretty easy to change the color of the background.


Since images fill their frames, you won’t see the background color.
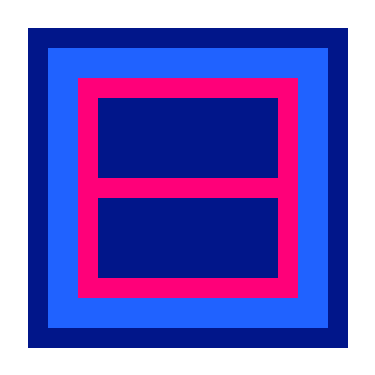
Borders
Every layer has a border whose line is drawn its center – a 10pt line will be drawn 5pts equally outwards and inwards from the frame of the layer.


Border Radius
You can tweak the corner radius of borders. Any value you apply to the radius will be made equally across all corners of the layer.

On iOS, use the .clipsToBounds property to mask the layer at the edges of its border.
Opacity
You can easily adjust the opacity of a layer, which changes all the elements of that layer including its background and border.


Flipping
You can flip the contents of a layer vertically and horizontally, or both.

Rotations
You can easily animate the rotation of a layer. Layers will rotate around their anchor point, which by default is the center of the layer.

Anchor Points
You can change the point around which a layer rotates by setting its anchor point.

Anchor points are measured in normalized coordinates to the width and height of a layer. The center of a layer is always {0.5, 0.5}, whereas the top-left is {0,0} and the bottom-right is {1,1}.
So, if you wanted to rotate a 100x100 layer with its anchor point in the vertical middle of the shape and 200 points the left you would use {-2.0, 0.5}.
A lovely trick is to edit the anchor point’s keyvalue. Doing this will allow you set the point to some non-standard position so that the layer rotates around a point outside itself.
Shadows
Every layer can have a shadow. Set the shadow by adjusting its color, opacity, offset and radius.

Groups
In Flow, we treat groups as a special kind of layer that has sublayers. Like any other tool on earth, press CMD+G to make a group of selected layers, or CMD+SHIFT+G to ungroup.

If you have already animated a layer, we’re going to try to preserve it’s motion after grouping.

If you do nothing to the group, it preserves the frame size that contains all its layers.
If you move a group, the layers’ motion will appear to cascade.
Resizing Constraints
If you’ve added resizing constraints to your layers in Sketch you’ll see they carry over to Flow.

The layout effect of resizing may differ slightly from that of Sketch.