Export Flow to iOS Code
Our approach to exporting Flow to iOS code involves a balanced blend of UIView and Core Animation.
To get started, let’s look at a simple file with only a single shape on it.
We use the same file for the HTML export docs.
You can also grab all the exported iOS files here:
Xcode Project
When exporting to iOS, Flow creates a full Xcode project that can spin up in the simulator (or on a device) as soon as you can hit run.
Our goal with exporting to Xcode is to have (aside from some common files) as little extra code as possible. We treat the main scene of your animation as a single view that contains all the elements in your animation. For a given animation, we generate the following:
- A view controller.
- A scene view.
- A timeline.
Aside from those files, there are a few common files that we use to keep things flexible.
Flow Common
We generate a view classes that help us keep exported code tight. Here they are in all their alphabetical glory.
Animation.swift
This animation class contains variables for setting all the animation properties you can set in Flow. It has a couple of extensions for configuring CABasicAnimation as well as executing CATransaction.
For example:
extension CABasicAnimation {
    public func configureOptions() {
        self.fillMode = kCAFillModeBoth
        self.isRemovedOnCompletion = false
    }
}
It also has methods for executing animations.
open func animate() {
    let time = DispatchTime.now() + Double(Int64(delay * Double(NSEC_PER_SEC))) / Double(NSEC_PER_SEC)
    DispatchQueue.main.asyncAfter(deadline: time) {
        UIView.animate(withDuration: self.duration, delay: 0, options: self.options, animations: {
            Animation.stack.append(self)
            self.doInTransaction(self.animations)
            Animation.stack.removeLast()
        }, completion:nil)
    }
}

fileprivate func doInTransaction(_ action: () -> Void) {
    CATransaction.begin()
    CATransaction.setAnimationDuration(duration)
    if let timingFunction = timingFunction {
        CATransaction.setAnimationTimingFunction(timingFunction)
    }
    action()
    CATransaction.commit()
}
CGPath+SVG.swift
An extenstion to CGPath that handles parsing and converting SVG code to proper CGPath objects.
Here’s a snippet:
case "M":
    if values.count < 2 { throw Error.missingValues }
    path.move(to: CGPoint(x: values[0], y: values[1]))
    currentPoint = CGPoint(x: values[0], y: values[1])
    lastControlPoint = currentPoint
    values.removeFirst(2)
This is an incredidbly useful class that lets us keep our export consistent from Flow to any platform.
ShapeView.swift
A subclass of UIView that sets up a basic view with a custom ShapeLayer and has code for properly parsing actions.
For example:
open override func action(forKey key: String) -> CAAction? {
    if key == "lineWidth" {
        let animation = CABasicAnimation(keyPath: key)
        animation.configureOptions()
        animation.fromValue = lineWidth
        return animation
    }
    //...
}
Sound.swift
Yes, you can export sounds! This class triggers playback by triggering an AVAudioPlayer ;)
Timeline.swift
A protocol defining reset and animate method calls.
UIView+Extension.swift
An extension that properly handles transforms.
NSShadow+Extension.swift
An extension that provides a convenience initializer for quickly creating a shadow object.
ParagraphStyle+Extension
An extension that provides a convenience initializer for quickly creating a paragraph style for text objects.
Project Structure
A basic project looks like this:
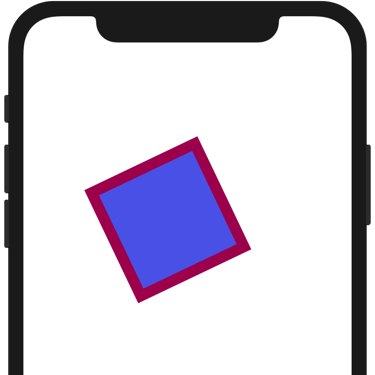
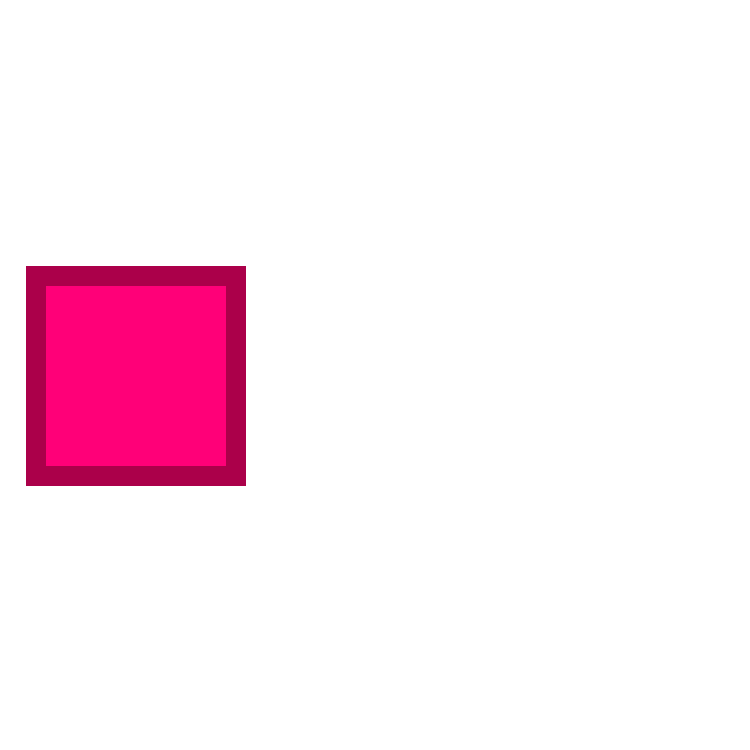
No Movement
To get started, let’s look at a case where we have only a single shape that doesn’t animate.
Export the No Movement timeline to iOS
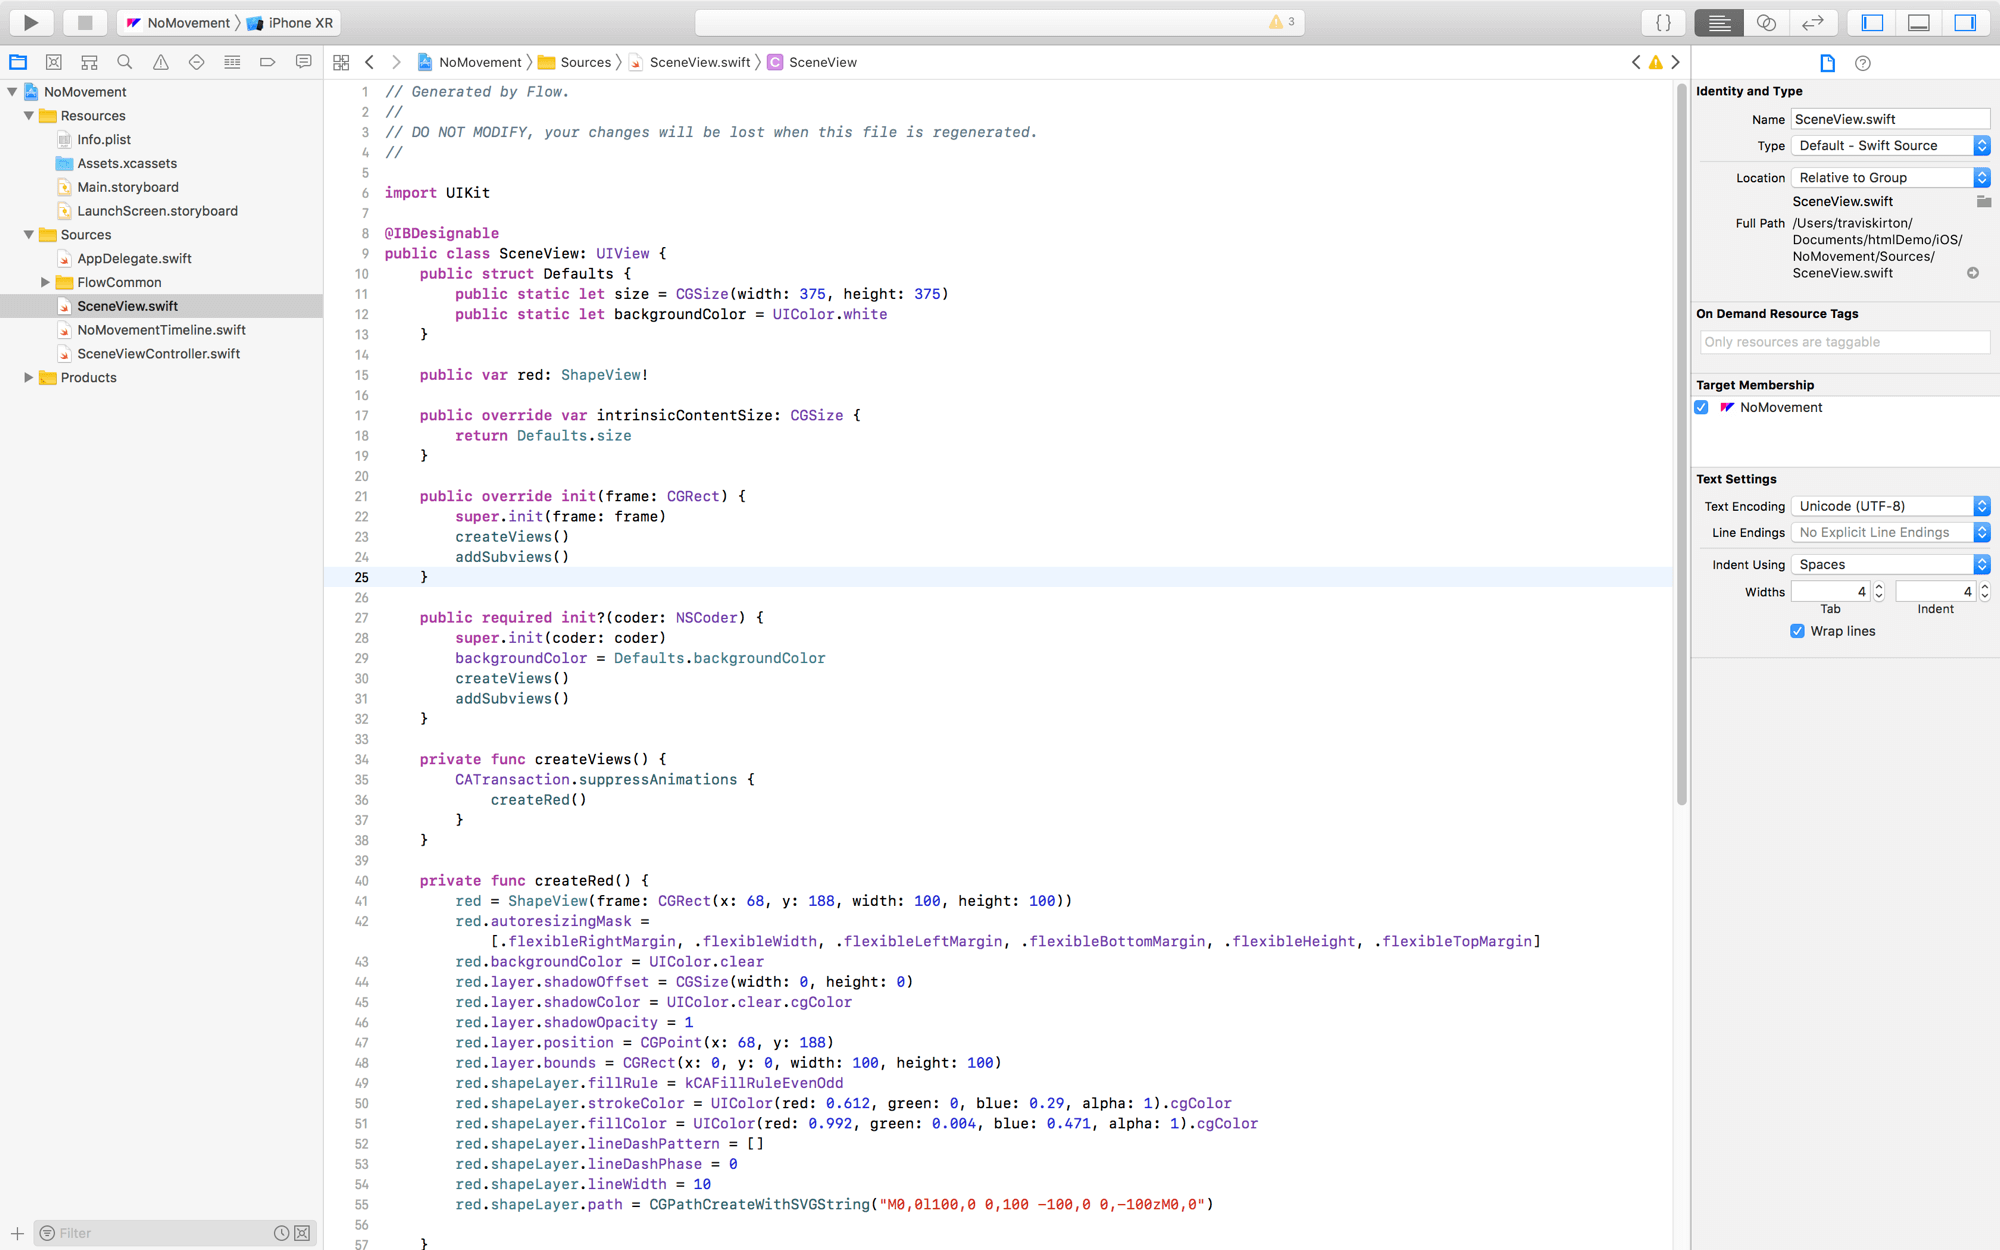
SceneView
The SceneView class contains the initial layout and style for the timeline. The methods defined in this class are interpreted from layer names in the Flow project.
There are 2 common methods:
createViews()sets up all the views for the scene.addViews()adds all subviews in the same layer hierarchy they have in the Flow project.
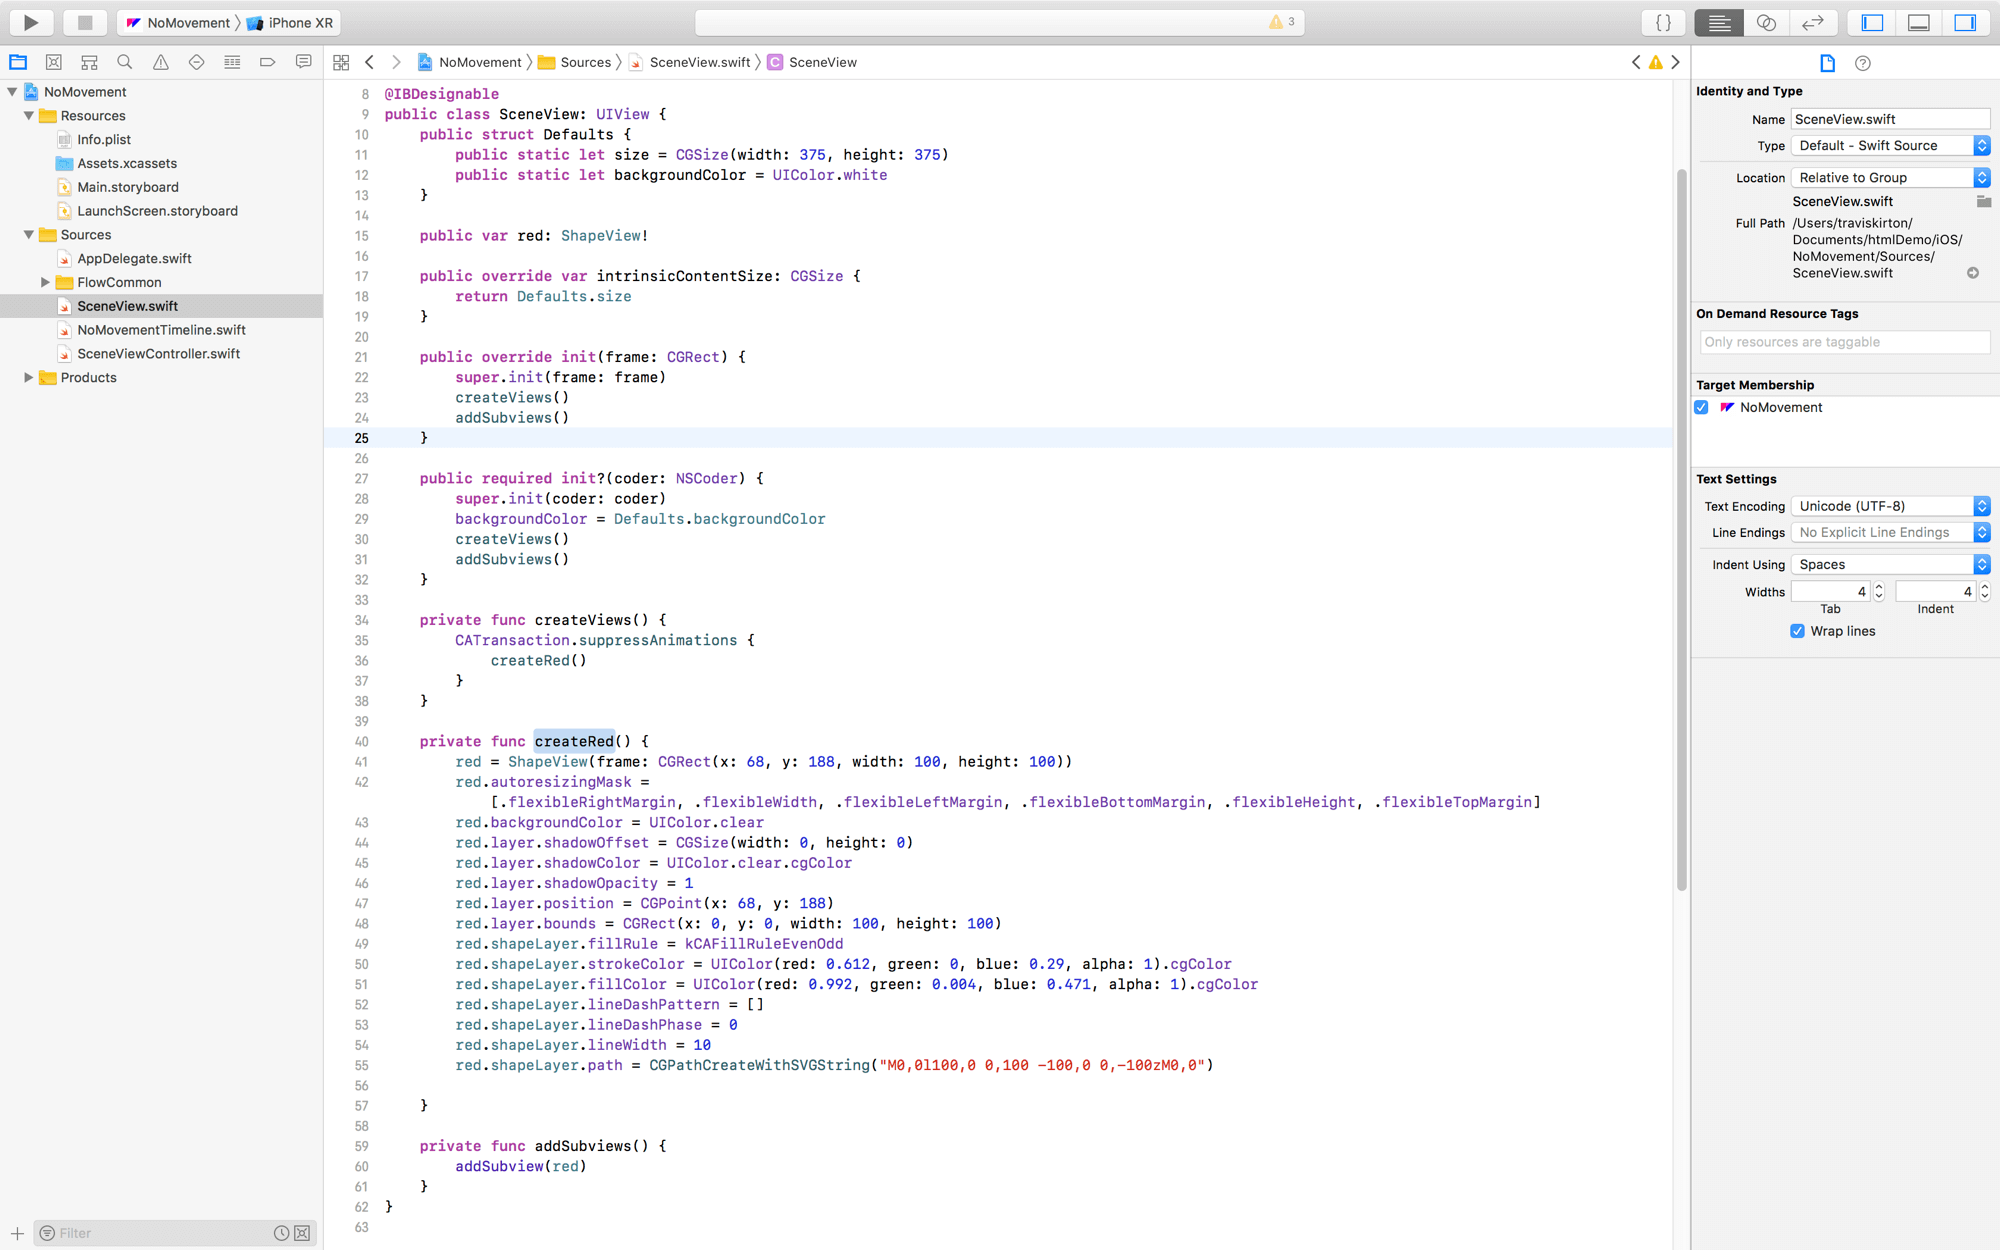
Other methods are constructors for the various views in the Flow project. Since the current animation has only one view, we see only the following method:
private func createRed() {
    red = ShapeView(frame: CGRect(x: 68, y: 188, width: 100, height: 100))
    red.autoresizingMask = [.flexibleRightMargin, .flexibleWidth, .flexibleLeftMargin, .flexibleBottomMargin, .flexibleHeight, .flexibleTopMargin]
    red.backgroundColor = UIColor.clear
    red.layer.shadowOffset = CGSize(width: 0, height: 0)
    red.layer.shadowColor = UIColor.clear.cgColor
    red.layer.shadowOpacity = 1
    red.layer.position = CGPoint(x: 68, y: 188)
    red.layer.bounds = CGRect(x: 0, y: 0, width: 100, height: 100)
    red.shapeLayer.fillRule = kCAFillRuleEvenOdd
    red.shapeLayer.strokeColor = UIColor(red: 0.612, green: 0, blue: 0.29, alpha: 1).cgColor
    red.shapeLayer.fillColor = UIColor(red: 0.992, green: 0.004, blue: 0.471, alpha: 1).cgColor
    red.shapeLayer.lineDashPattern = []
    red.shapeLayer.lineDashPhase = 0
    red.shapeLayer.lineWidth = 10
    red.shapeLayer.path = CGPathCreateWithSVGString("M0,0l100,0 0,100 -100,0 0,-100zM0,0")
}
A few things to note.
redis the same name as the layer in Flow.redis aShapeView, which is a subclass of the nativeUIView.- All the styles for this layer are contained in the constructor.
NoMovementTimeline
There is a timeline, but there’s nothing in it.
public class NoMovementTimeline: Timeline {
    public var view: SceneView

    public init() {
        view = SceneView()
    }

    public init(view: SceneView) {
        self.view = view
    }

    public func reset() {
        let view = self.view
        CATransaction.suppressAnimations() {
        }
    }

    public func animate() {
        let view = self.view
    }
}
As you can see, you can pass a SceneView to a timeline. This is convenient if you have generated more than one animation for a specific layer structure in Flow. For example, if you created separate timelines for a forward and a backward animation.
SceneViewController
There is a SceneViewController that loads everything up, creates a timeline and has a method for initiating that timeline.
public class SceneViewController: UIViewController {
    @IBOutlet public weak var scene: SceneView!
    public var timeline: NoMovementTimeline!
    private var animationCompleted = false

    public override func viewDidLoad() {
        super.viewDidLoad()
        scene.clipsToBounds = true
        timeline = NoMovementTimeline(view: scene)
    }

    @IBAction public func performTimeline(_ sender: Any?) {
        if animationCompleted {
            timeline.reset()
        } else {
            timeline.animate()
        }
        animationCompleted = !animationCompleted
    }
}
It has a IBAction that is tied to the main .xib for the project.
Basic Movement
The next timeline moves the shape from left to right.
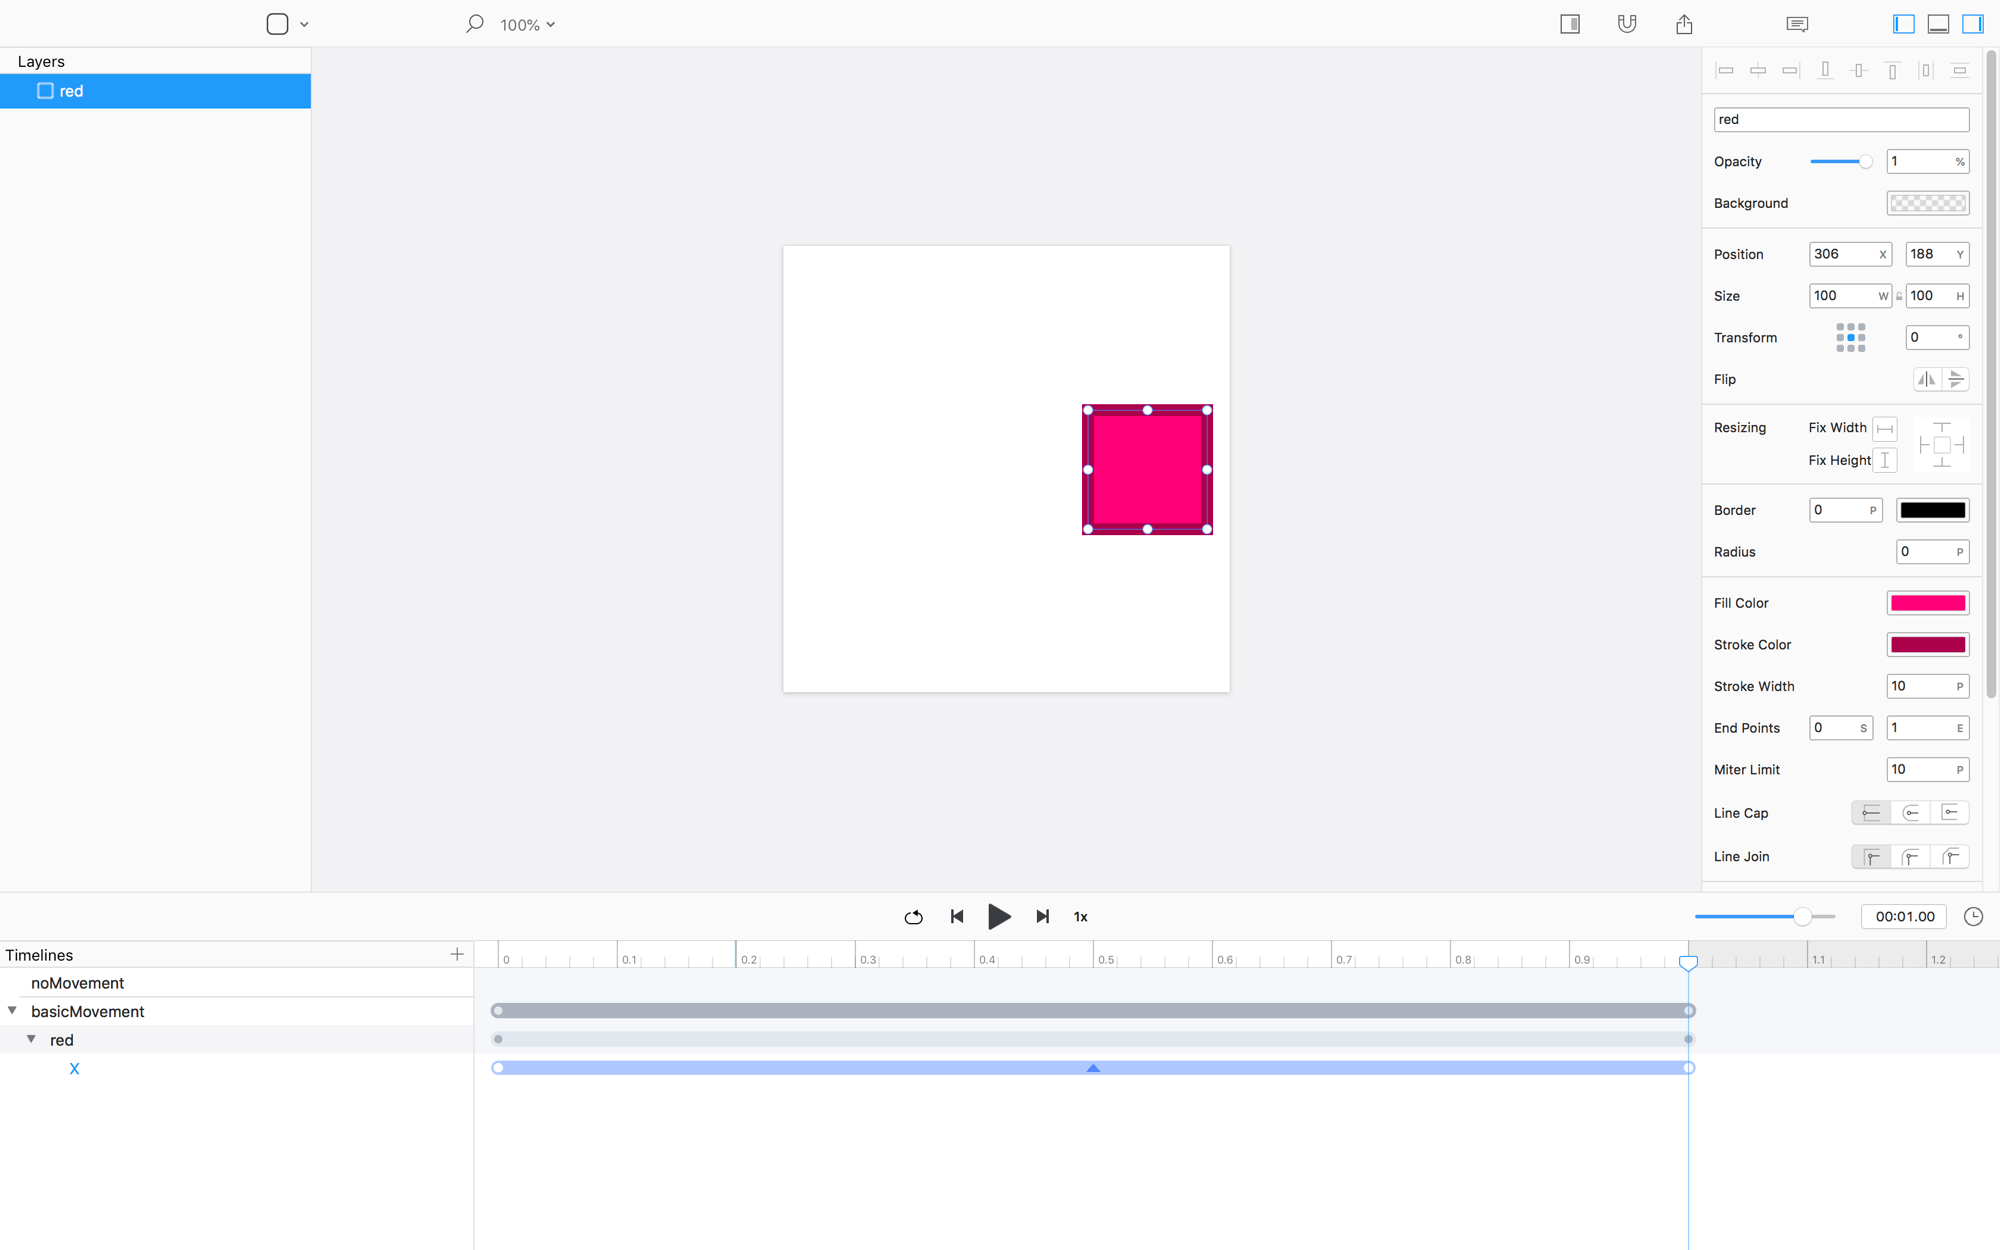
Export the BasicMovement timeline to iOS
After exporting, you’ll notice that the Xcode project files are basically the same.
Animation Differences
The only difference to this project is a few lines in the BasicMovementTimeline:
public func reset() {
    let view = self.view
    CATransaction.suppressAnimations() {
        // reset red
        view.red.layer.removeAllAnimations()
        view.red.shapeLayer.position.x = 68
        view.red.path = CGPathCreateWithSVGString("M0,0l100,0 0,100 -100,0 0,-100zM0,0")
    }
}

public func animate() {
    let view = self.view
    Animation(delay: 0, duration: 1, curve: .easeInOut) {
        view.red.shapeLayer.position.x = 306
    }.animate()
}
The animate() method triggers an Animation (i.e. from FlowCommon), and the reset method puts everything back to its original starting position.
Complex Animation
The third timeline in our document has a more complex animation.
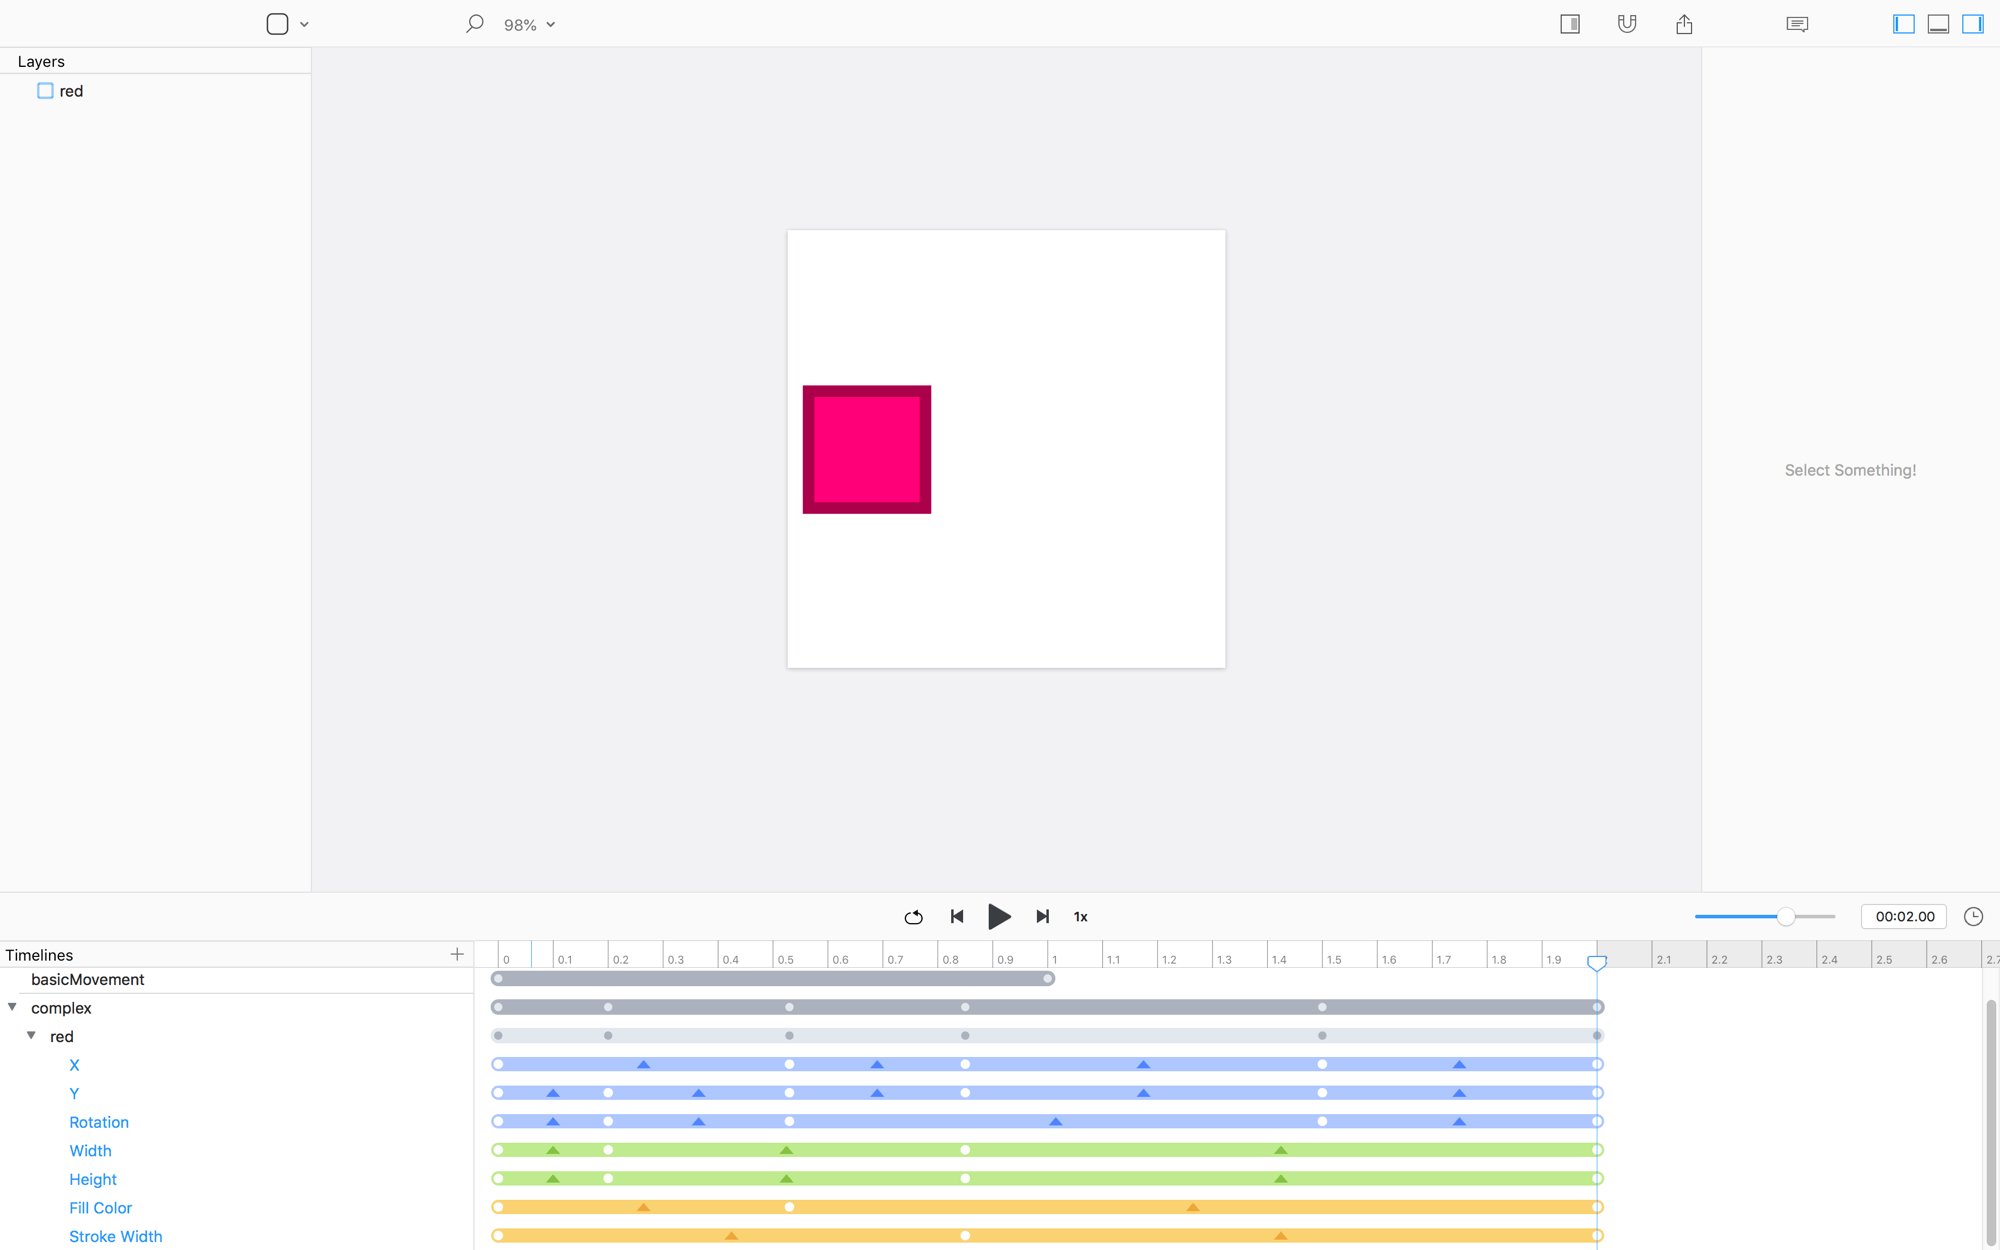
Export the Complex timeline to iOS
Again, the only difference between this and the other two projects is the timeline.
ComplexTimeline
For all you devs out there… Imagine trying to build this from scratch by watching a video that you were given during handoff…
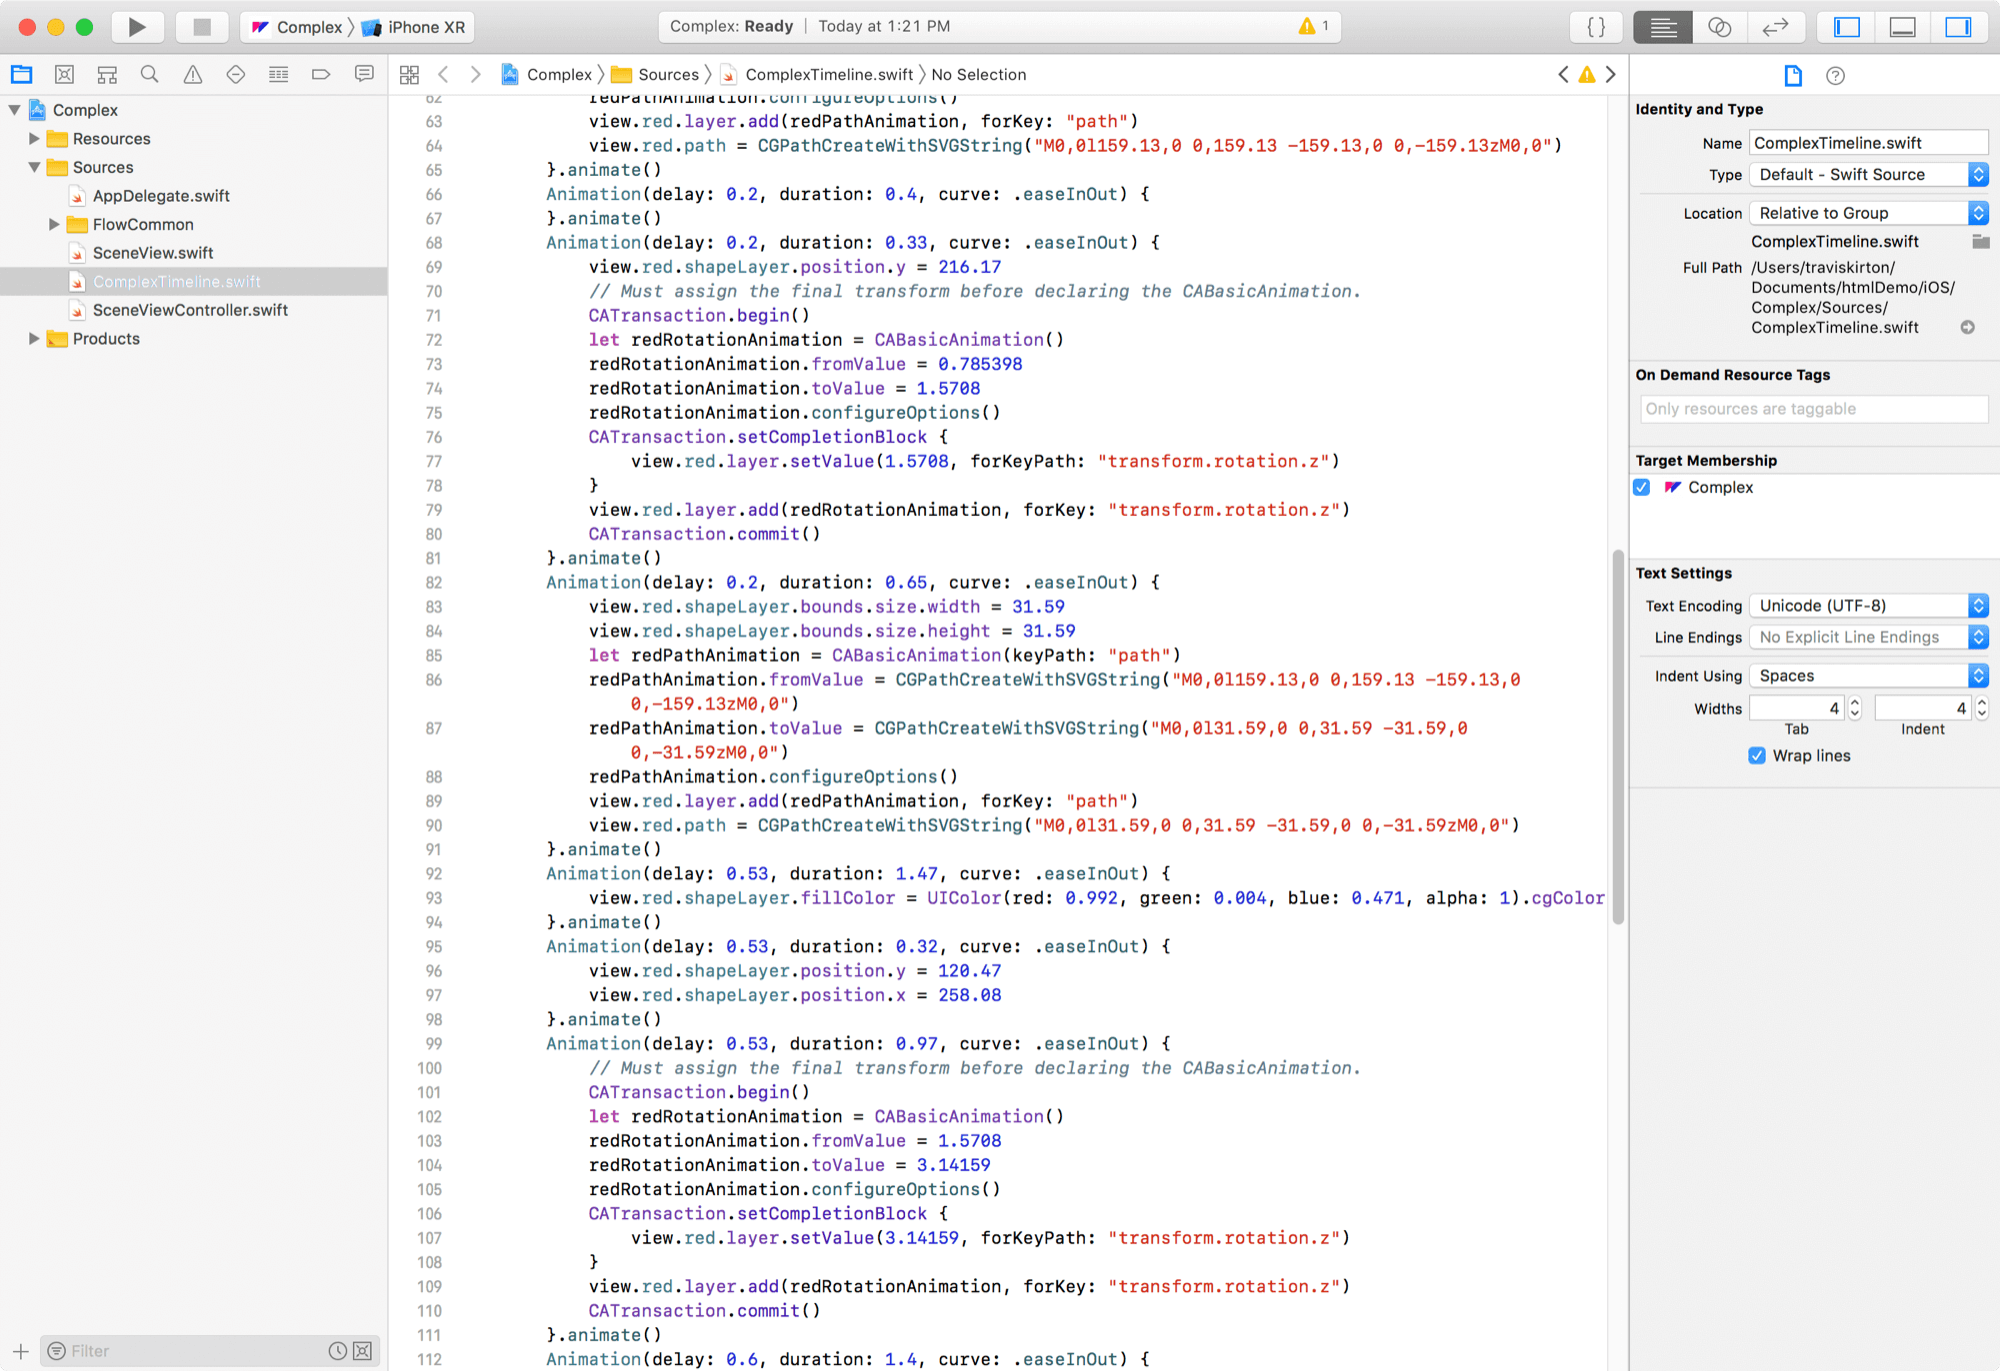
There are so many keyvalues that the animation method is about 140 lines of code!
Recap
The best way to handle animation on iOS is to harness the power of UIView and Core Animation libraries – and Flow does just that.
The common files we export, as well as the custom files, are both light and relatively easy to work with.
Honestly, once you drop FlowCommon into your project you'll never really need to look at or edit any timeline code if it's been animated properly in Flow.
❤︎