Easing Curve Window
One of the most powerful features for bringing flavour to your animations is the easing curve window. Flow has a simple easing curve window that will allow you to quickly choose from a number of preset curves, or design and save custom ones that you make yourself.

Interface
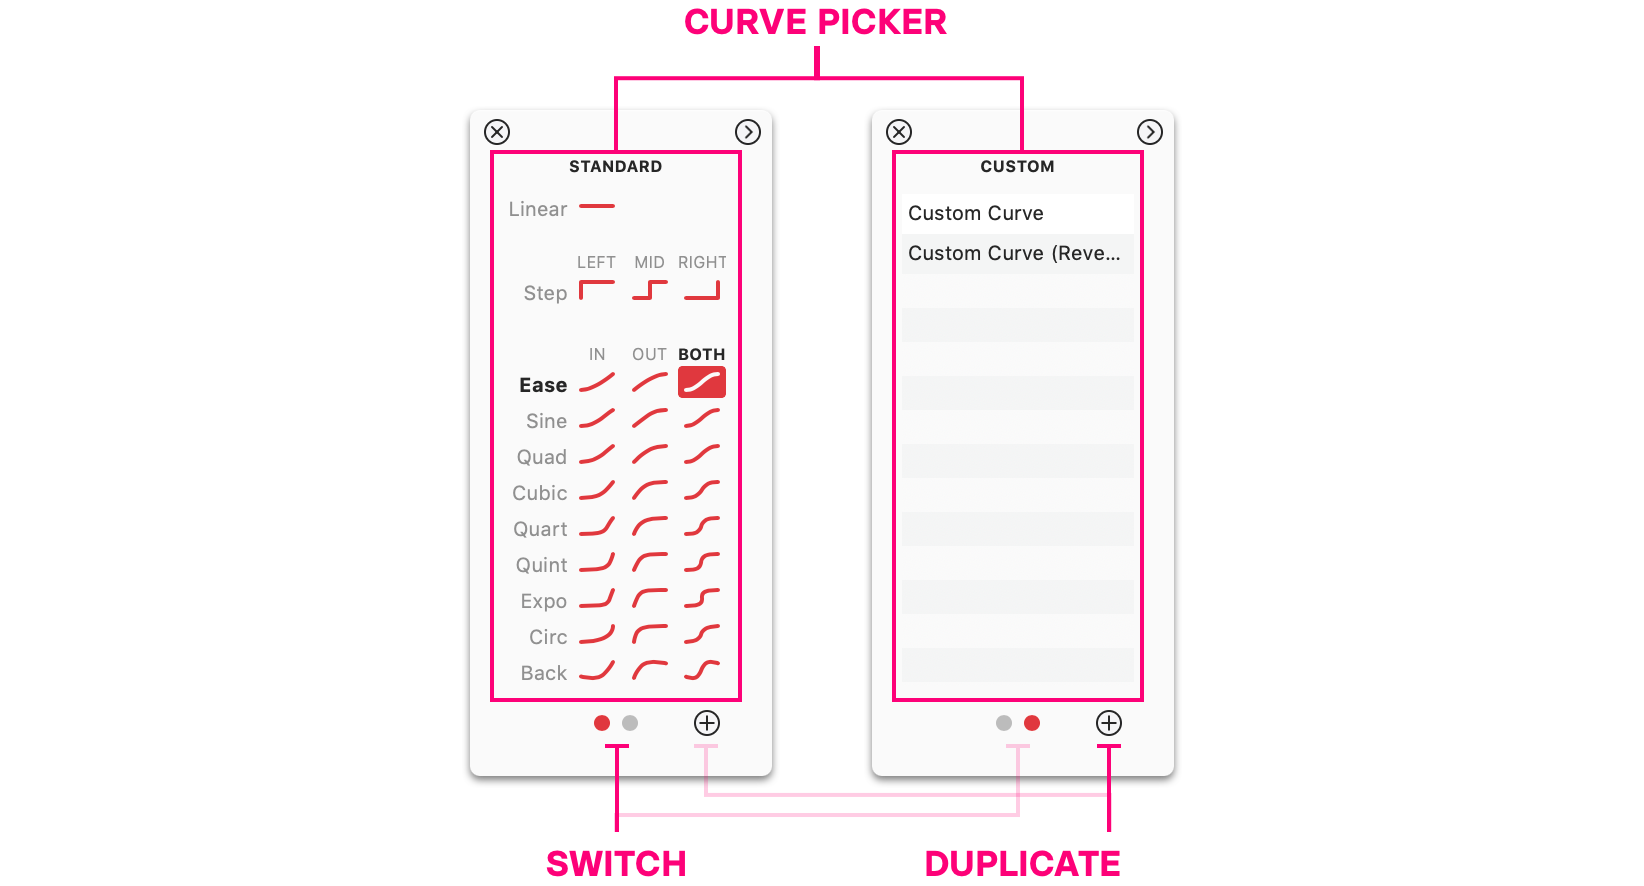
The window is made up of 2 main parts:
- The curve picker
- The editor
It also has a few buttons to know:
- A switch for switching between preset and custom curves
- A plus for duplicating the currently selecte curve
- A toggle for revealing or hiding the editor


Standard Curves
There are 31 preset curves to choose from.
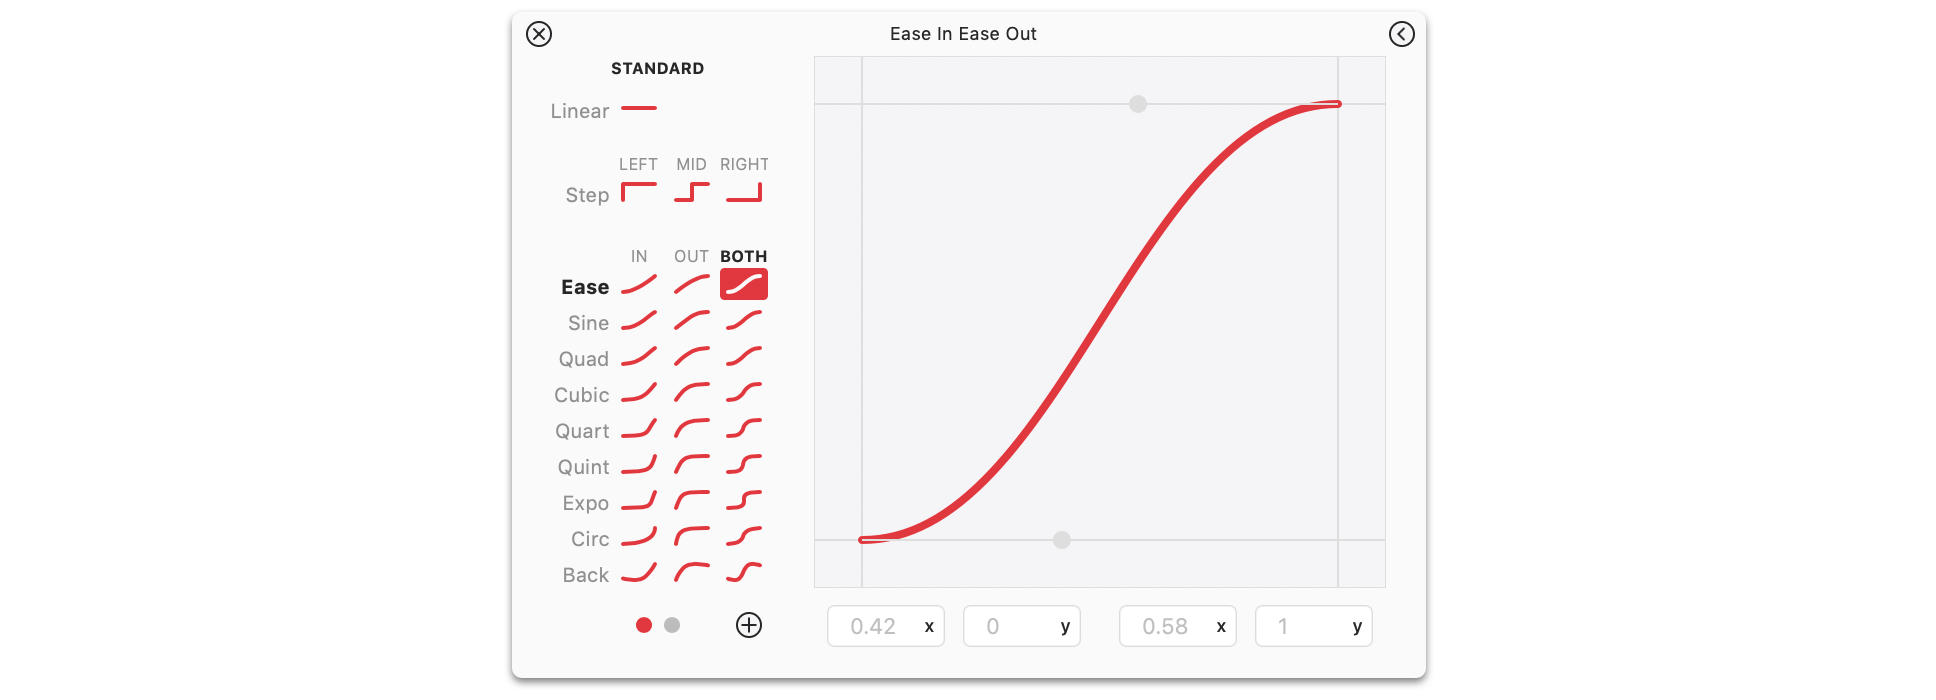
Linear– constant animation between values.Step Left, Middle, Right– automatic switch between values.Easing curves– lovely animation between curves.
Step Curves
Steps are a kind of curve unique to Flow. They indicate an immediate switch to the next value in an animaiton. One thing to remember is that an easing curve always represents the change in value between two keyvalues.
Left: the property value changes at the time of the first keyvalue.Middle: the property value changes the timetthat falls at the midpoint between two keyvalues.Right: the property value changes at the time of the second keyvalue.

Easing Curves
There are 7 categories of easing curves:
EaseSineQuadCubicQuartExpoCircBack
The values are similar to the classics defined by Robert Penner way back in the day.
For each of the classes of curve, you’ll find these variations:
InOutBoth(a.k.aInOut)

Selecting Curves
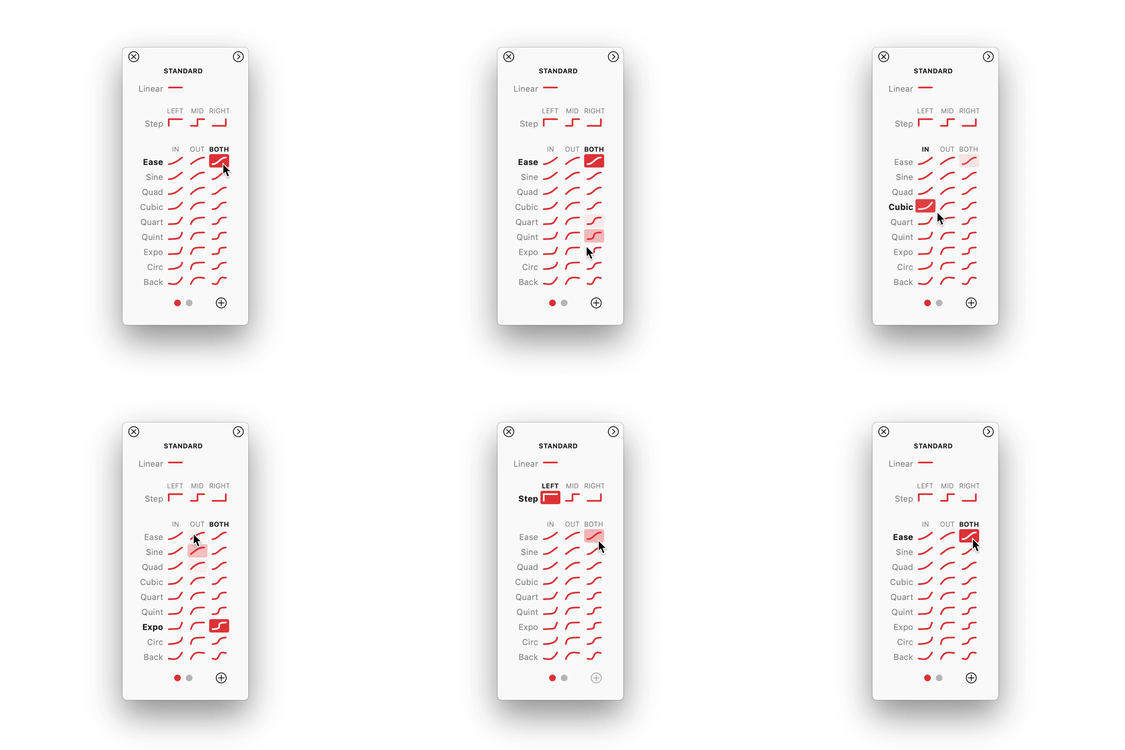
Every pair of keyvalues has an easing function associated with it, which you can change by clicking on the icon on a track between those two values. Selecting a curve changes the immediately updates track value.

Non-animating Properties
Things that cannot be animated or, more precisely, have only discrete values can only use steps.
Examples of non-animating properties:
- dash pattern
- text string
- flips (horizontal / vertical)
- etc.
Editor
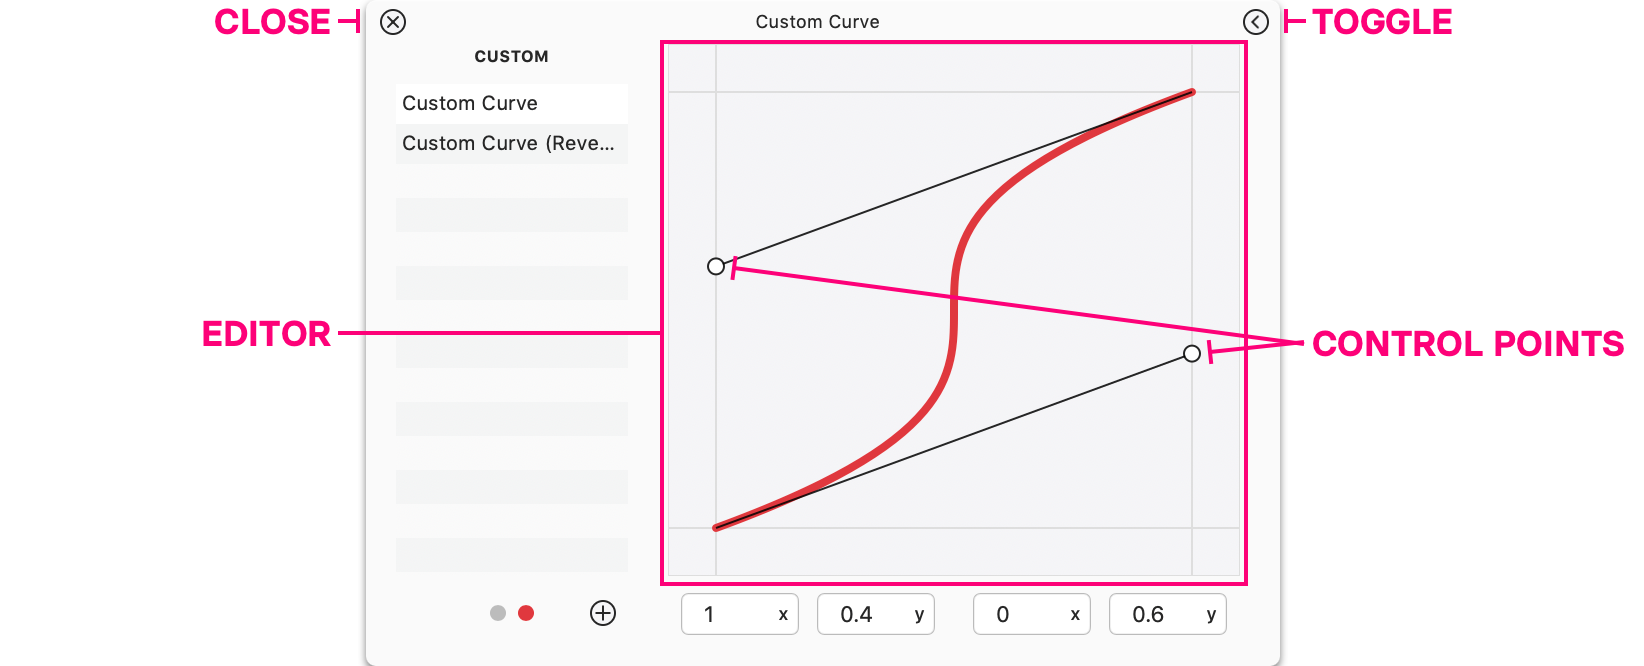
The editor is a view showing the currently selected curve, including both its shape and the control points that define the curve. Only custom curves are editable. The control points of custom curves are draggable.

Duplicating
To edit a preset curve, you must first duplicate it. You do this by selecting the curve, then pressing the + button at the bottom of the window.

Duplicating a curve also creates a reversed copy of the curve
Editing Curves
To edit a curve, simply drag its control points or input values into the fields at the bottom of the editor.

Things to note:
- The
xvalue is always clamped betwen 0 and 1 - The
yvalue can range from -100 to 100 - If your animation is looping, changes to the curve will be seen in real time.
- Editing a custom curve will update ALL instances of curves in the timeline
Renaming
To rename a curve, simply double-click on its label in the custom curve list and edit the name. Only the forward curve can be renamed, and when doing so the reverse curve is renamed to match.
Deleting
Deleting a curve from the custom list is easy. Press the DELETE key.
Here are the rules for what happens to the currently selected curve when you delete a custom curve from the window:
- It will become the next curve above the selection.
- If the top curve in the list is being deleted, it will become the next curve below the selection.
- If there is only one curve in the list, then it will default to Ease In Out.
Multiple Curves
You can select multiple curves and edit them all at once. To do this, you must first select multiple keyvalues on the timeline then click the easing curve icon in the property panel that appears.
The curves to the right of each selected keyvalue will be selected – you’ll see the indicator around the ones that will be affected.
If a non-animating property in the selection, only step left / right / middle will be available
Tips
Here’s a few extra tips for working with the curve editor.
- Curves can have the same name, but Flow will recognize them as different curves.
- Curve icons on a track are identical to those in the window
- Custom curve icon is a C
- You can UNDO the selection of curves
- Clicking a keyvalue in a track selects it, and the selection will persist until you click it again, make another selection or close the window.
- Keyvalues and curves can be selected at the same time…
- Clicking a curve will deselect itself or all other curves.
- Closing the window deselects all curves