
Understanding the Xcode Project for Custom Buttons
Let’s have a look at how the Xcode project is broken down. The main place to look is the Project navigator, where you’ll see that we’ve separated the project into 2 categories:
- Resources – image assets, storyboards, etc.
- Sources – code.
Resources
This folder contains 3 main things:
/Assets– a directory with all static assets for the project.Main.storyboard– a file that contains the app structure.LaunchScreen.storyboard– a file used when launching the application.
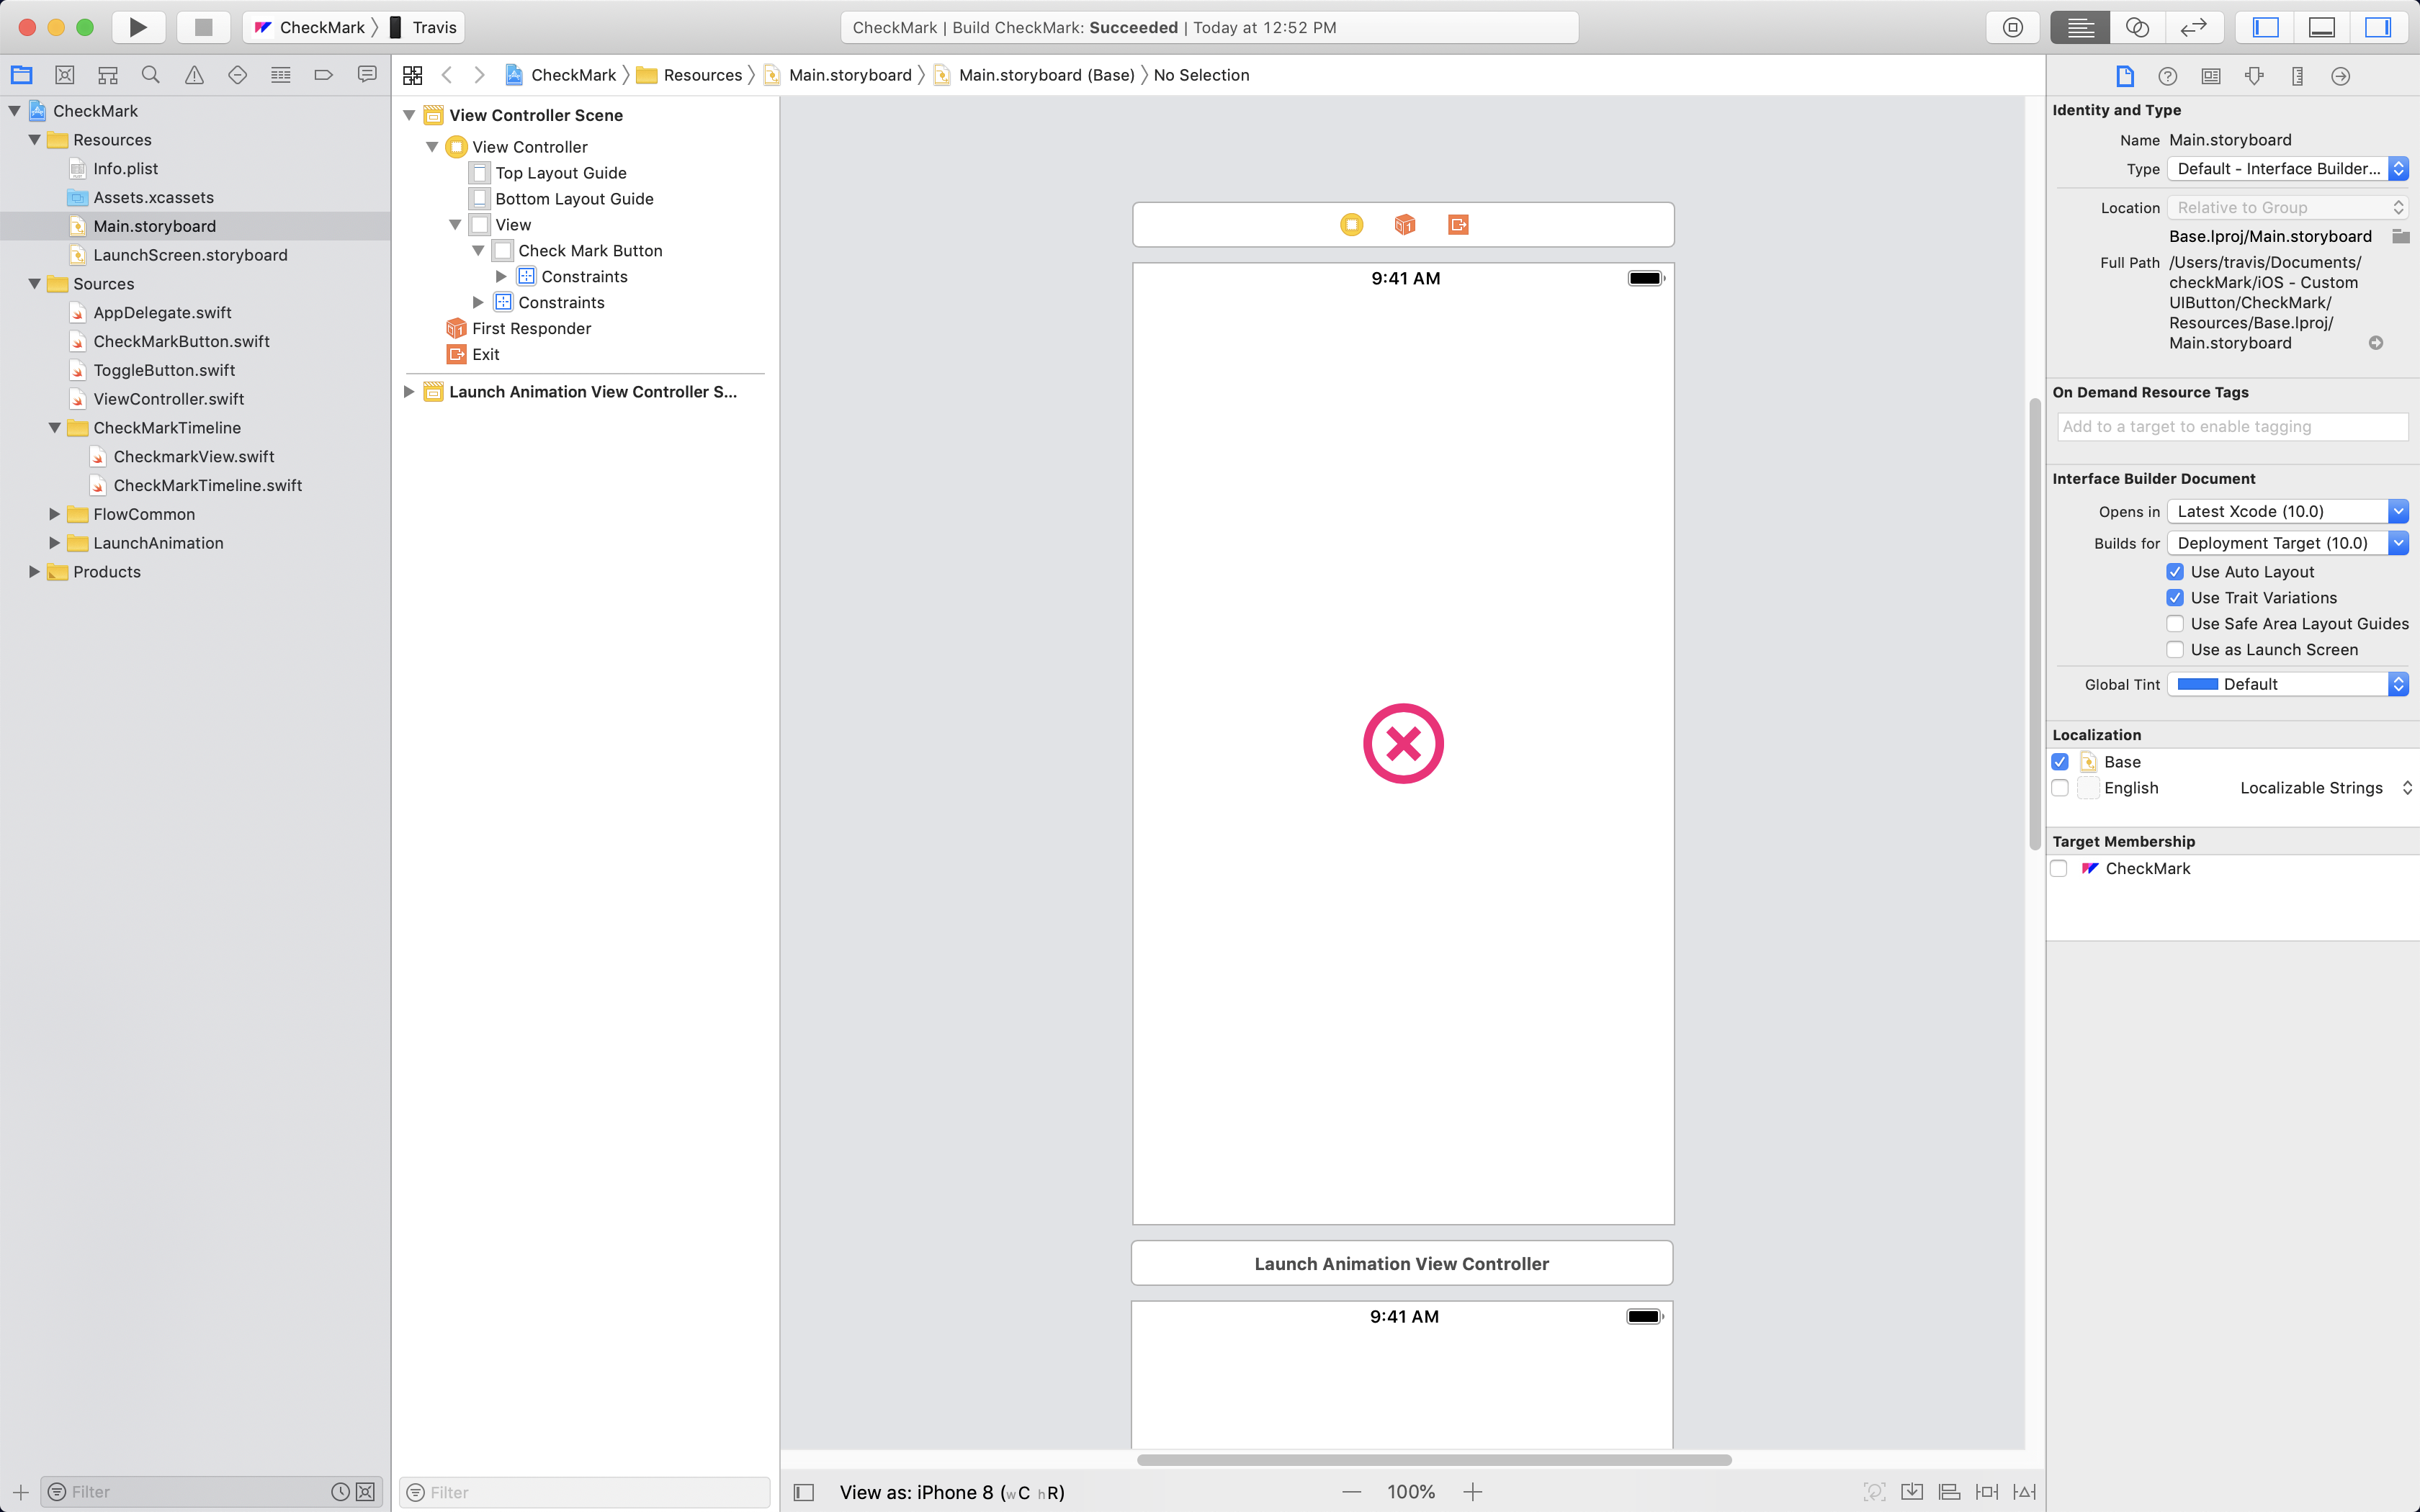
Main.storyboard
This is the main storyboard file for your application. It depicts the first view that the user will see (which is identified with an arrow pointing to it), and contains other subsequent views.
In the onboarding animation’s main storyboard, there are two view controllers:
- Launch Animation – The standard launch animation that comes with most of our exports.
- View Controller – A standard iOS View Controller with a custom
UIButton.
For more on storyboards, check out Apple’s documentation
Source
This folder contains all the source code for running the application. It is further broken down into:
FlowCommon– files required for running Flow projects.LaunchAnimation– files for handling our default launch animation.FlowOnboardingTimeline– files for constructing your animation and linking it to the scrollview.
It also contains the following three key files:
ViewController.swift– a shell of aUIViewControllerextension, for your customization needs.ToggleButton.swift– an extension ofUIButtonthat accepts two timelines and has a built-in functionality for handlingtouchUpnotifications.Button.swift– an extension ofToggleButtonthat contains rerferences to your animation’s view, and timelines.
The
Button.swiftfile adopts the name of the timeline you exported from Flow.
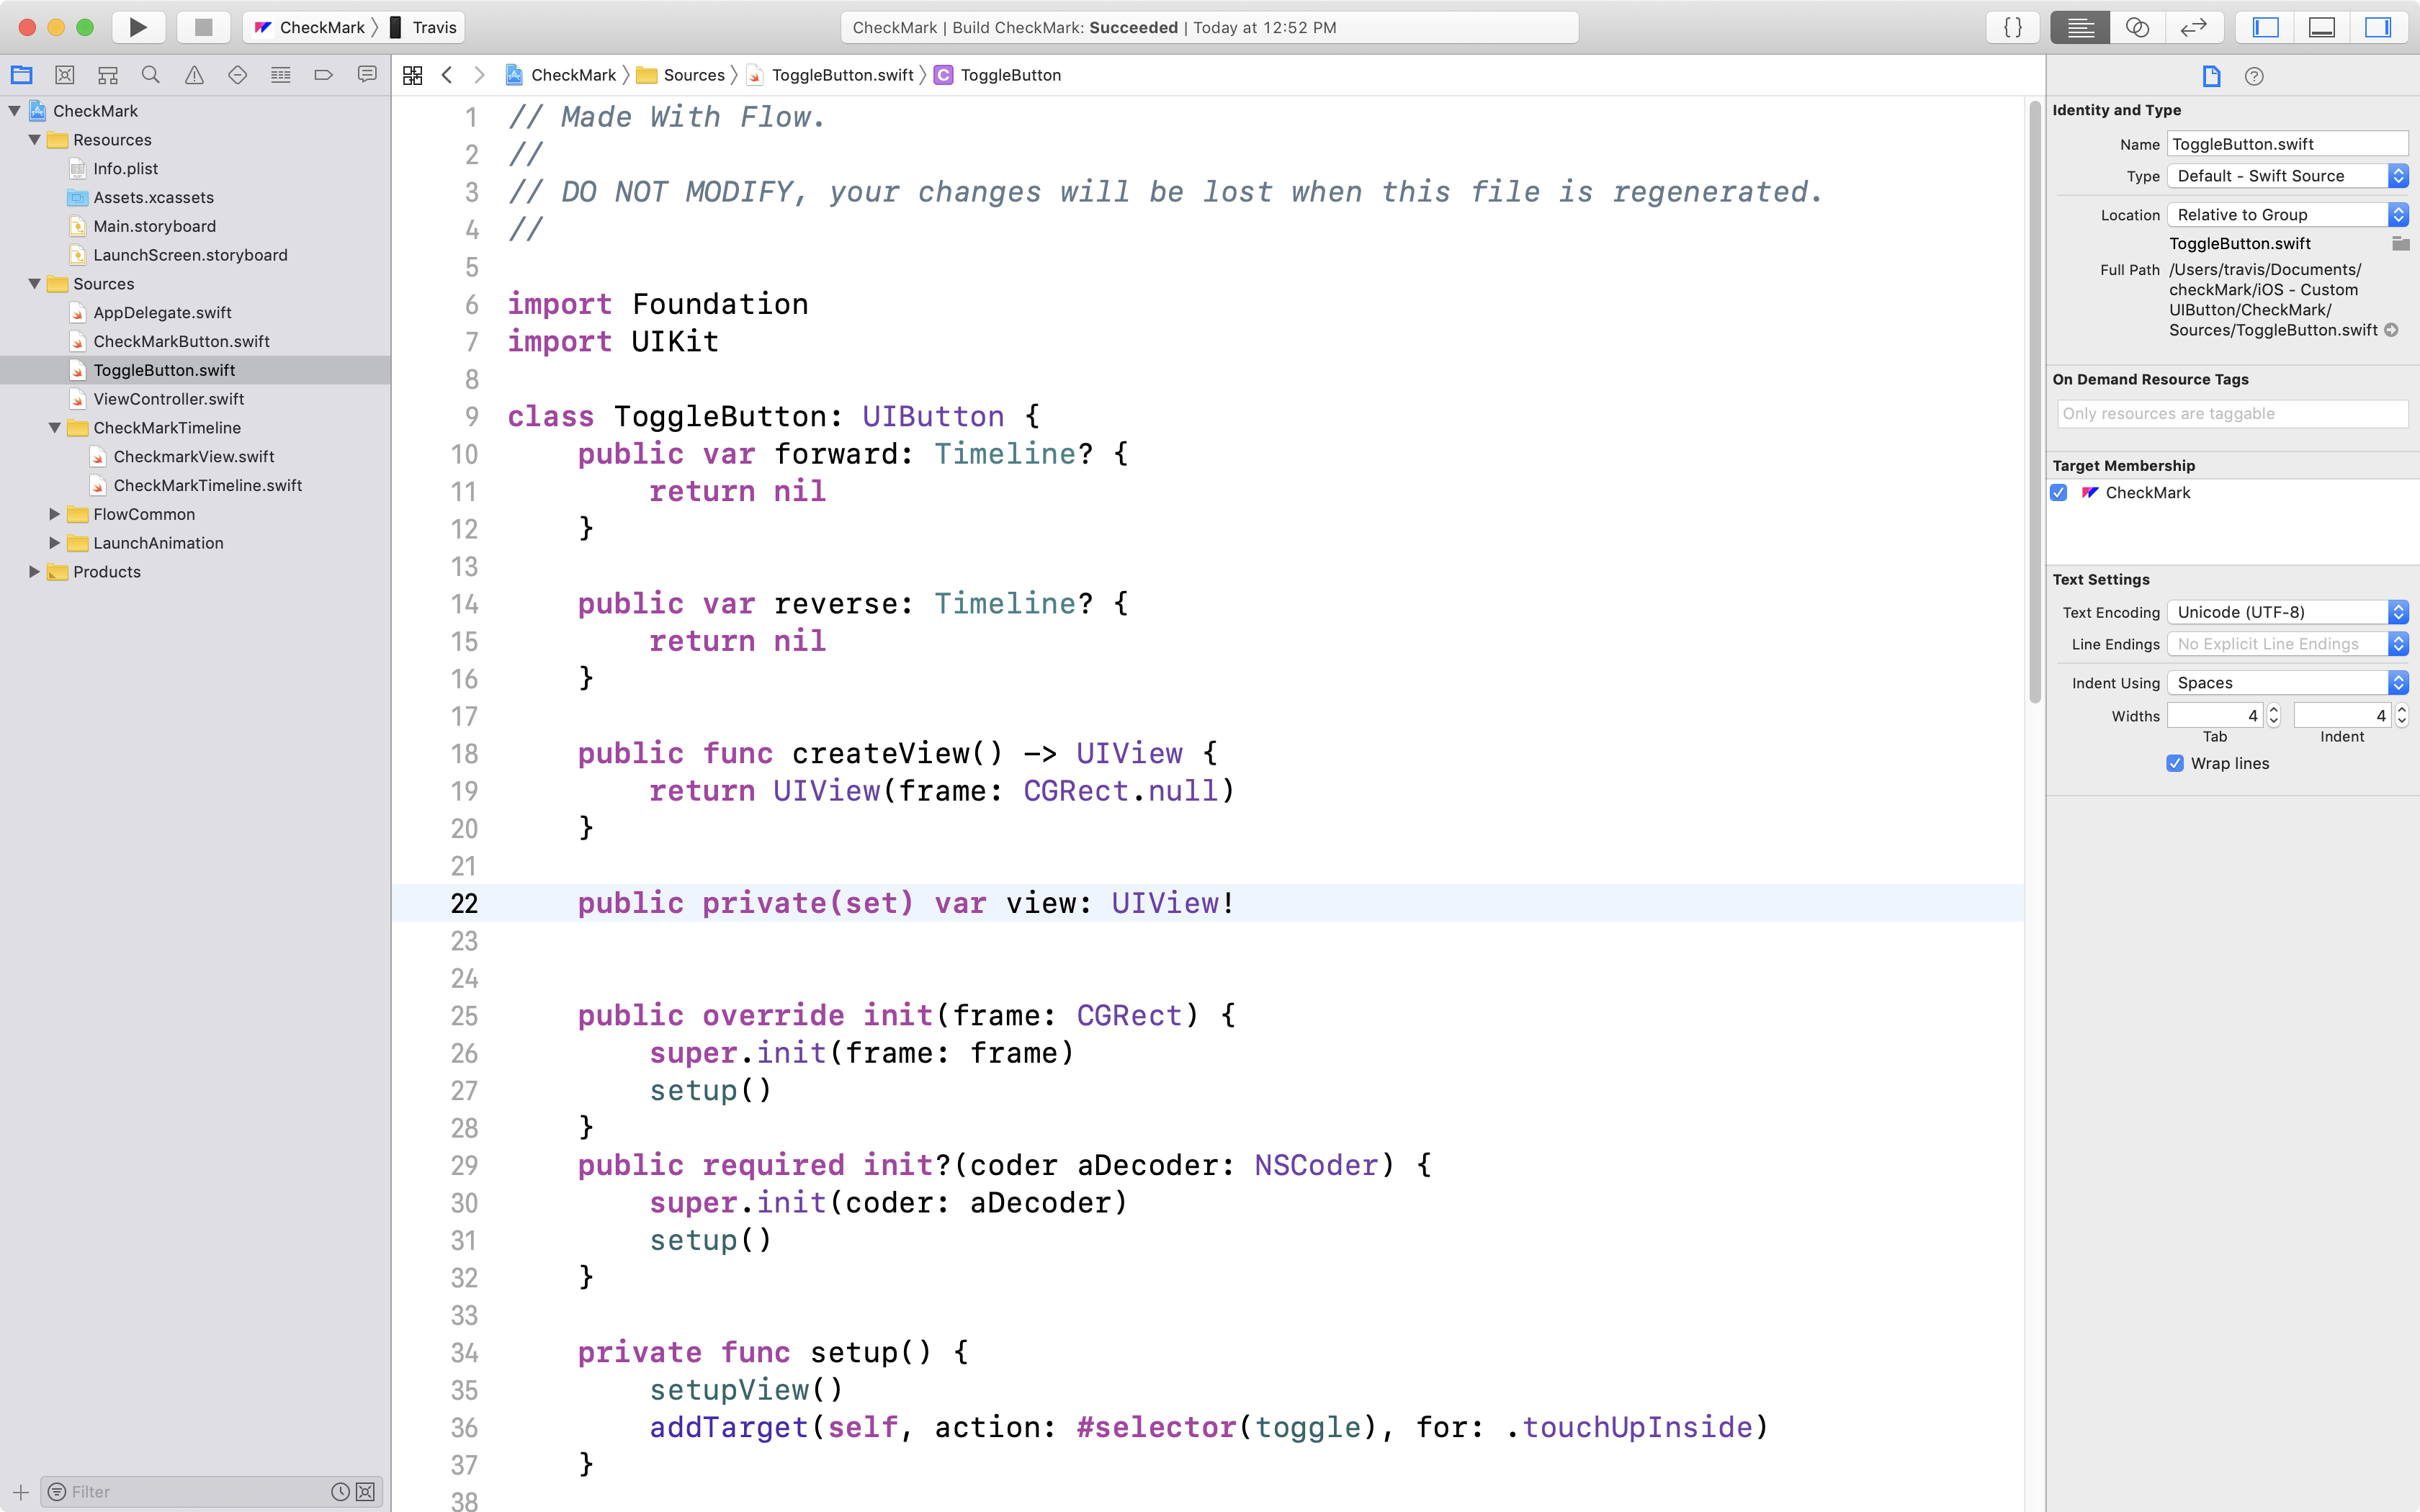
ToggleButton.swift
This file is a very simple extension of the UIButton class, so it behaves exactly as a standard iOS button.
class ToggleButton: UIButton {
  ...
}
It has variables for referencing the forward and reverse timelines from your animation:
public var forward: Timeline? {
    return nil
}

public var reverse: Timeline? {
    return nil
}
It has a variable for the animated view as well as methods for setting it up:
public private(set) var view: UIView!

private func setup() {
    setupView()
    addTarget(self, action: #selector(toggle), for: .touchUpInside)
}

private func setupView() {
    view = createView()
    addSubview(view)
}
And, most importantly, it has a toggle method for controlling the animations:
@objc
func toggle() {
    if isSelected {
        reverse?.play()
    } else {
        forward?.play()
    }
    super.isSelected = !isSelected
}
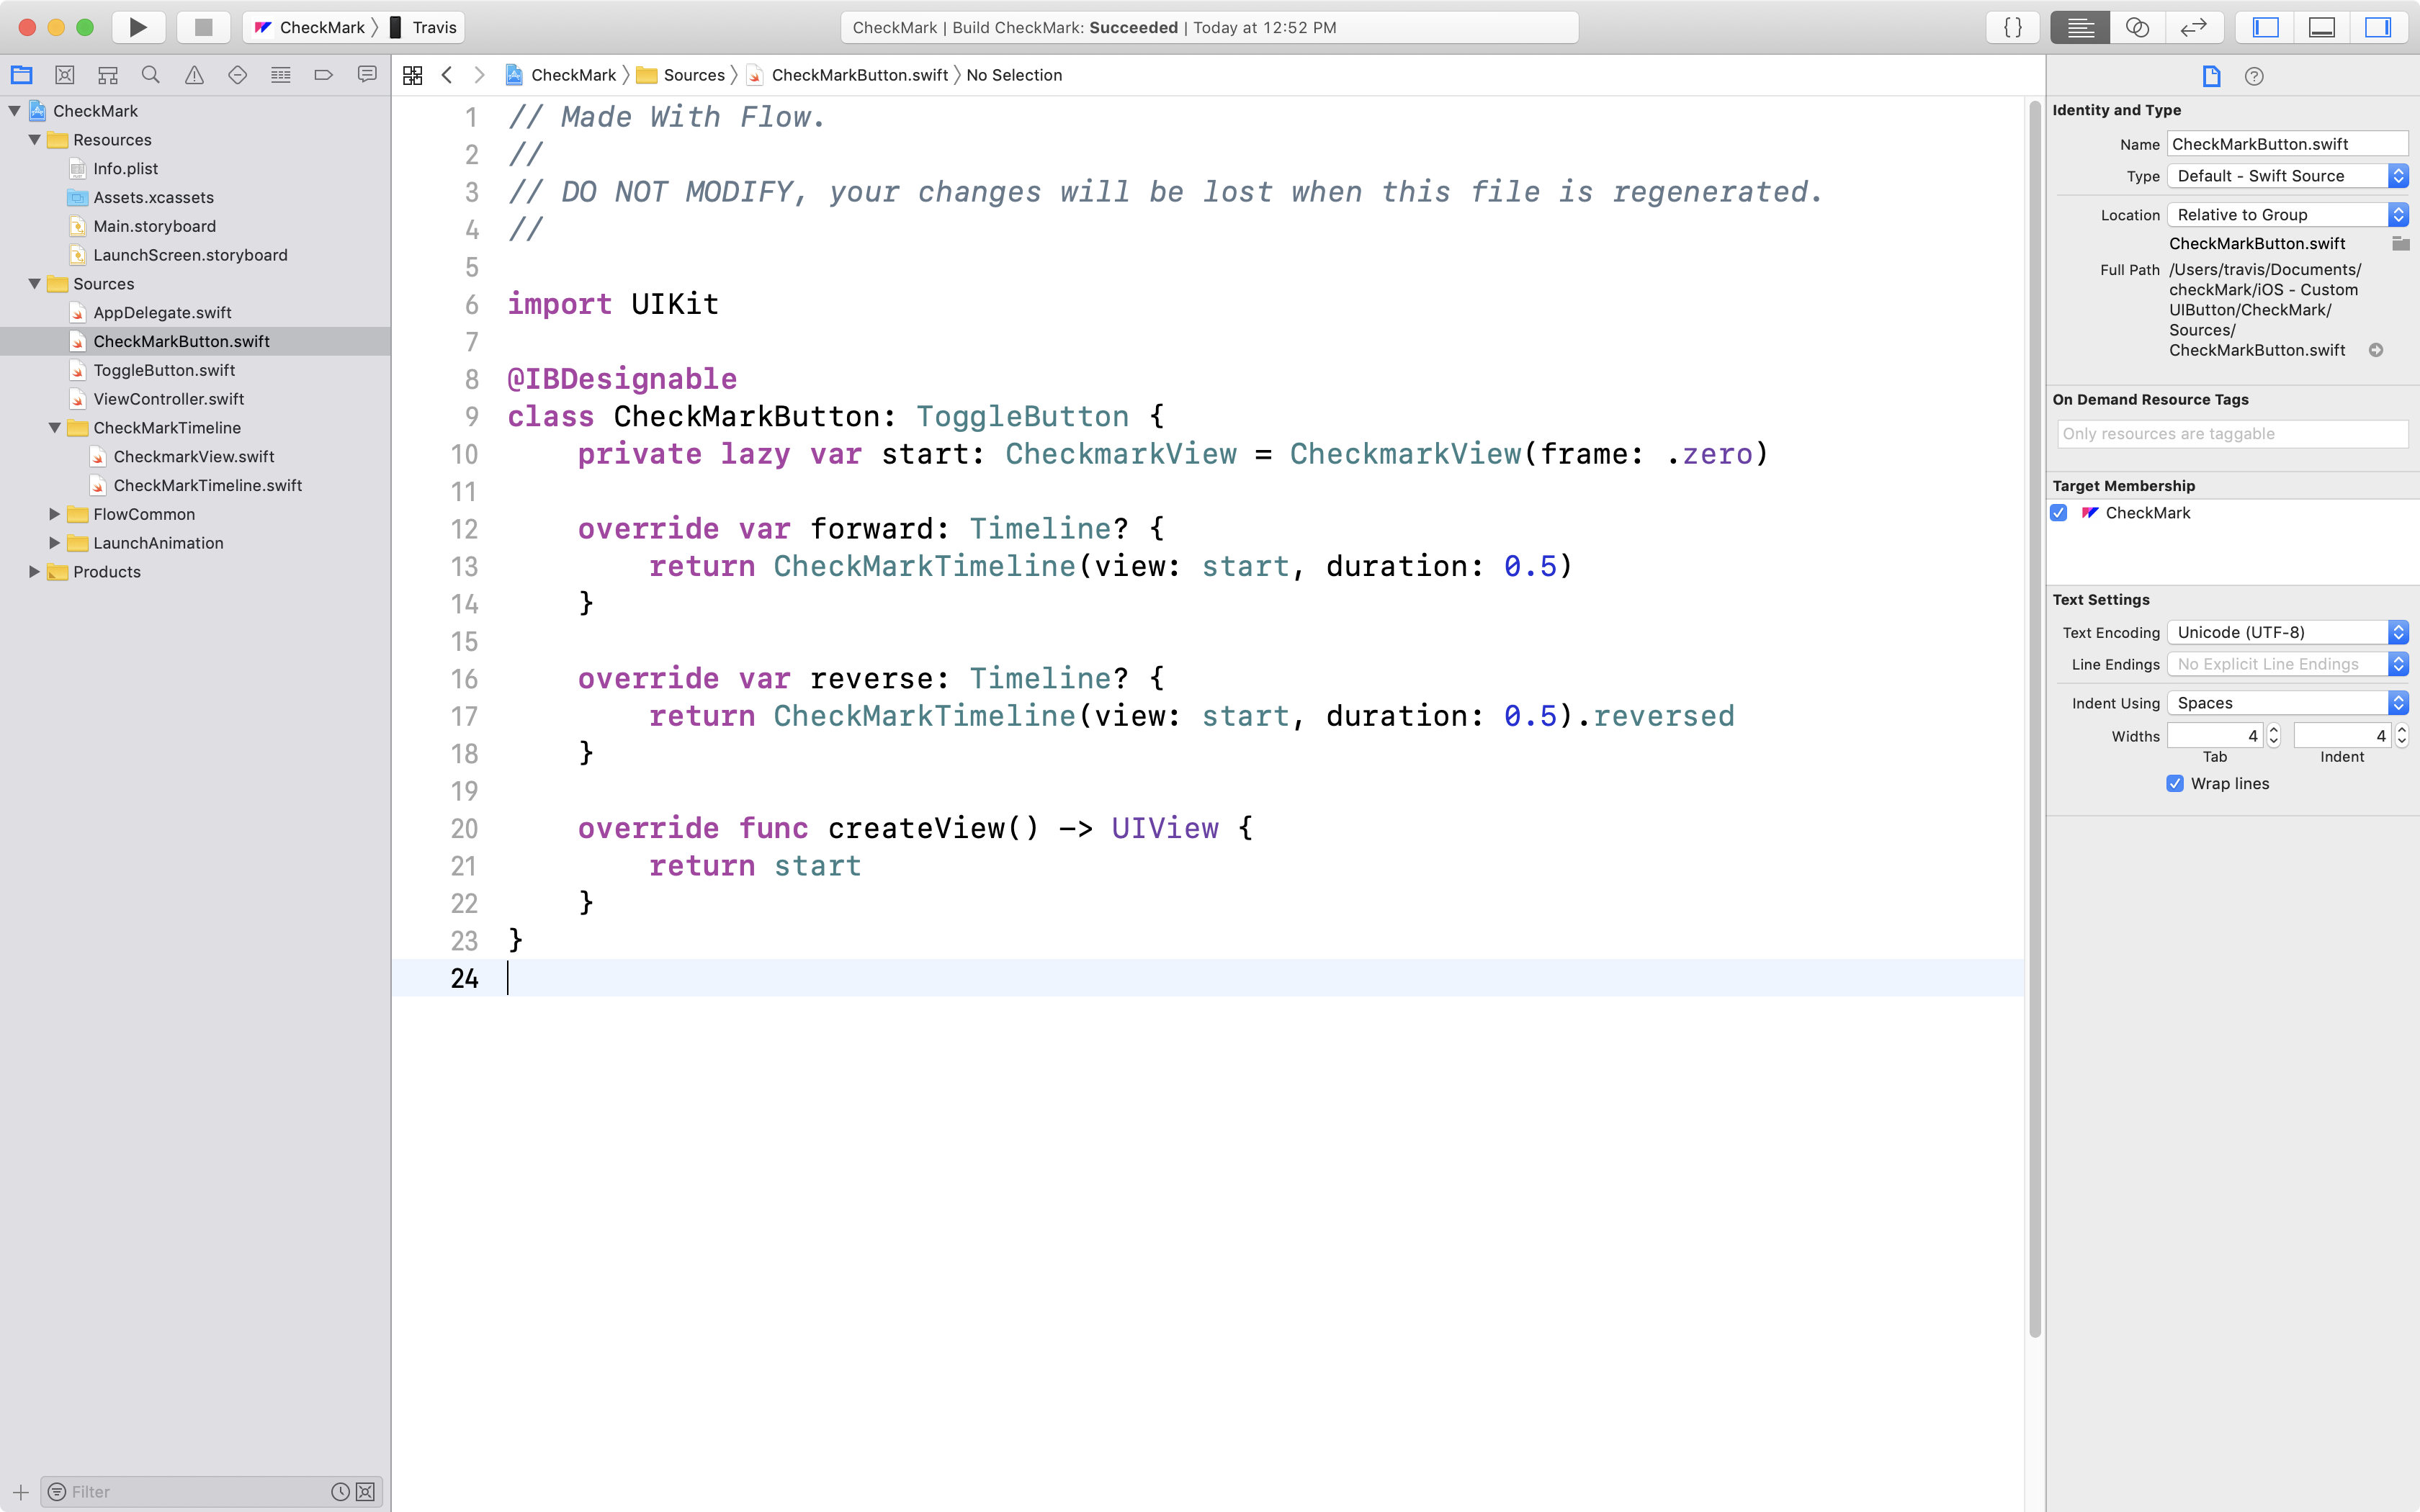
Button.swift
This is a simple extension of the ToggleButton class, and has direct references to your custom animation.
This file adopts the name of the timeline you exported from Flow.
The entire class looks like this:
@IBDesignable
class CheckMarkButton: ToggleButton {
    private lazy var start: CheckmarkView = CheckmarkView(frame: .zero)

    override var forward: Timeline? {
        return CheckMarkTimeline(view: start, duration: 0.5)
    }

    override var reverse: Timeline? {
        return CheckMarkTimeline(view: start, duration: 0.5).reversed
    }

    override func createView() -> UIView {
        return start
    }
}
CheckmarkTimeline Folder
This folder contains 2 files:
View.swift– This file contains all the layout for the animation’s view.Timeline.swift– The timeline for the onboarding animation.
Both of these files adopt the name of the timeline you exported from Flow.
View.swift
This file contains all the layout for the button’s animated view.
There’s not much to this file other than layout code for the first frame of your animation.
Timeline.swift
This file contains all the timing information for the button’s animation.
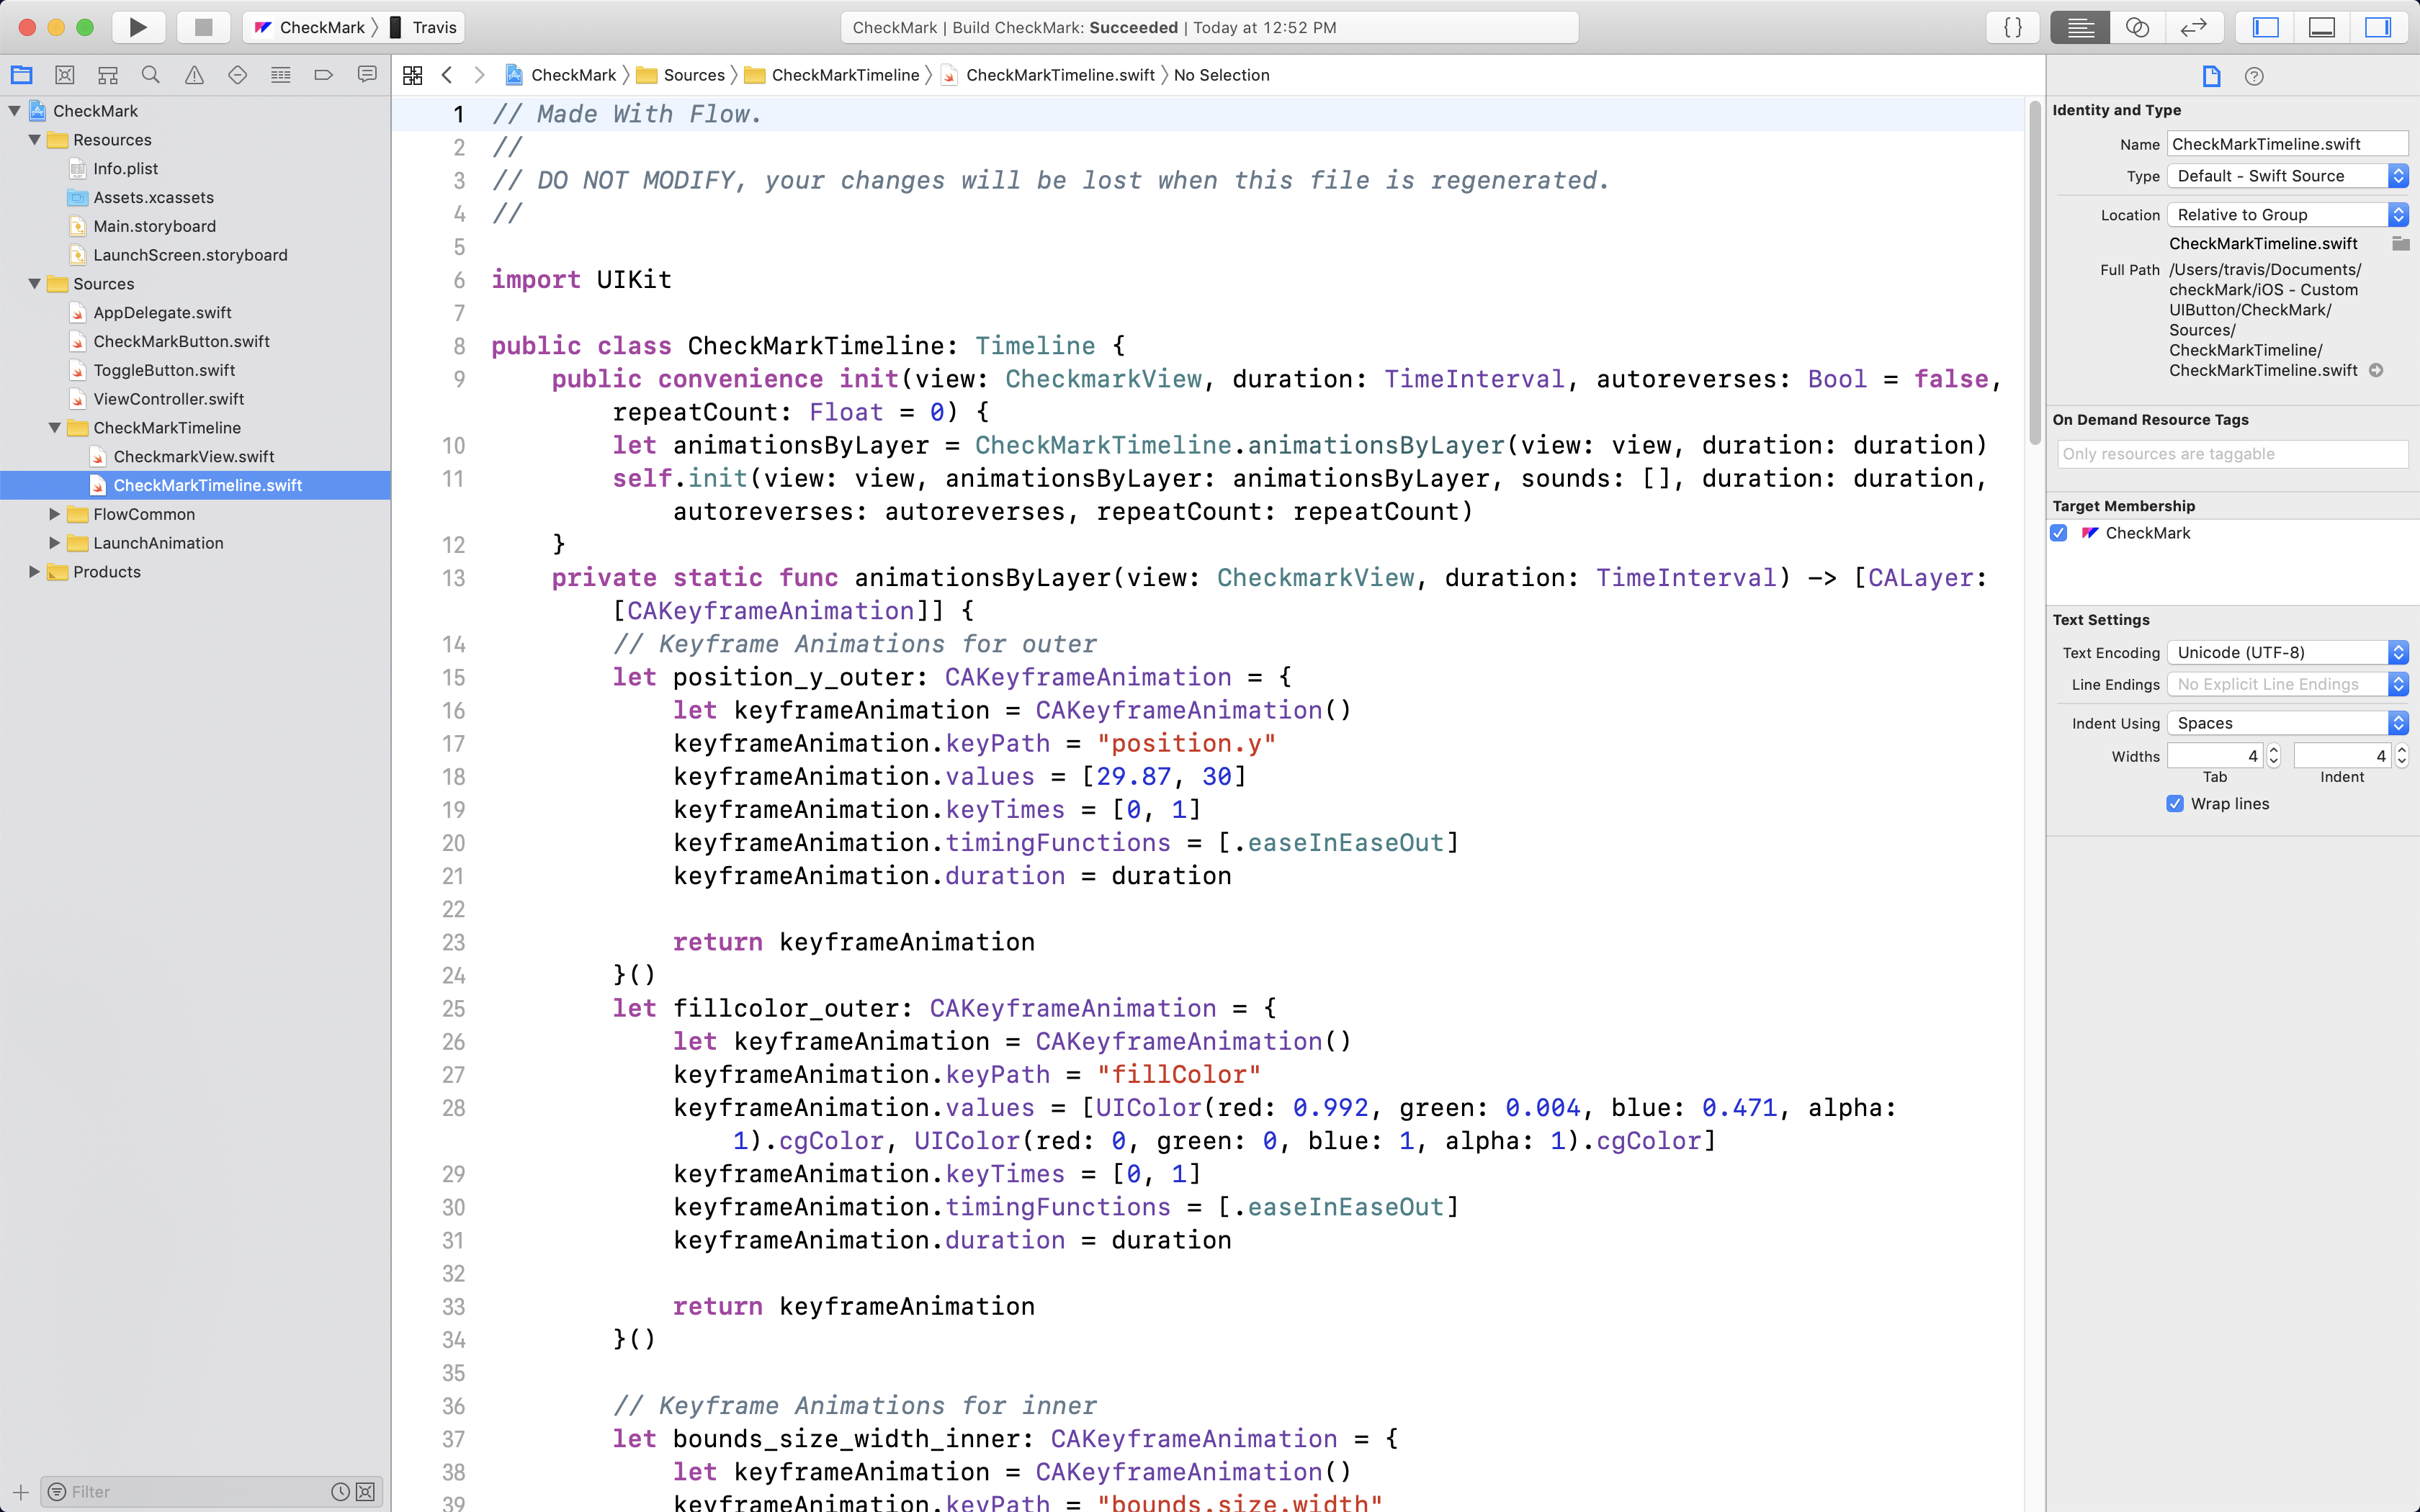
Don’t worry if this file gets quite long, depending on the complexity of your animation there may be a few hundred, or thousands of lines.
Interface Builder
Since the exported code is a subclass of UIButton, and its interaction is self-contained (i.e. check the toggle method above), the way you get it to work is by adding a button to your storyboard file and changing its class.

Here is a 3/4 view of the button, with the actual UIButton highlighted.
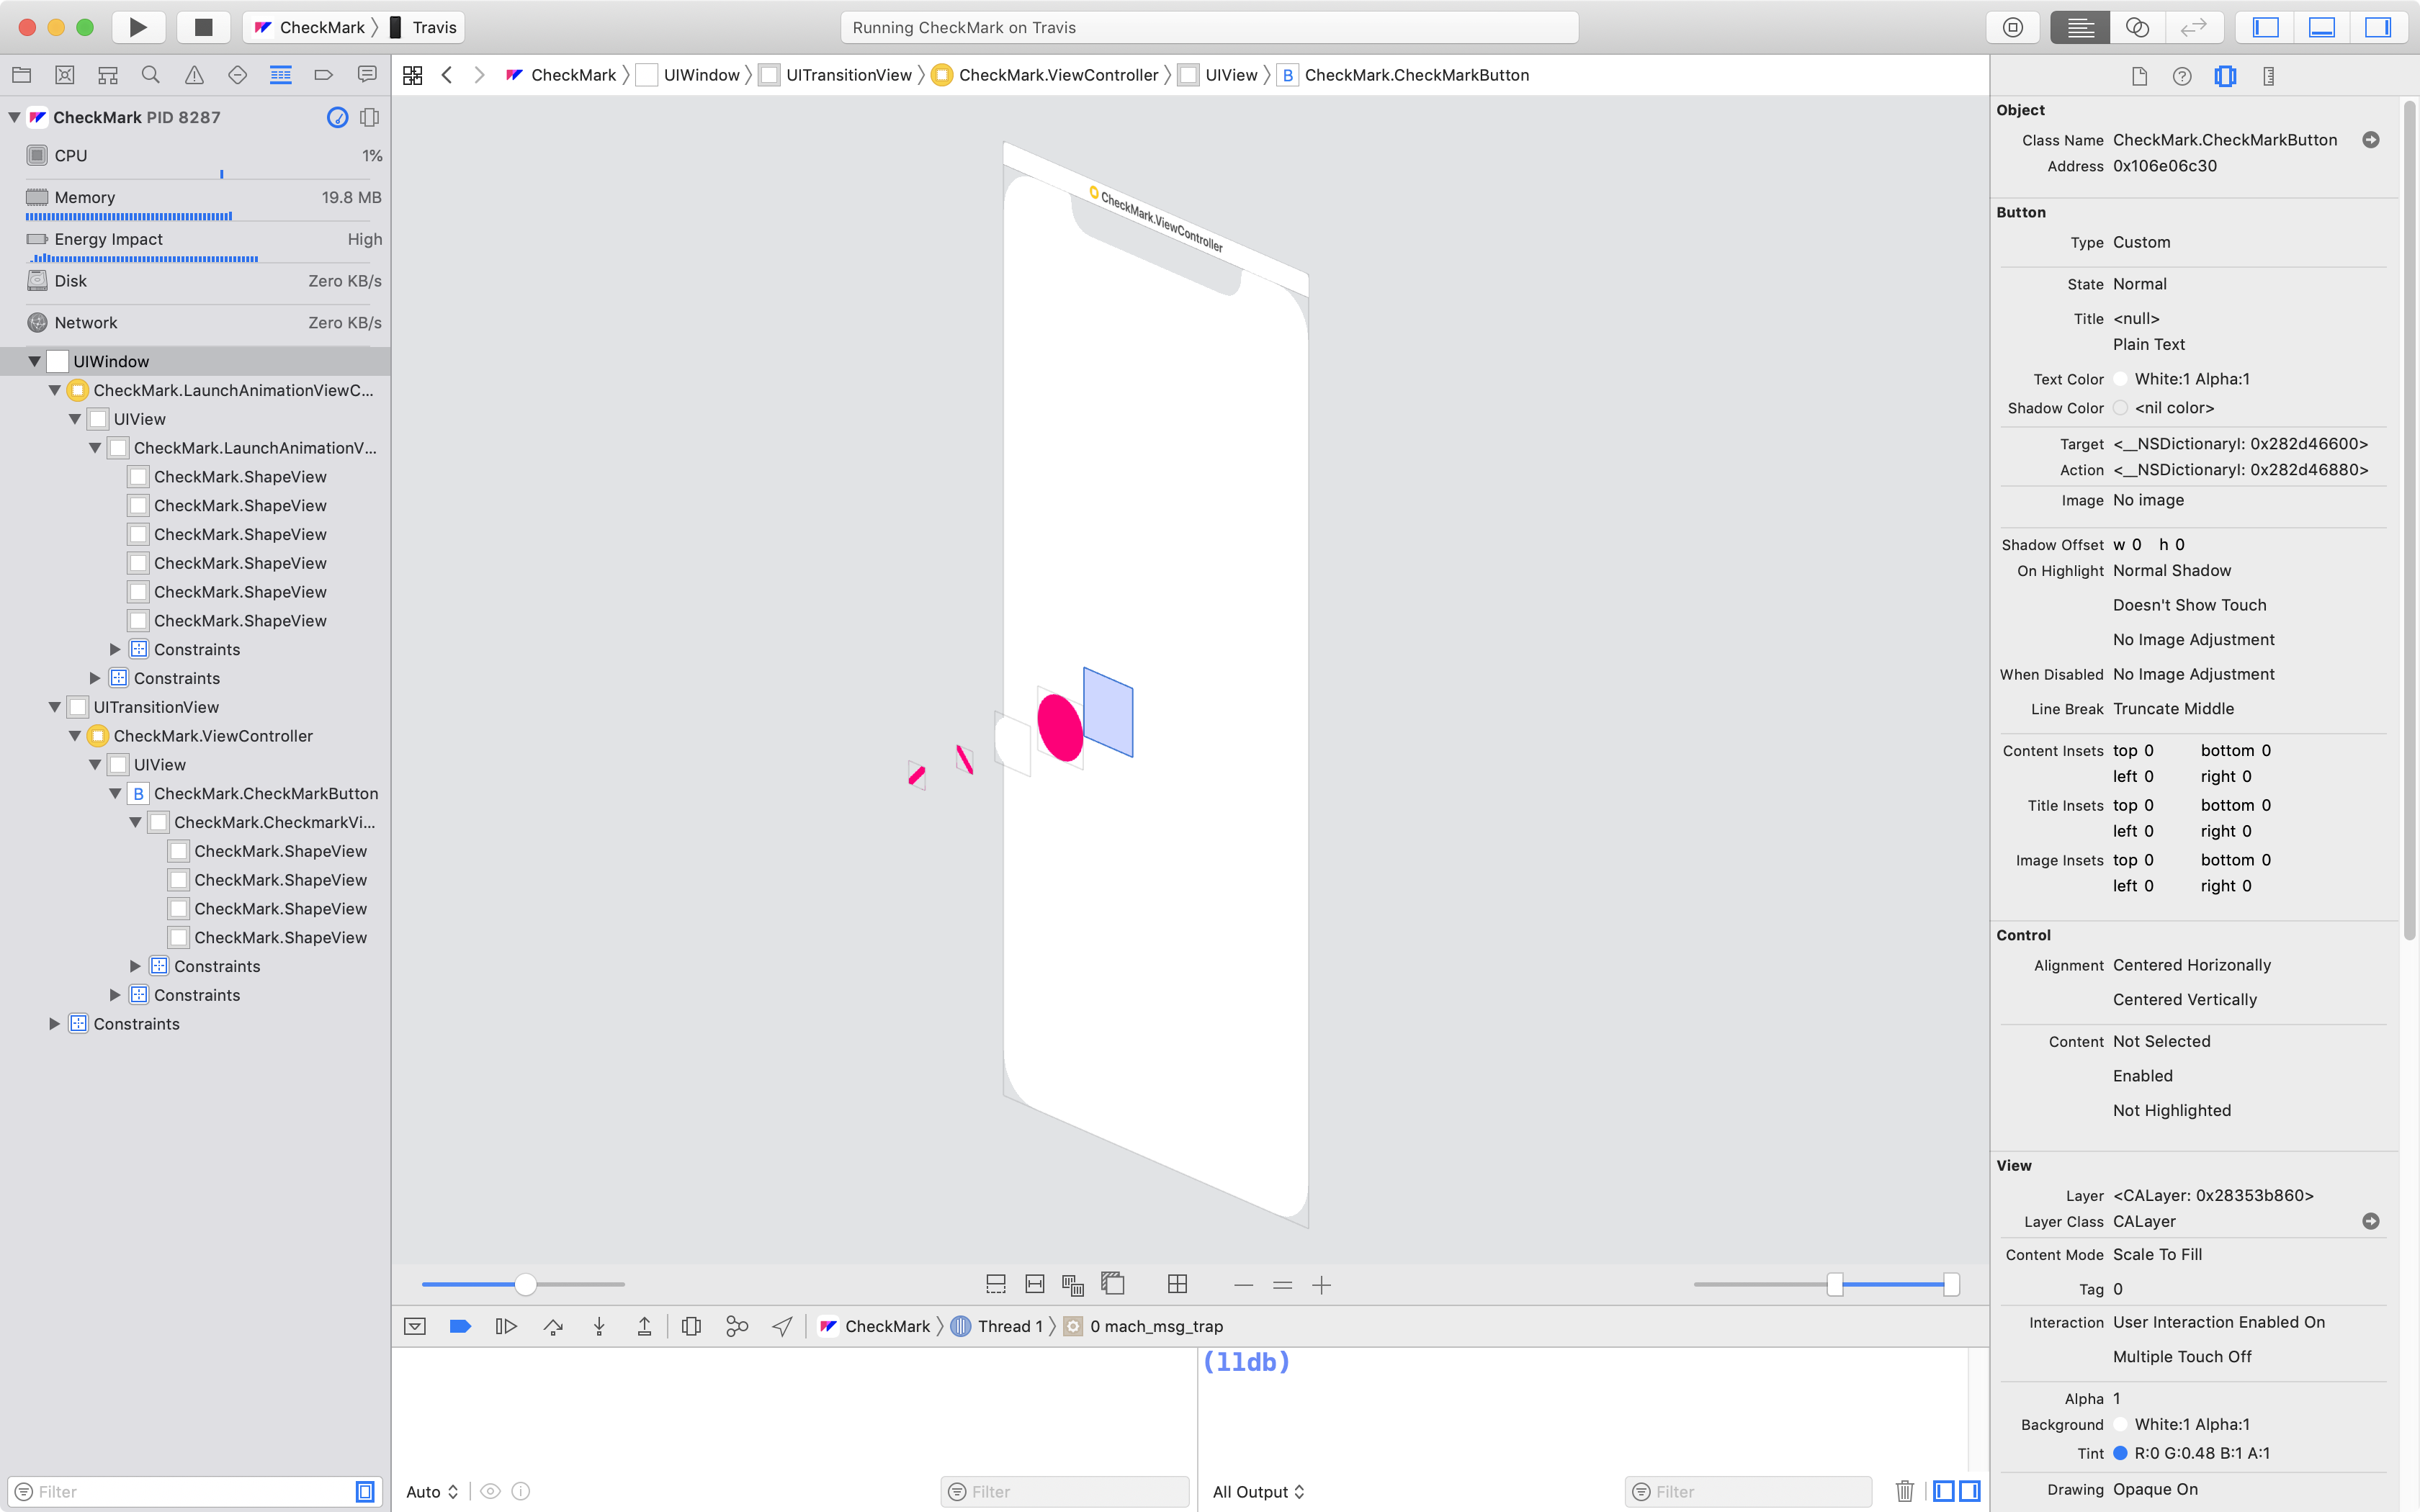
The other 4 layers are the ones created from the Flow file.